Watercolour Planets
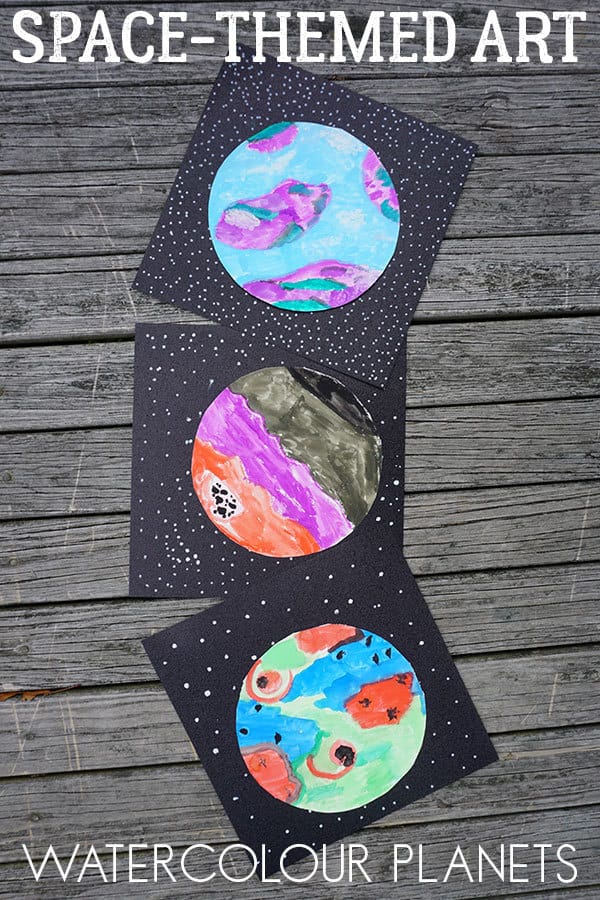
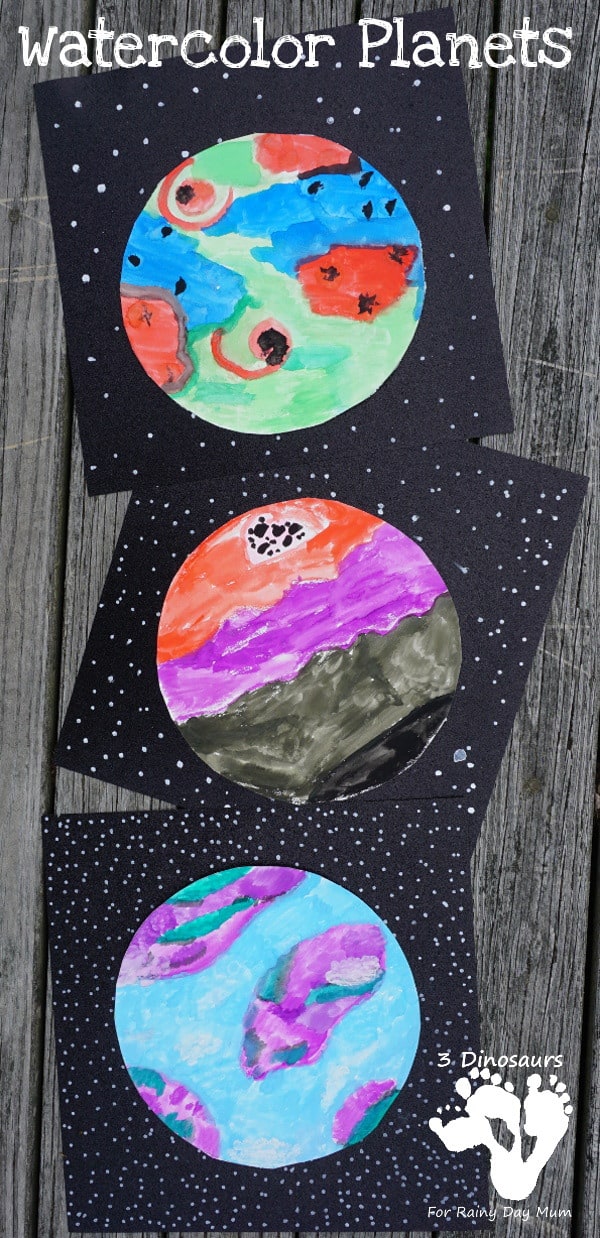
For our second week of Storybook Summer this year we have a fun week of out of the world space-themed activities to do. We are starting off with the space-themed art activity to create some watercolour planets for kids to make perfect for exploring the solar system.
Hi, I’m Cassie from 3 Dinosaurs. I’m a mom of 3 stomping, romping and roaring girls! I blog about some fun printables, crafts, and gross motor. I’m so happy to be doing the storybook summer at Rainy Day Mum again.
I’m so excited to be apart of space week. It has always been one of our favorite themes during the year. My girls and I love the theme and always love to do something new and different with it.
We have included affiliate links to some of the products and resources as an associate we may earn from qualifying purchases.
One of our favorite books has been Mousetronaut Goes to Mars. We have read it many times and love the story.
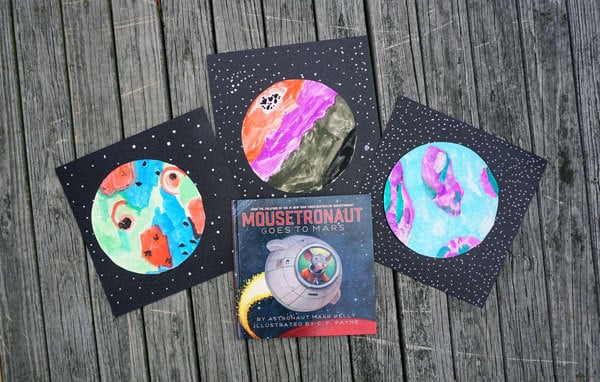
One thing we love to do while reading Mousetronaut Goes to Mars is it talk about Mars and exploring it. Then we seem to end up talking about what it would be like to explore a new planet. What does this planet look like? What can you see on it? Can we breathe on the planet? These are all fun questions to ask.
We have included affiliate links to some of the products and resources as an associate we may earn from qualifying purchases.
Today We took those questions and make a fun art project with them. We took the torn paper planets we had made previously and made them into watercolour planets this time.
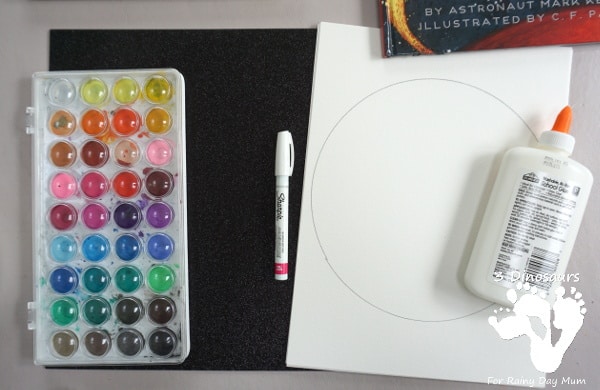
What you need for this craft
- watercolour paper
with a circle on it (we used a plate to make the circle)
- black glitter cardstock
- watercolours
- glue
- white sharpie paint marker
- scissors
How To Make Your Watercolor Planet
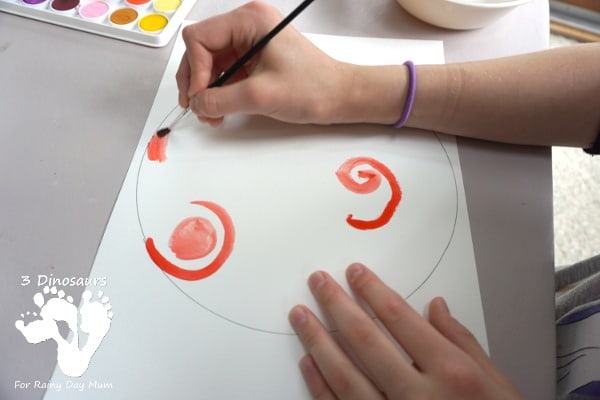
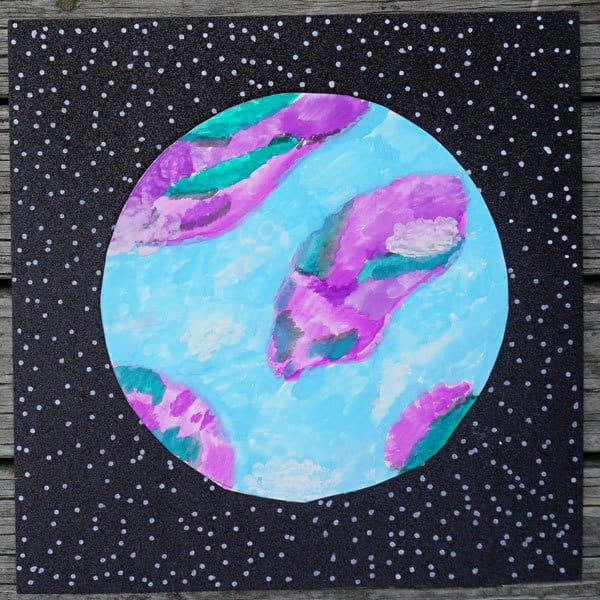
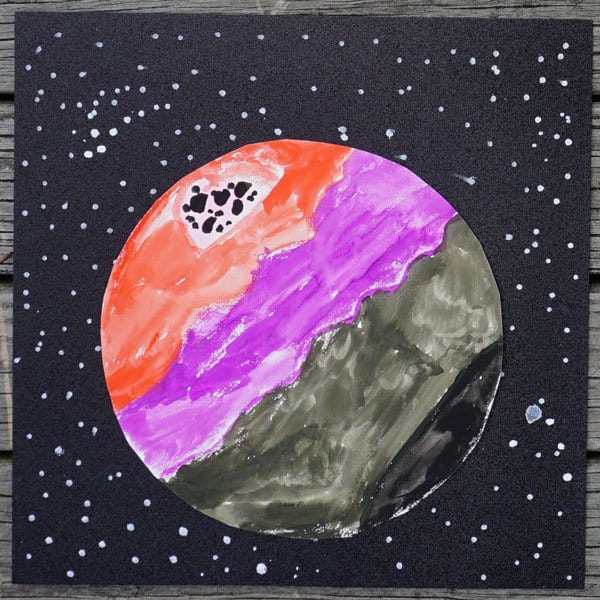
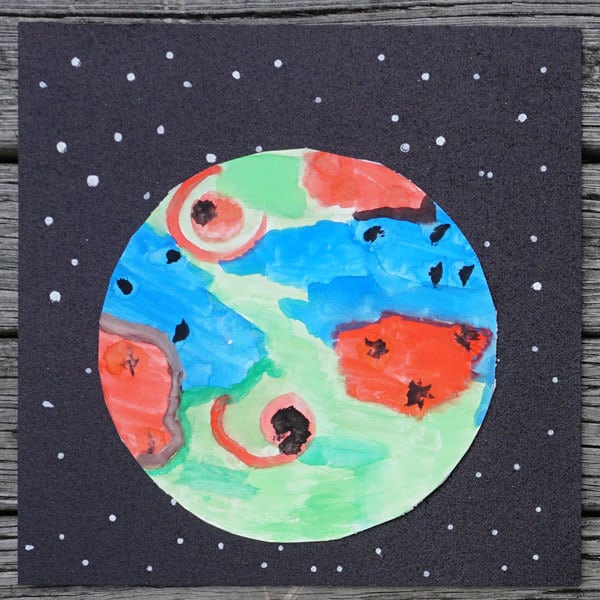
We start off with coloring the circle on the watercolor paper. While we are doing this we talked about what colors our planets would have. Do they have life on the planet? Could be breath. We also talked about what colors we might use for our planets. With watercolors, we have so many different colors to explore.
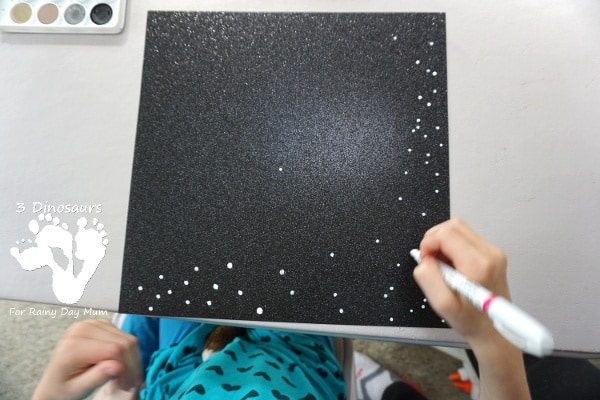
We put the planet aside to dry. And watercolors do dry really quickly. We started putting stars on the black glitter cardstock. We used a white sharpie paint marker
. It is fun to use and quick to dry as well. We talked about how many stars you could see around the planet and their size. If you don’t have a sharpie marker you can use q-tips. Click here to see how use used q-tips.
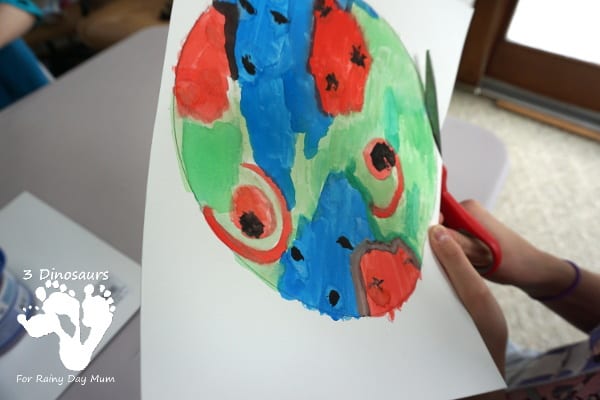
While we set the black paper aside we checked out planets and saw that they were reading to cut out. We cut around the circle and make sure we were on the circle on the paper.
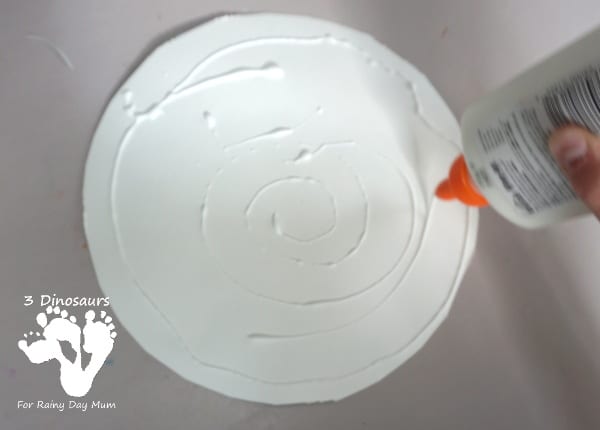
One of the last steps that we did was to glue our planet on the black glitter paper. We made sure our stars were dry. We placed glue on the planet. We made sure we had enough to cover the whole planet. It is a good idea to make sure the outer edge has enough to make a full circle.
We placed the planet where we wanted it on the paper and pressed it down. If your planet starts to curl off the paper, turn the paper over and put something heavy on it. Just make sure there is not any extra glue you can see around it. Leave the weight on it until some of the glue has dried.
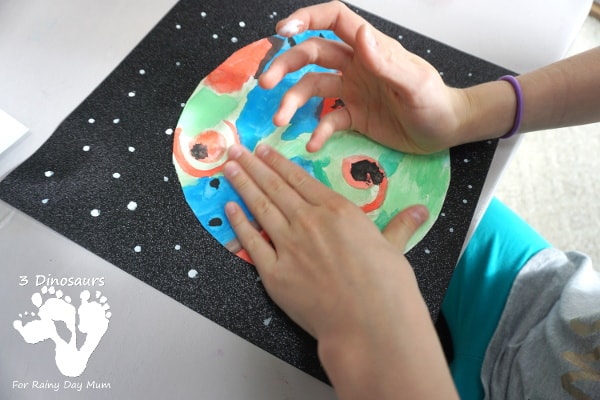
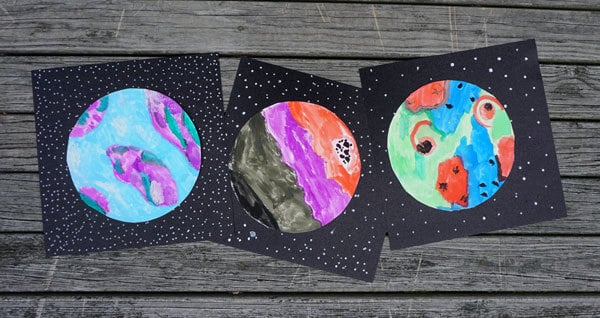
Here is a look at our final craft:
More Space Activities and Crafts on Rainy Day Mum
Five Little Men in their Flying Saucers Puppets to Make and Song Words to Download
Planet Experiment to look at the density
Space Themed Printables in Store Now!
More Planet Activities from 3 Dinosaurs

- Easy To Make Torn Paper Planets
- Easy To Make Finger Painted Planet Earth
- Fun to Make Washi Tape Moon
More Watercolour Art Activities for Kids


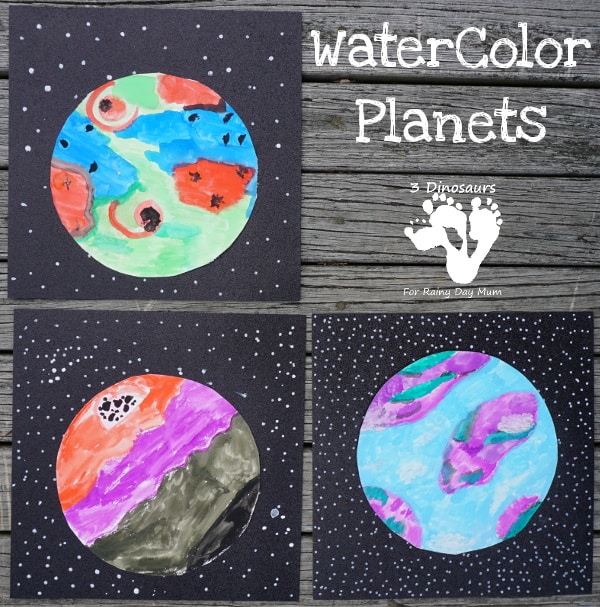
Pin these Watercolour Planets to Make Later







Beautiful – I love this use of the white Sharpie – we’ve just bought some of these & have been having fun with them. Definitely going to give this project a go on our next art day.
Fantastic you will have to share how it goes 🙂 I love seeing projects that we share created by others.