Exploring Hot and Cold Colours with Wet on Wet Watercolour Painting
We love to paint from simple process art projects like the Shaving Foam Marbling which is ideal to do with kids from toddlers upwards or painting for a purpose or craft. Using different types of paints and media has always been something I’ve encouraged the kids to do and from an early age, we have used watercolours alongside the ready-mixed paints for crafts. This simple art project for kids use the technique Wet on Wet watercolour painting and whilst using it we looked at hot and cold colours.

Wet on Wet Technique for Painting
Traditional called “Alla Prima” in Italian it is using wet paint on a wet surface and laying it up whilst still wet.
Many famous artists have used the technique from the Impressionist Monet to Van Gogh as well as more realist painters like Sargent.
This technique is a popular technique for painting in 1 session. You can use different media like oils or acrylics. But with children, I like to start with watercolours.
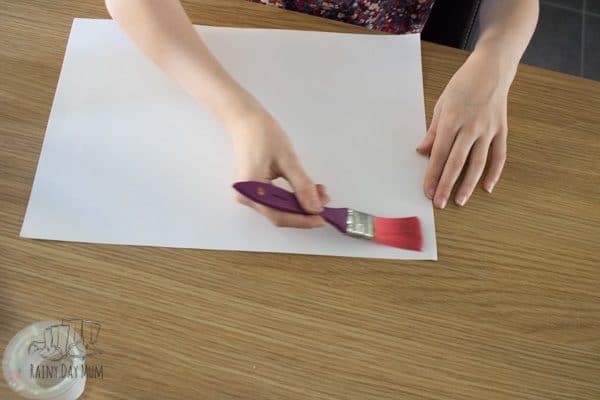
The most basic form of it is a wet wash. And we used this wet wash to explore how wet on wet painting works as well as to look at cold and hot colours.
Painting with Watercolour Washes with Kids
This technique can get a little messy especially if you let your child explore the medium and try different things so be prepared to clean up.
Supplies needed for Wet on Wet Watercolour Painting with Kids
We have included affiliate links to some of the products and resources as an associate we may earn from qualifying purchases.
Tools Needed for Watercolour Wash Painting with Kids
- Paintbrushes of different sizes
- Container for water
How to Introduce Wet on Wet Painting with Watercolour Washes to Kids
Art is very much about free flow but learning technique and theory of colours is also important. Before starting to paint we discussed the process as well as what cold and hot colours mean.

Cold and Hot Colours
Depending on colours you use in a painting you can drastically change the same scene.
Think about a landscape with a grey sky and dark shadows then compare it with the same landscape with a sunrise and yellows, reds and oranges shining through the purple tones of the night disppearing.
The dark shadows are still there but the warmth of the hot colours compared to the chill of the cold drastically change the scene.
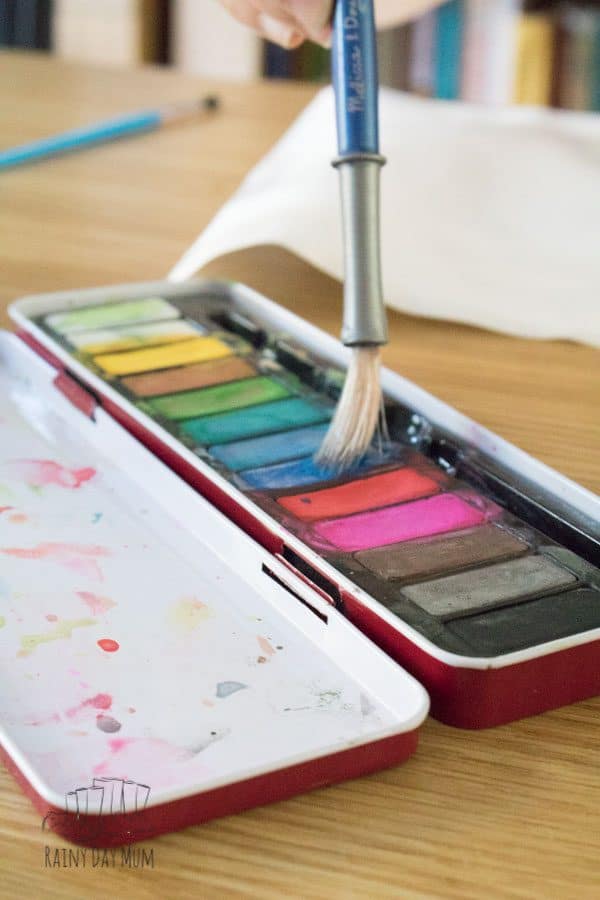
So before we started we looked at the paint palette and picked out the hot and cold colours for the paintings that we would do.

How to Paint Wet on Wet Watercolour Washes with Kids
As I reminded my daughter before we started this wasn’t about creating a picture at this point but about learning the technique that she could use to create a picture in the future.
Once we had the basis down I then left her to explore watercolours and the technique further.
Time needed: 45 minutes
Fun art exploration of wet on wet watercolour with hot and/or cold colours for kids to do.
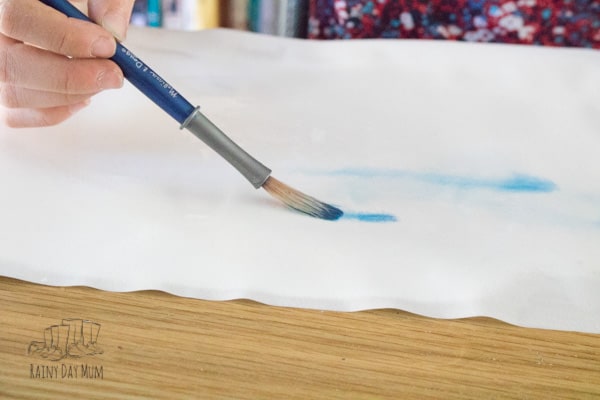
- Cover the paper with water using a large flat brush.
As you and your child experiment you can use more or less water to see how wet on wet painting works with watercolours.

- Then using smaller brushes use either hot or cold colours to start to swirl and paint the water covered paper.
We provided different sized brushes for our daughter to use so she could see how they worked. I like to keep a selection available. There is a mix between the more traditional Kids Painting equipment like the Melissa & Dough brush shown in the picture below to artist quality brushes that we see on sale.

- Once “finished” leave to dry
We dried in the sunshine. But at home we tend to dry on top of a book case or on the kitchen counter.
Exploring the Wet on Wet Technique with a child
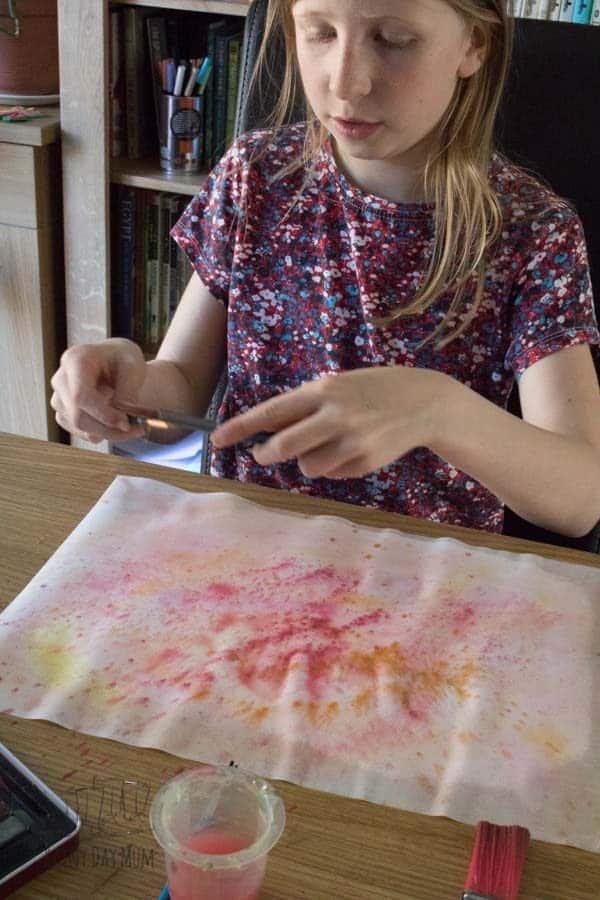
As T painted she started to see some of the difference in the painting.
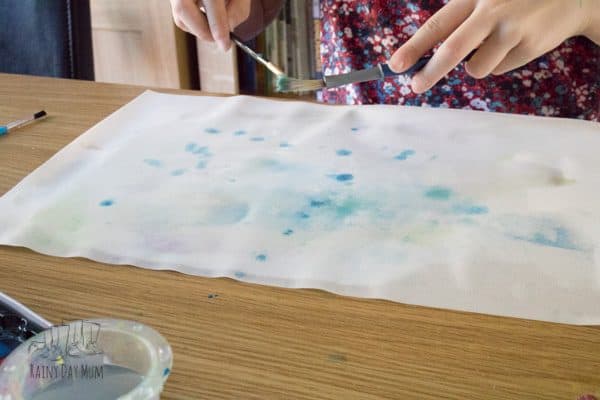
Gone was the need to mix the colours on the pallete instead she could blend the watercolours together on the paper.

She found adding more water dilluted the paint already there and created a less vibrant colour.
Using less water on the palette meant that the paint when it was added to the paper was brighter and more vivid.
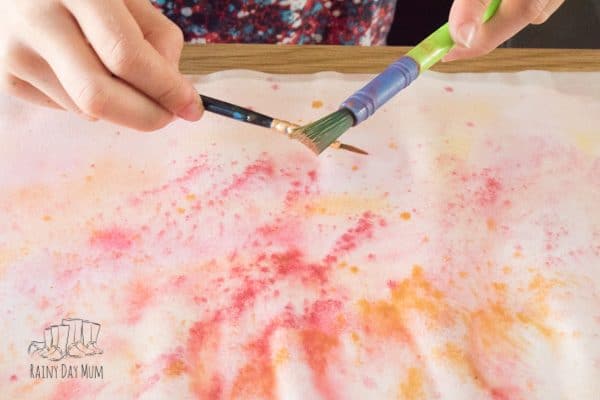
She then decided to see what happened when she splattered and dripped the paint. Seeing that some drops were dots, others were splatters.
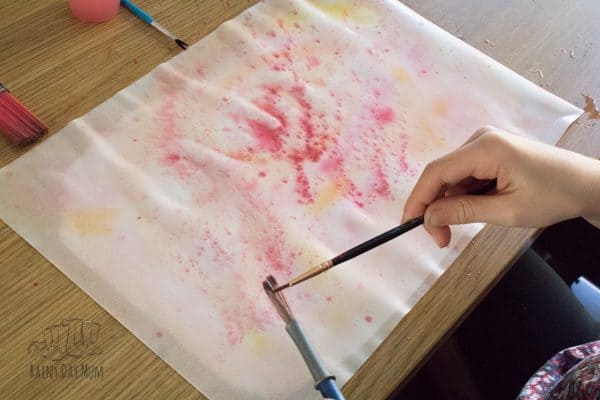
On picking up the paper to move to dry, the paint flowed on the layer of water merging some of the drops and splats she had made.
Once she had finished she put it aside and looked at the warm colours instead.
Other WaterColour Projects to do with Kids


More Art Projects for Kids
If you are looking for more fantastic art projects for your kids then check out the DIY Summer Camp Art Week over on Teaching without Chairs

We’ll be sharing more fun art projects over here on Rainy Day Mum as we host our own Art Club at Home with the kids.

Cerys Parker
Cerys is a marine biologist, environmental educator, teacher, mum, and home educator from the UK. She loves getting creative, whether it is with simple and easy crafts and ideas, activities to make learning fun, or delicious recipes that you and your kids can cook together you'll find them all shared here on Rainy Day Mum.


This looks like a neat process!
I love using watercolours with kids they are washable always a bonus and how you use them makes so many different effects.