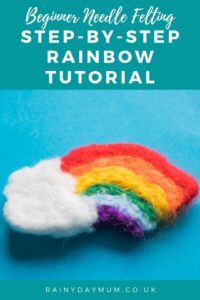
Beginner Needle Felted Rainbow Project for Kids


Needle Felting is such a fun craft for kids and you to have a go at. We first started with some simple needle felted hearts when my kids were just preschoolers and have continued to try different techniques. This needle felted rainbow is a beginner project for kids or you try and ideal for spring or St Patrick’s Day. So here you go our tutorial on how to make a needle felted Rainbow.

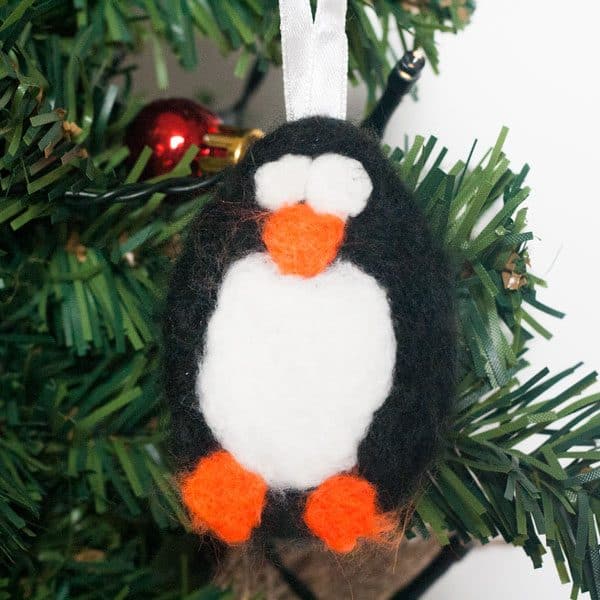
Check out over on Red Ted Art where we share how to make the needle felted shamrock that you can see in the image above
Needle Felting
Needle felting is a relaxing and calming craft.
The stabbing action is repetitive and you or your child may find that you need to do this in small stages at first because of this.
To get started you really don’t need much equipment.
Below the instructions, you will find our recommended buys for a needle felting starter kit if this is something that you would like to do with your kids as well.
When you first start out a good way to avoid too many punctures to your fingers is to use a cookie cutter to get the basic shape.


How to Make a Needle Felted Rainbow
Equipment Needed
Materials Needed
Instructions
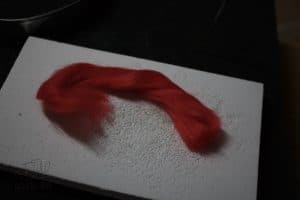
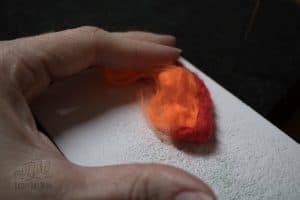
- Start with red and lay it out in your cookie cutter.
- Then stab it to start to felt it together.

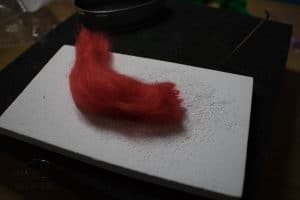
- Once the strands have started to come together remove the cookie cutter and work on it on your needle felting mat.
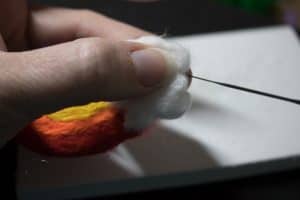
- Send the needle in at an angle so that the barbs start to felt the wool.
- Work along the top edge and then the bottom edge – shape an arc as you move across the bottom by bending the red and poking the needle in following the arc that you want to create.
- Continue felting the red until you have a fairly solid arc of red. This can take some time but you will find that once it starts to come together it will become quicker and quicker.
- Don’t reach the point where the felt is solid as we will come back and complete the felting of the whole rainbow at the end.
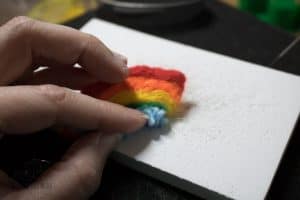
- Take your orange wool and place over and into a sausage around the bend of the rainbow.
- Needle felt this into place – start with the edge connected with the red and secure this by felting through the orange and red.
- Then turn your rainbow and felt into the orange along the arc.
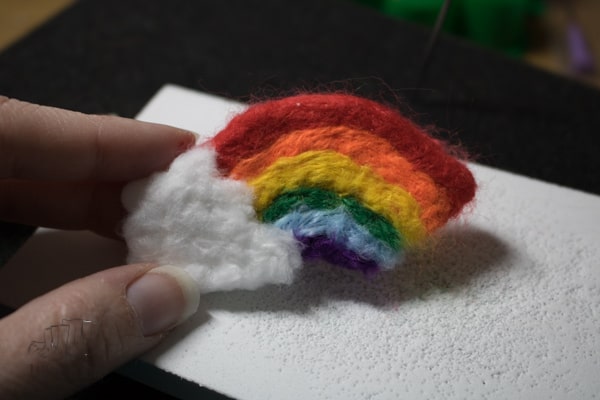
- Repeat steps 8 – 10 with the yellow, then green, then blue and lastly violet wool.
- As you go neaten the ends needle felting them together.
- Continue to felt your rainbow until you can feel the felt and the needle is harder to remove.
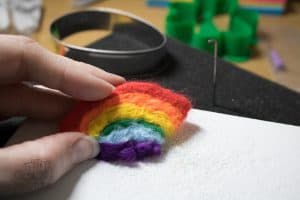
- To create the cloud take some white wool and form a basic cloud shape.
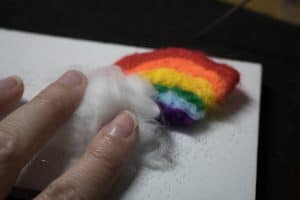
- Felt it by inserting the needle in and pulling it out.
- To create the bumps on the cloud focus your needle into specific areas and stab these closer together to form the dips between the bumps.
Notes
Your Needle Felting Starter Kit
Looking to start needle felting and inspired by this project and how simple it looks then here’s our basic equipment recommendations to get you started.
We have included affiliate links to some of the products and resources as an associate we may earn from qualifying purchases.
It is a good idea to buy a selection of wool roving to get you started this means that you have lots of different possibilities of what to make. We love this pack as there are so many different colours and it is reasonably priced as well.
A needle felting mat is essential as it protects your surface there are lots of different varieties that you can buy but we prefer this sort.
Without fail as you do this project or others you will blunt or break your needles so a set with multiple needles is essential. This is the one that we buy to stock up on.

More Needle Felting Projects for Beginners
Want to get started but not sure where to begin then check out these easy projects for beginners.