
How to Make a Needle Felted Rainbow
A beginner needle felting project for kids and you to create a colourful rainbow and cloud.
Ingredients
Instructions
- Start with red and lay it out in your cookie cutter.
- Then stab it to start to felt it together.

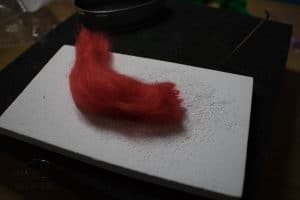
- Once the strands have started to come together remove the cookie cutter and work on it on your needle felting mat.
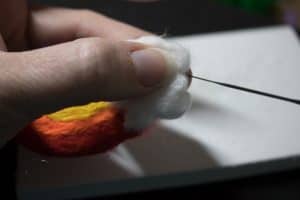
- Send the needle in at an angle so that the barbs start to felt the wool.
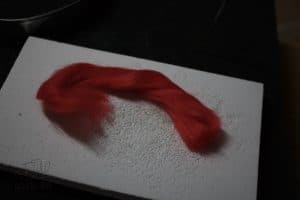
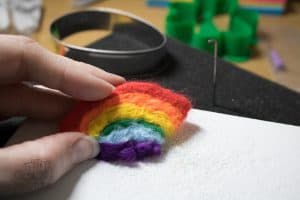
- Work along the top edge and then the bottom edge – shape an arc as you move across the bottom by bending the red and poking the needle in following the arc that you want to create.
- Continue felting the red until you have a fairly solid arc of red. This can take some time but you will find that once it starts to come together it will become quicker and quicker.
- Don’t reach the point where the felt is solid as we will come back and complete the felting of the whole rainbow at the end.
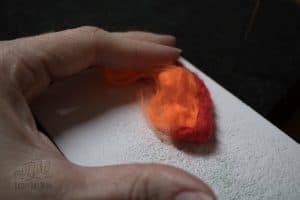
- Take your orange wool and place over and into a sausage around the bend of the rainbow.
- Needle felt this into place – start with the edge connected with the red and secure this by felting through the orange and red.
- Then turn your rainbow and felt into the orange along the arc.
- Repeat steps 8 – 10 with the yellow, then green, then blue and lastly violet wool.
- As you go neaten the ends needle felting them together.
- Continue to felt your rainbow until you can feel the felt and the needle is harder to remove.
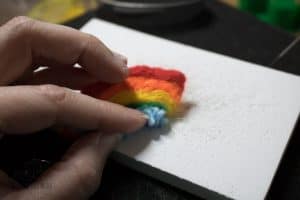
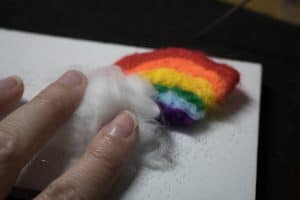
- To create the cloud take some white wool and form a basic cloud shape.
- Felt it by inserting the needle in and pulling it out.
- To create the bumps on the cloud focus your needle into specific areas and stab these closer together to form the dips between the bumps.
Notes
You can finish off the Rainbow by adding a brooch pin to the back and sewing it into place or even hot gluing a magnet to create a fridge magnet of your rainbow.