Baker’s Clay Christmas Tree Ornaments
Have you heard of Baker’s Clay or maybe you call them cornflour or cornstarch ornaments? They are a great alternative to salt dough and as they are made with just 3 kitchen ingredients perfect for creating gorgeous white decorations. Just a warning that unlike salt dough these will need heating and are more delicate much more suited to older kids than your toddlers and preschoolers. So here you go our recipe for white Baker’s Clay ornaments and a simple Christmas Tree Decoration to make with them.

What is Baker’s Clay
Hunting around in my mum’s old craft books I can upon this recipe for Baker’s Clay. It was in the crafting material section right next to the salt dough recipes but was specifically for snowmen decorations for Christmas.
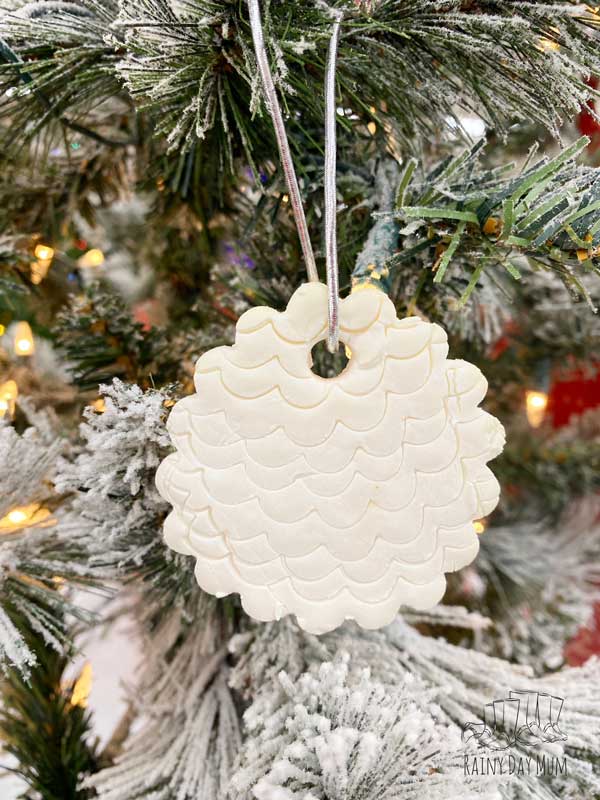
Unlike salt dough which can be made by hand even with little kids as no heat is needed for the dough Baker’s clay or cornstarch, clay needs to be heated in a pan to form the dough.
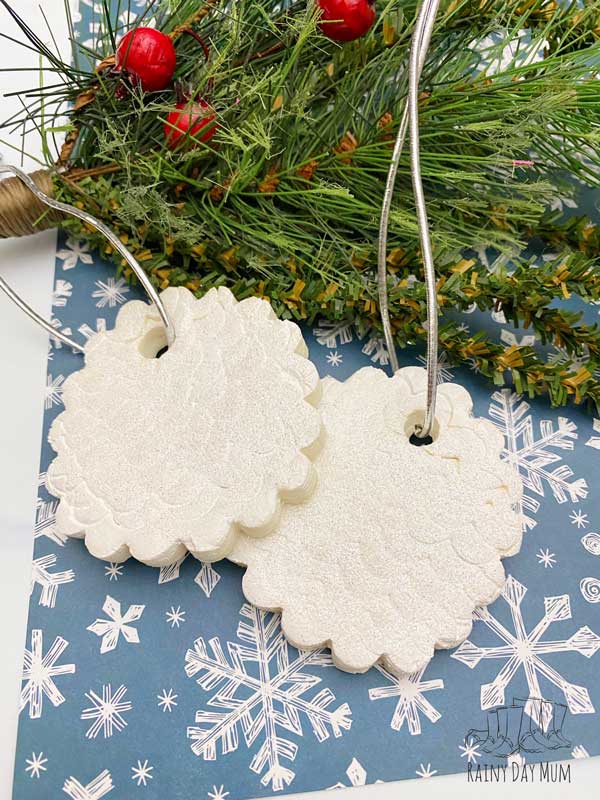
It’s made with just 3 ingredients cornflour (cornstarch), bicarbonate of soda, and water. Unlike salt dough which if you want a pure white ornament you can have to colour this produces a white dough naturally.
Wanting to make a white salt dough as well check out this recipe for white salt dough and these little gift tags you can make with it.
What Ingredients Do you Need for Cornflour Clay?
Just 3 ingredients are needed for the cornflour clay
- 1/4 cup Cornflour (Cornstarch)
- 1/2 cup Baking Soda (Bicarbonate of Soda)
- 1/3 cup Water
Making your Cornstarch Clay
As I mentioned the clay mixture for this is heated in a pan, your going to want to keep extra water nearby in case the clay formed is too dry. From making the decorations we have found that if they are too dry then they will easily crack when drying.
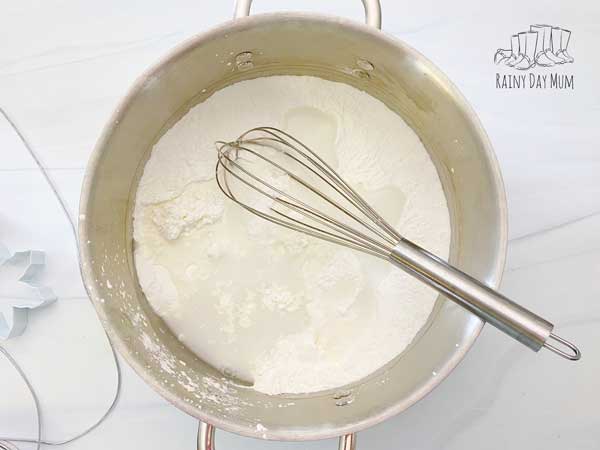
Saying that though they are really easy to make, just put all of your ingredients into a pan and dissolve the cornflour and bicarbonate of soda into the water.
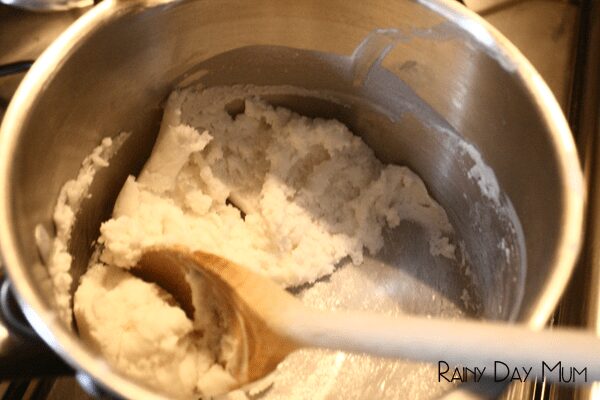
Then over a low heat gently mix together until they start to form together and get thicker. At this point you need to remove from the heat and leave to cool a little.
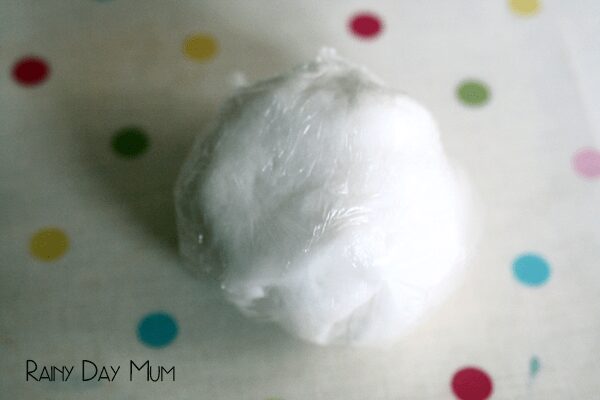
Once it’s cool enough to touch get it out of the pan, knead and form a ball. Wrap this ball in cling film or saran wrap to let it cool down to room temperature. It needs to be wrapped so that at this stage it doesn’t dry out.

Make Memories every day as you countdown to Christmas
24 Simple and easy activities to do at home with your kids this Christmas.
How to Make your Homemade White Clay Christmas Ornament
With the Baker’s Clay cooled down it’s time to make your ornament.
Roll out on a surface (there is no need to flour the surface with this clay) to about 1/4 of an inch thick. Any thinner and they will crack when drying, a little thicker is fine too!
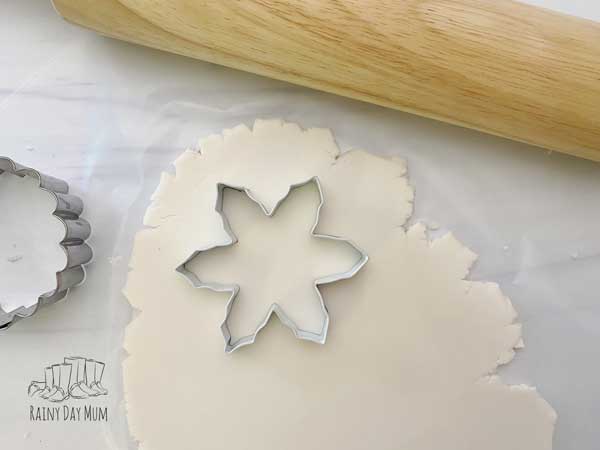
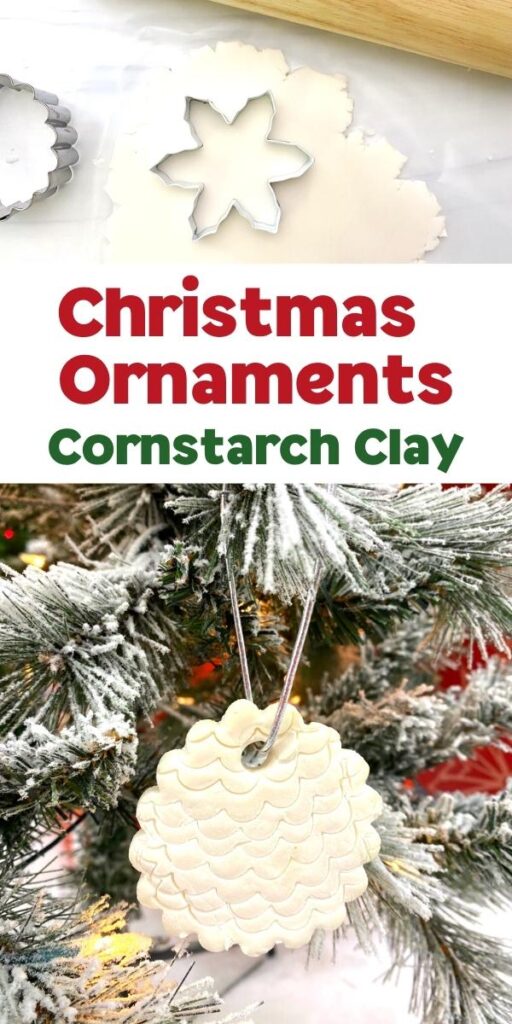
Then using a cookie cutter with a shape of your choice place cut them out. You can create a pattern on them with a cookie stamp, although using the edge of a flutted pastry cutter also creates a really pretty effect on the ornaments too.
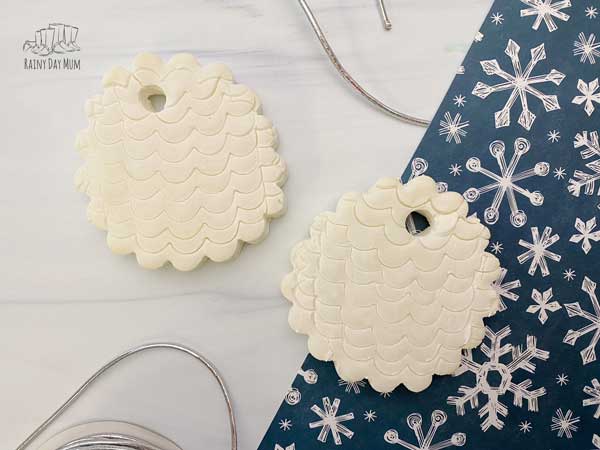
Then before placing a baking tray to dry in the oven remember to form a hole with a straw. You can’t do this after the clay is dried so it MUST be done now.
Alternative Decorating Ideas
You could make fingerprint impressions into the clay ornament or even create a bigger circle and make a handprint – this clay is great for using with little hands and feet and perfect for making a Baby’s First Christmas Ornaments.
How to dry your Baker’s Clay Ornaments
These ornaments can’t be air dried they will need a little heat to remove the last bit of water in the oven.
So with your oven at between 50C and 100C (120F to 200F) place the baking tray of ornaments in.
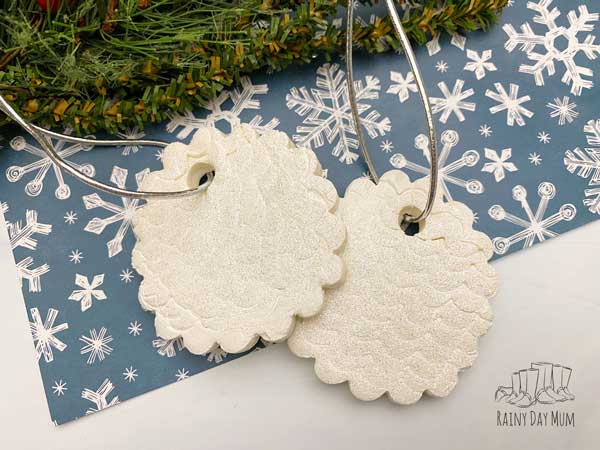
It will take somewhere between 1 and 3 hours to dry out based on the thickness and size of your Christmas ornaments.
Adding Sparkle to your Clay Christmas Ornaments
Sometimes you want a little sparkle to your ornaments so using pearl white paint and some super fine biodegradable silver glitter is great.

How to Store your Homemade Christmas Ornaments
Once made you may want to store them, the best way to do this is in an air tight container with a marshmallow or a little rice. Either of these will absorb any moisture and keep your ornaments for another year.
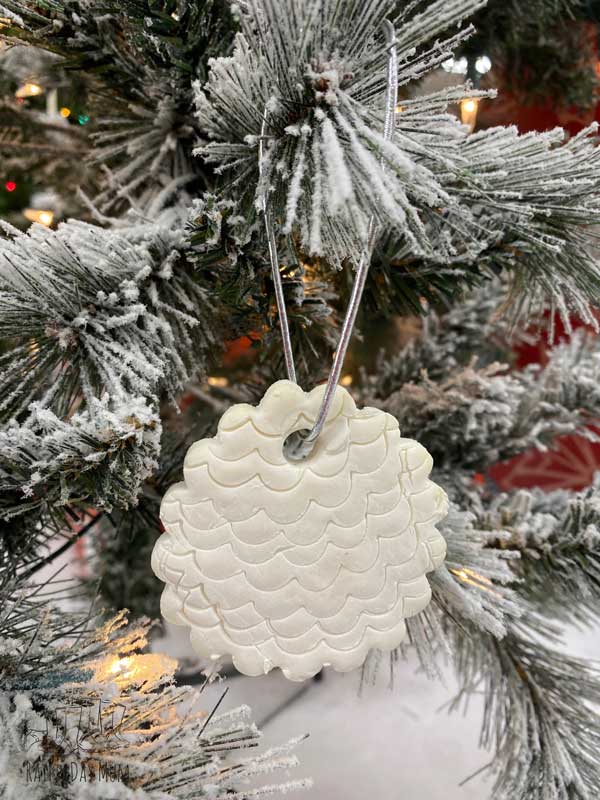
How to Make your Baker’s Clay Christmas Tree Decorations
So if you want simple instructions without the tips (although the tips above are useful and will help to make sure your ornaments are great) then you can use the card below. Ohhh, and don’t forget to save these to make again because once others see how pretty they are they’ll want to make them too.
Cornstarch Christmas Tree Decorations
Video
Equipment Needed
- Sauce Pan
- Wooden spoon or whisk
- Mixing bowl
- measuring cups
- Rolling Pin
- Baking Pan
Materials Needed
- ¼ cup of corn flour corn starch
- ½ cup of bicarbonate of soda baking soda
- ⅓ cup of cold water
- cling film saran wrap
- ribbon
Instructions
- Measure out the corn starch and baking soda, place it into a saucepan and mix well.
- Measure out the water and mix it into the cornstarch and baking soda.
- Place the sauce pan on the stove on medium heat for 5 minutes, stirring constantly.
- After about 5 minutes, the mixture will start to bubble, keep stirring for about 2 more minutes or until the dough has formed.
- Form the dough into a ball, and wrap in cling film (saran wrap) and leave to cool.
- Once the dough has cooled, roll it out with a rolling pin until it’s about 1/4” thick.
- Use cookie cutters to cut out several shapes, use the edge of the cookie cutters to press a pattern onto the ornaments for an added touch.
- Once the shapes are all cut, use a straw to cut a hole in towards the top of each ornament.
- Bake on a baking sheet for 1-3 hours on your ovens lowest setting.
- Carefully remove and let cool.
- Tie a fine piece of ribbon or string onto the holes for hanging.
- Optional step: Paint white and sprinkle with extra fine white glitter and let dry.
More Homemade Christmas Tree Ornaments
Looking for some other simple ornaments to make this Christmas then check out these alternatives using homemade clays and doughs.


- Rudolph Gingerbread Salt Dough Ornaments
- Christmas Scented Salt Dough and Star Garland
- Paw Print Christmas Tree Ornaments


Giving this a go. I do hope it works, as baby didn’t enjoy the hand stamping!! The clay was a bit crumbly so I added in a bit more water after… and baking at gas mark 1 ????
I bake at the lowest setting on my oven which would be equivalent. It’s less of a bake and more of a dry over time. You can air dry but it takes a lot longer.
I put a half teaspoon of cinnamon oil in the dough before cooking and the house smells like cinnamon now. The dough is cooling at the moment. I think I’ll wait to the end of the cooking to do it next time. I’m experimenting to see if adding scent oil ruins it.
I’ve never tried this would love to know how it works. I’ve done it with salt dough but never with the Baker’s Clay.
How hot does the oven have to be??
100C in our fan assisted oven.