Hibernation Wet Felted Wool Play Mat Tutorial
For our Winter Animal and Hibernation theme with our toddlers and preschoolers, we love setting up a small world play for our animals that can be found in the forest during the winter months.
This DIY hibernation play mat is great to make with the kids and then use for the theme on your nature table or in a corner to play on.
Wet felting is great it’s easy to do and unlike needle felting can be done with very young children as well.
So here you go our Wet Felted Hibernation Mat Step by Step how to make with kids.

Disclaimer: I’m not an expert, nor am I particularly artistic. However, the results are always beautiful and this is a craft that turns out great no matter how unskilled you are. You should definitely add it to your to-do list.
How to make A Wet Felted PLay Mat for the Nature Table with Kids
The best place I’ve found to make these is in the bathtub.
Let the child wear their swimsuit for extra fun (I don’t know why this makes it more enjoyable for them, but in my experience it always does!)
Materials needed for your Wet Felted Wool Play Mat
We have included affiliate links to some of the products and resources as an associate we may earn from qualifying purchases.
- Wool roving in your choice of colours for the top (the bottom layers can be scraps of whatever you have left from other projects. I used unbleached wool roving from our own sheep.)
- Mild soap (I like Dr. Bronner’s castile soap because it rinses so well and it’s eco-friendly, but any will do)
- Bubble wrap, 2 pieces, big enough to cover the size of mat you want top and bottom
- Duct tape to close off your bubble wrap for rolling
- Hot (not boiling) water
- A spray bottle
- Optional but helpful: a dryer
Step by step to create your DIY Wet Felted Wool Hibernation Play Mat
Start by placing your first piece of bubble wrap, bubble side up, on the bottom of the tub. Make your first layer of wool roving all in one direction, like this:
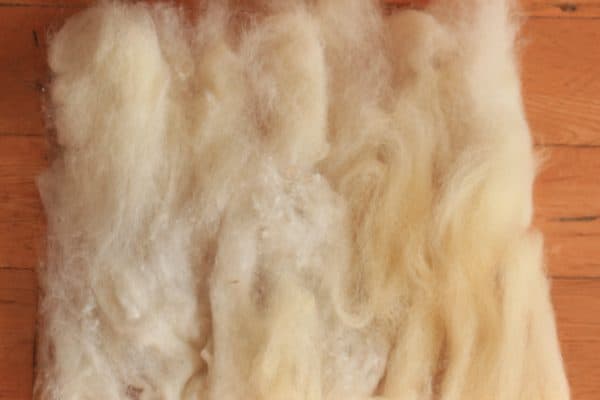
Make the next layer in the opposite direction. Repeat with layers 3 and 4, alternating directions. You want these pieces pretty close together because they’ll stretch out a bit during the process and you don’t want holes in your play mat.

Now add your top layer with the colours you’ve chosen. I was going for a hibernation themed wet felted wool play mat (find our free hibernation unit study to go along with it here), so I went with grass, dirt and fall leaf colours, plus a small stream for fun. Around here the bears are scooping out salmon like crazy right now, so we figured it made sense!
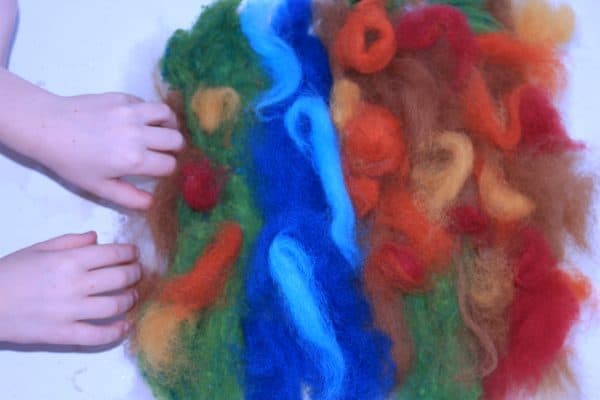
Add some hot (not boiling) water with a few tbsp of soap into a spray bottle and have your child spray it carefully. You want it wet enough that the top layer won’t move too much when you roll it, but not sopping.

Now gently pour the rest of your soapy water over it, trying to cover all of the mat.
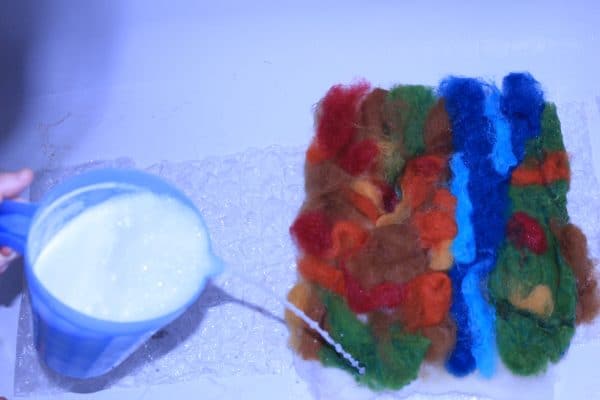
Add your top layer of bubble wrap, bubble side down, and roll it up. Use your tape to hold it rolled.
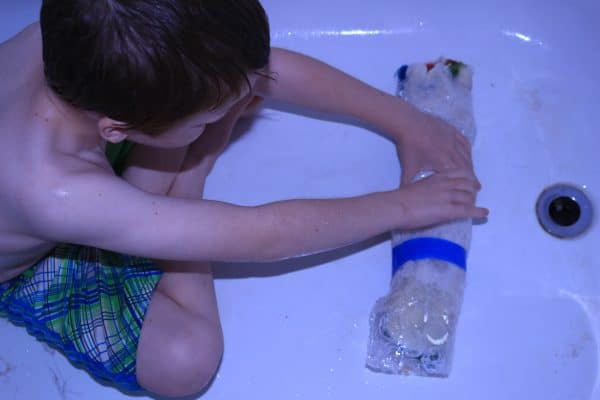
Roll it back and forth across the tub, stretching as far as arms will reach. Do this 40-50 times. Yes, really. Practice counting to kill the time!

Unroll your mat. Does it look slightly shrunk and like the fibers are weaving together? Can you pinch it without pulling up fluffy tufts? If so, go to the next step. If not, roll it back up and do another 20 or so rolls first.

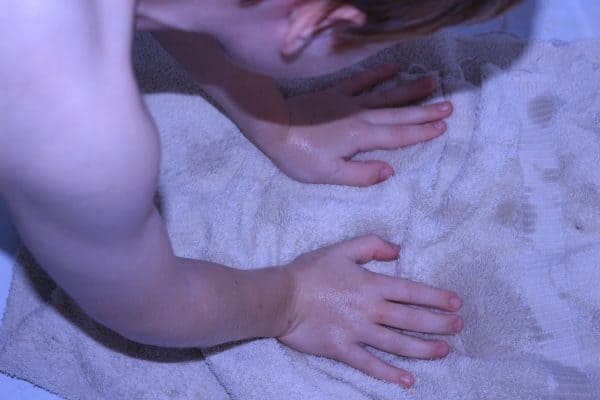
With your mat lying flat again, place the bubble wrap back on top bubble side down. Use your hands to gently rub (NOT PUSH!) in circles over the whole surface. Flip it over carefully and do that side too. Repeat a few times.


Take your bubble wrap off the top and repeat the gentle circular rubbing.
Rinse your mat to get the rest of the soapy water off. Get a towel and gently press out any extra moisture.
Now you can either leave it in the sunshine to air dry, or if you’re impatient like we are you can put it into the dryer for 10 minutes.If you want it fairly flat and smooth I would go with the air drying option.
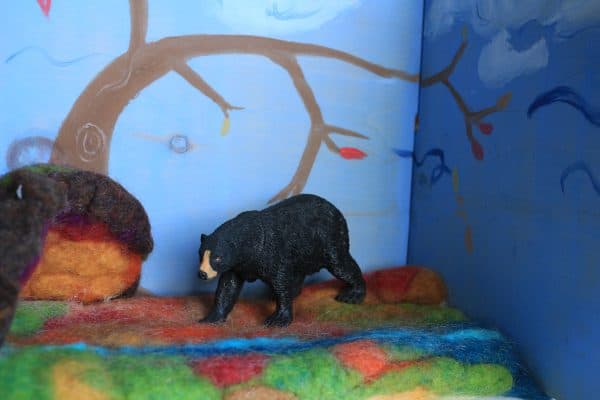
I wanted my mat to be a little thick and bumpy like real leaves and earth would be, so I included a pair of clean tennis shoes to fluff it back up a bit. You can see that it puffed up and is a bit smaller again after some shrinking in the dryer. We also made a second piece exactly the same way but smaller and turned it into a bear cave, hot-gluing it to the main wet felted wool play mat when it was done. Ta-dah! Enjoy your hours of play.
More Natural Crafts and Activities for Kids From Erin

Erin Dean
Erin is a homeschooling mum of 3 from Canada. Her eldest started homeschooling back in 2003. She lives on a homestead in Northern Canada and can be found surround by goats and chickens creating natural crafts, nature study ideas and more over on The Usual Mayhem


Hello, there! I stumbled across this as I was googling how to make things like this. I’m wondering if you wouldn’t mind telling me approximately how much wool you used and the dimensions of your final product? I’m trying to figure out how much wool to order. Thanks so much!