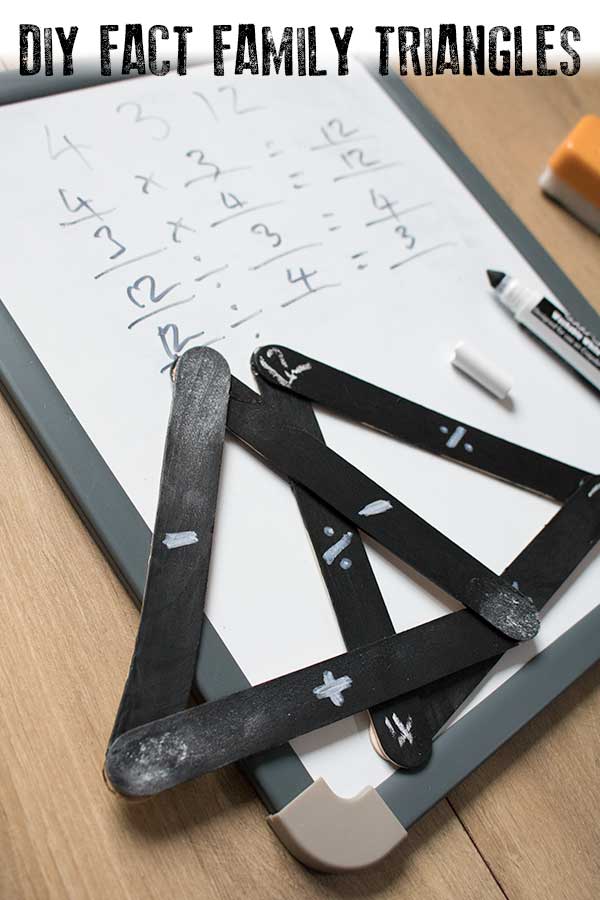
DIY Math Fact Family Triangles
My daughter came home from school excited about something she had learned in maths recently that division and multiplication are fact families like addition and subtraction are as well and that she could use her knowledge of one to work out the other. When she said it, it reminded me of a mathematics teaching aid that I used to make for any students that I tutored in primary maths. It was a Maths Fact Family Triangle that was reusable and that we could then use to work out both addition and subtraction or multiplication and division. I also made a larger scale one that I could use in the classroom as well. So I decided to help both her and my son I would create them a set and at the same time share with you how to make these Maths Fact Family Triangles as well as using them with your children.
What are Fact Families?
A Maths Fact Family is the fact that we can use a number sentence that we already have to solve another number sentence this is the inverse relationship between addition and subtraction or multiplication and division. For example
3 + 7 = 10
10 – 3 = ?
Using a Fact Family Triangle you can put the numbers in place and come to the answer 17.
As your child becomes more familiar with this relationship the use of the number triangles won’t be necessary – but starting out it’s a really good strategy to solve missing number problems including word problems. And is another useful maths tool that you can make and use with your children.
Materials Needed to Create your Math Fact Family Triangles
We have included affiliate links to items we used to create this maths resource. If you purchase via these links we may earn a small commission.
6 large craft sticks (or planks of equal length if you are making this for a classroom teaching aide)
White Chalkboard Marker or white acrylic paint
Hot Glue Gun (or Nails if you are making a large teaching aide)
How to Make your Fact Family Triangle
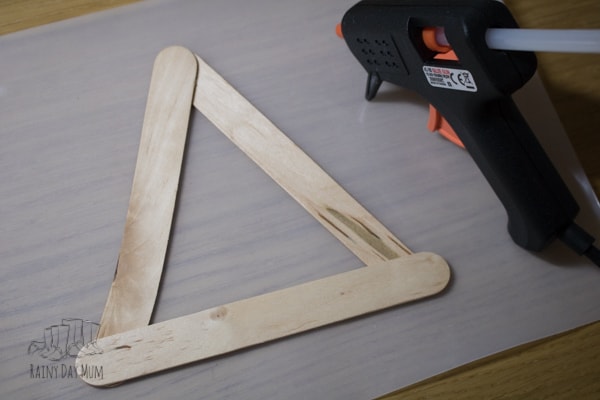
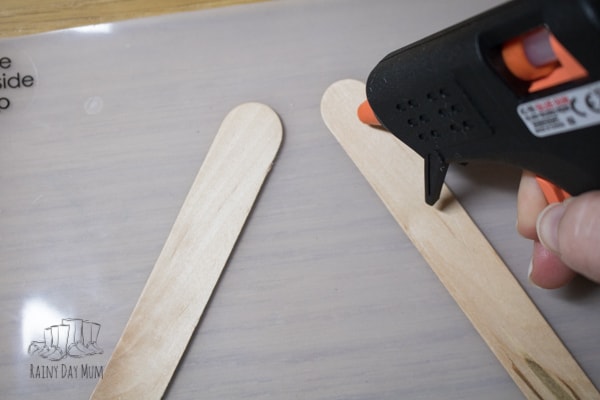
- Start by placing your craft sticks into a triangle. You will make two – one set that will work on addition/subtraction and one for multiplication/division.

- Hot glue gun the points together or when making a large version nail them together in a minimum of 2 places to avoid the triangle becoming unstable as you use it.
- Paint with Chalkboard paint following the instructions on the tin.
- Leave to dry.
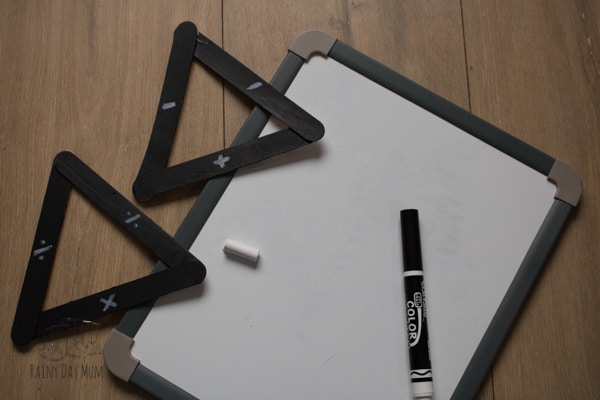
- Once dry using the White Chalkboard Marker or white acrylic paint add on your mathematical operators – for your addition/subtraction triangle you will need 1 + and 2 -. The “+” goes along the bottom with the “-” on both sides of the upright. On the multiplication/division, the “x” will go on the bottom with both “÷” on the upright sides of the triangle. If my explanation doesn’t make sense check out the images below of them in use.
- Let your chalkboard marker dry. This will make it possible to rub off the chalk numbers you add but preserve the operators on the triangle.
- Now you are ready to add your numbers to solve some problems using chalk that can then be wiped off.

Using your Math Fact Family Triangles
I always start off using this with a whiteboard and a dry erase marker it makes it easy for children to get used to using the triangles.

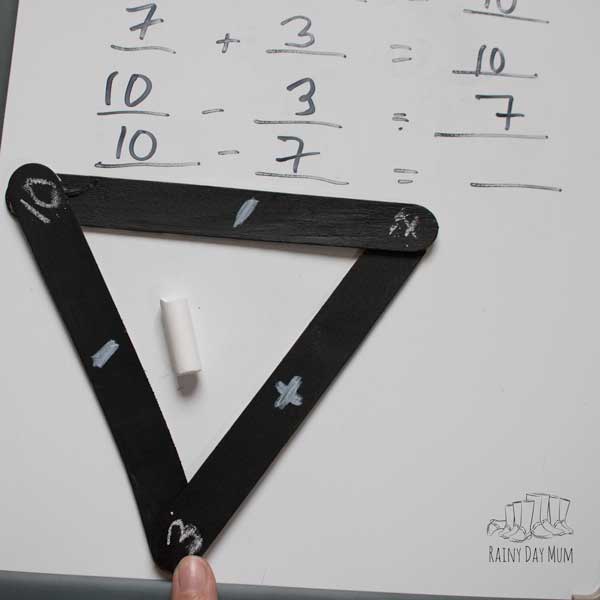
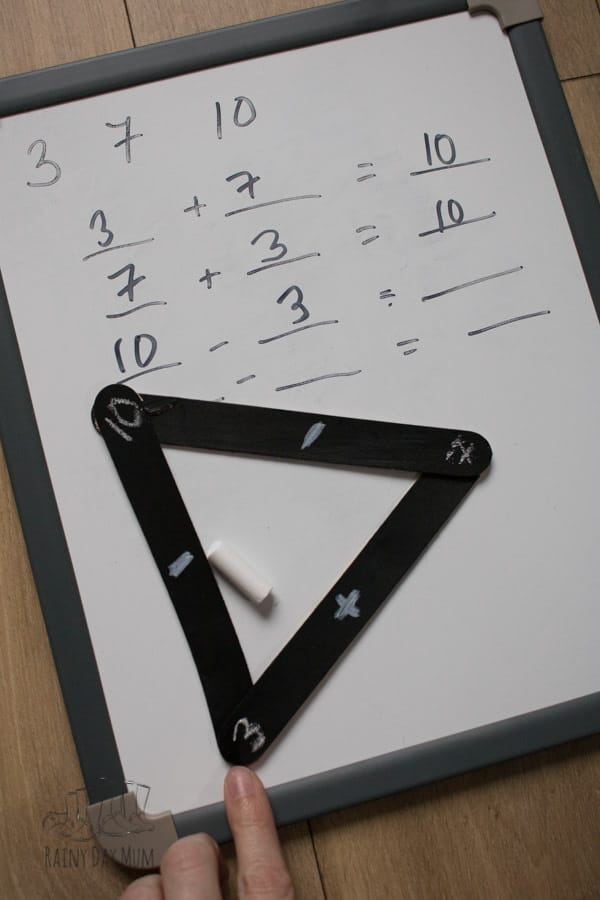
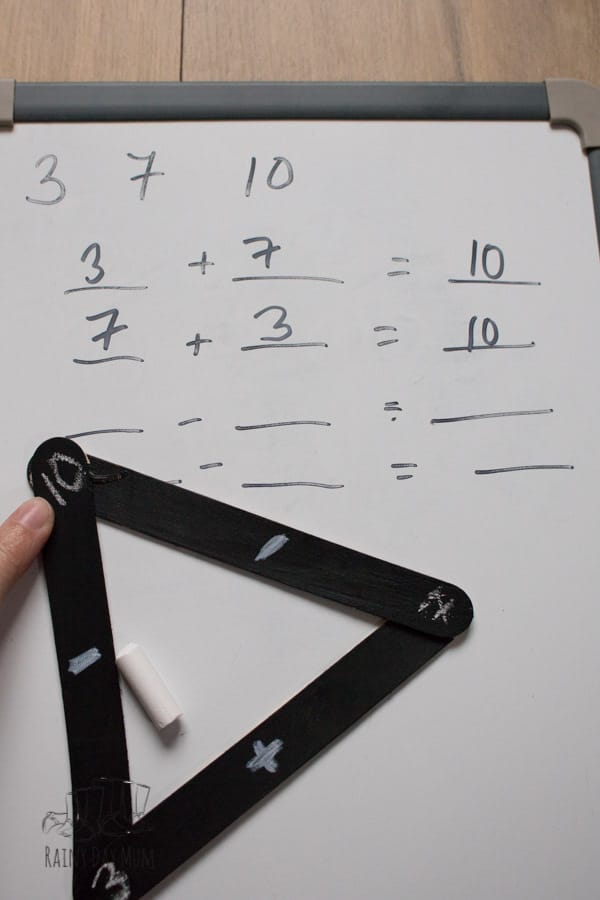
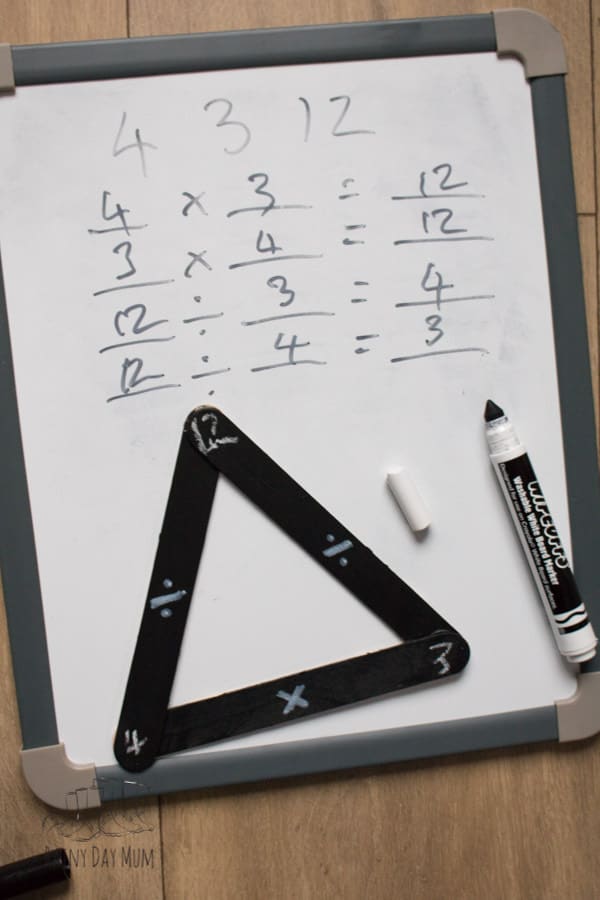
We start off with very simple problems that work with numbers bonds and the “easy” times tables. On the whiteboard, I write the 3 numbers at the top – explaining that the largest number will always be in the top point of the triangle. Then we work on creating the 4 number sentences that these 3 numbers can make.

Always start with the easiest so addition and subtraction to build confidence and make it easy for them to test what they are doing. In the past, I have provided some counters so that my children can check that what they are seeing is right.
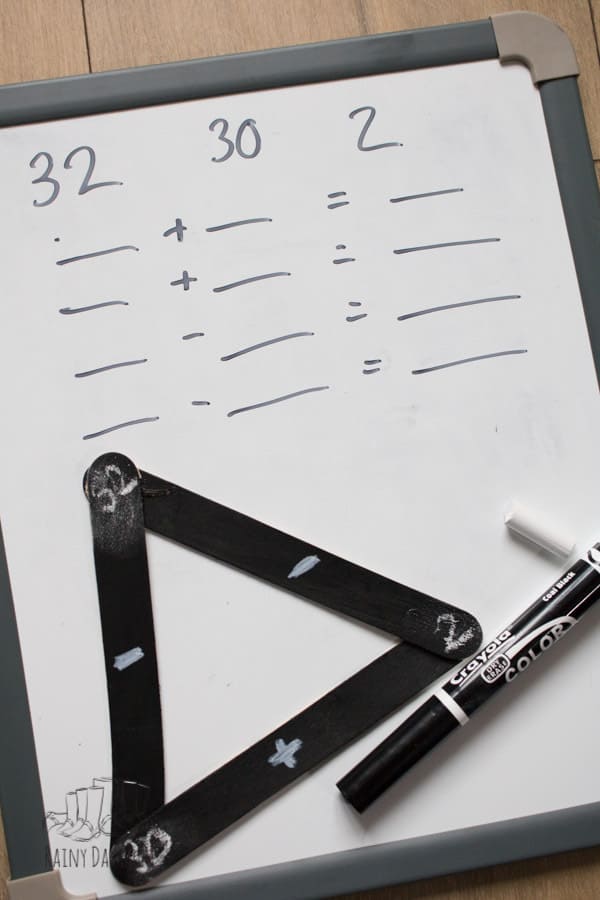
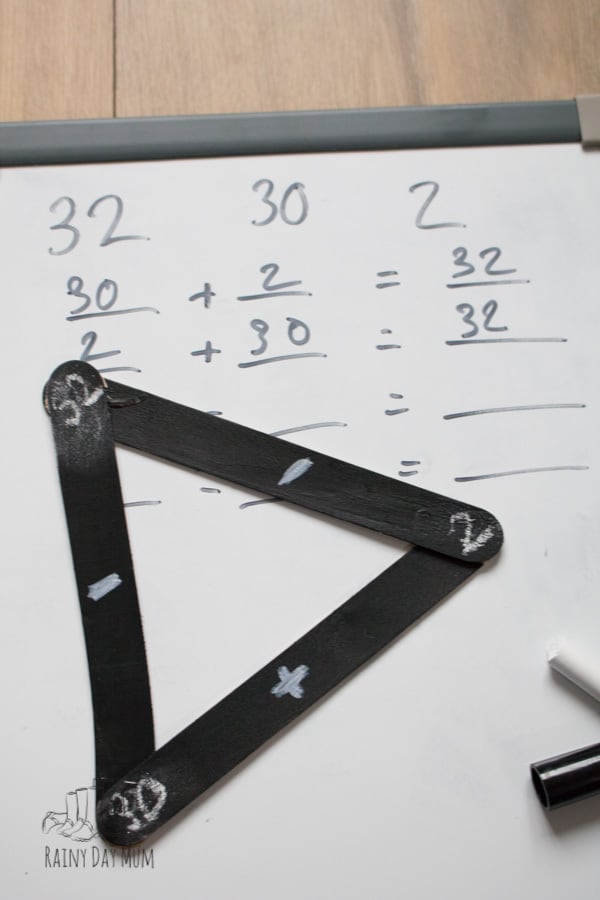
Once you have it working with small easy to calculate numbers then show how the same applies to larger numbers – to make it easy use partitioning of a double-digit number into tens and units.
In a maths question book or questions that you have prepared in advance use the addition/subtraction math fact family triangle to solve the problems.
If your child is at the level use the multiplication in the same way.

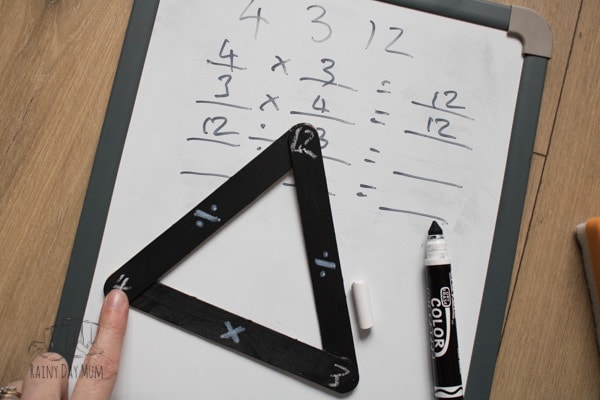
Start off with multiplications that your child can easily do e.g. 4 x 3 and show how this works using counters.
Then move to more complex methods.
Check out these hands-on activities to work on multiplication and division
Pin this Math Fact Family Triangle DIY to Make Later
Share this DIY Maths Teaching Aide with Others on Facebook