How to Make a Pitfall Trap with Kids
One of my favourite summer nature activities to do with kids is to head out and set some minibeast traps to investigate the bugs that can you find in different microhabitats around your home. As this month’s theme for The Wild Challenge is all about bugs and my eldest in his science lessons is studying habitats pitfall traps are the perfect activity to investigate the minibeasts around your home.

Materials Needed To Make a Minibeast TRap WIth Kids
We have included affiliate links to some of the products and resources as an associate we may earn from qualifying purchases.
- Plastic Cup
- Mini Spade or Trowel
- Tray to empty your bugs onto once collected
- Bug Identification Guide for your area
How to Make a Pitfall Trap with Kids
Time needed: 12 hours and 15 minutes
Simple method to explore the insects and other bugs that live in your environment with kids at home.
- Clear an area
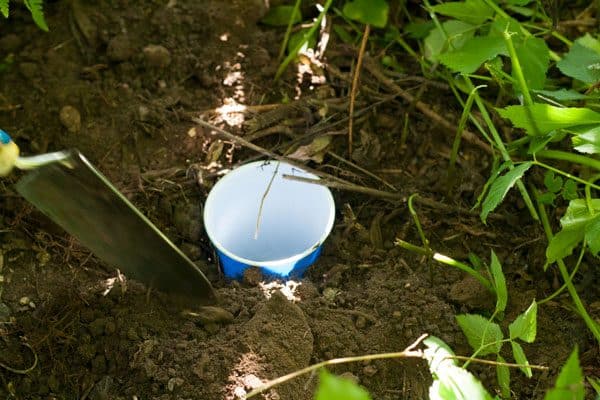
You need to pick an area which can be cleared easily and then remove the largest items so that you can easily drop in your plastic cup.
- Dig a hole
Dig a hole the same depth as the plastic cup and slightly wider.
- Place the cup in the hole
Make sure that the top of the cup is level or slightly below the soil. This will make it possible for the bugs and creepy crawlees to fall in.
- Fill in the soil
Around the side of the cup fill in the soil so you have a snug fit that your bugs will be able to crawl into the minibeast trap easily.
- Leave Over Night
Leave the pitfall trap in place overnight so you can collect all of the bugs that you will find crawling around during the day and night.

Investigating the Minibeasts & Bugs you Find With Kids
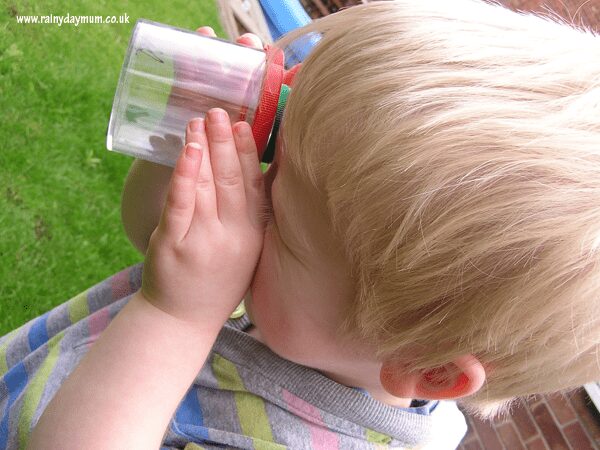
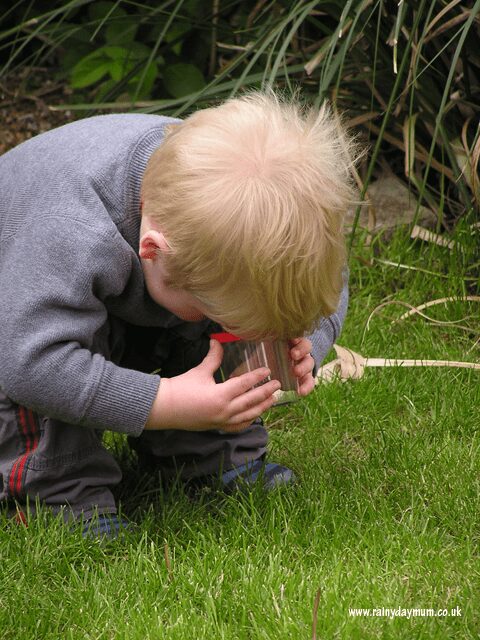
Once you have left the pitfall trap overnight it’s time to investigate what minibeasts and bugs you have found.
I have found it easy to adapt this with young children and older children and include both examples below.

Looking at Bugs with Young Children
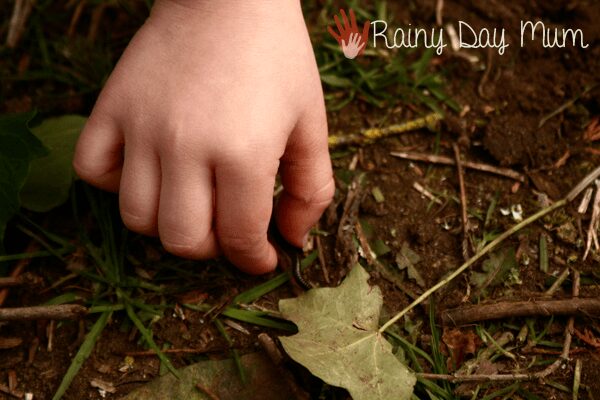
With young children, they will need a lot of support to identify the bugs that you have found in the pitfall traps. I like to start with obvious differences and work down to giving the creatures general names.
So you may start with how many legs does it have? If it has 6 legs it’s an insect, 8 legs a spider and more or less then it’s a different sort of bug.
See if they can identify any straight off – is it an ant? worm? wood lice?


Discover more ideas for outdoor activities with our 50 ideas for outdoor and nature fun with your kids.
Looking at the minibeasts with older children
With older children, you can introduce concepts of classification with families and species levels especially with some of the bugs that you may find.
It’s also interesting to compare and contrast habitats – so although we have suggested in the video above that you set the tap in a shady damp area – you could find different areas around your home or nature area.
A good combination is – flower beds, vegetable patches, underneath trees and bushes, in open grass and alongside footpaths.

When emptying the contents count and collate the different types of animals that you see – this can be repeated a number of times and then use the information to produce charts and analyse the results.
As a secondary science teacher, this was always the highlight of the habitats units and the students loved building their own pitfall traps and identifying the bugs and creatures that fell into them in the different habitats around the school.
Discover more ideas for outdoor activities with our 50 ideas for outdoor and nature fun with your kids.
If you would like a complete lesson plan for this to use at home, in the field or in the classroom you can download the key stage 2 (3rd and 4th grade) lesson plan with objectives, background knowledge, lesson outline.
Just sign up below for our Activities for Kids newsletter below.


Is that a cup
Yes, just one we had laying around washed, cleaned and dried.
I used to make these out of plastic bottles when I was little! So cool that parents and kids have new options these days