

Paper Plate Fish to Make with Toddlers
What you need
Paints of various bright colours
Paper Plates
Paint pallet
Overalls
Scissors
Sticky Tape
How the fun happens
Using the same basic idea as Plate Fish 1 cut out a triangle from a paper plate and attach to the other side with sticky tape.

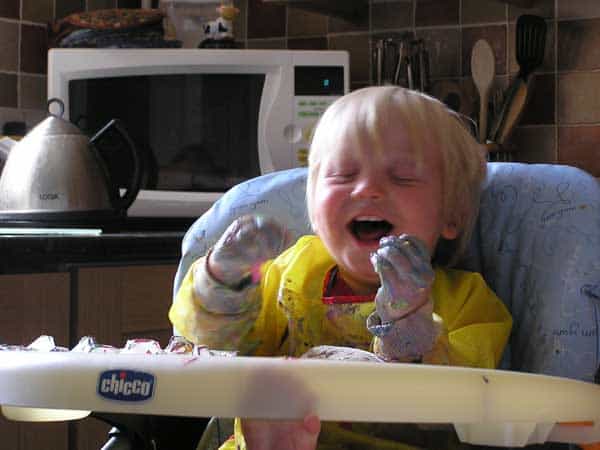
Decant out paints into a paint pallet (I find if you don’t do this especially with finger paint pots the colours get mixed up into a general grey colour – this means that only a small amount of paint gets used each time making them go longer as well). Then I set up J in the high chair and put his fish and paint on the high chair tray and let him decorate the fish however he wanted to.
I then hung them up to dry and when dry will add eyes and probably some glitter as well
I think that the picture below says it all
Read Next: More Fish Themed Books for Toddlers and Preschoolers
I am learning a lot about what to do with all the paper plates I have at home! Love the fishes and your son can explore!
Angelique and the WorldAnimalDay organisation