

Bottle Top Craft Owl
 We really enjoy crafting with stuff from our recycle box and adding some empty squash bottles to our modelling collection last week I took a close look at the bottle tops and J and decided that the pattern looked like owl eyes so we set about creating a bottle top craft owl with them.
Materials for a bottle top craft owl
2 plastic bottle tops the same size
Paper in various colours
Scissors
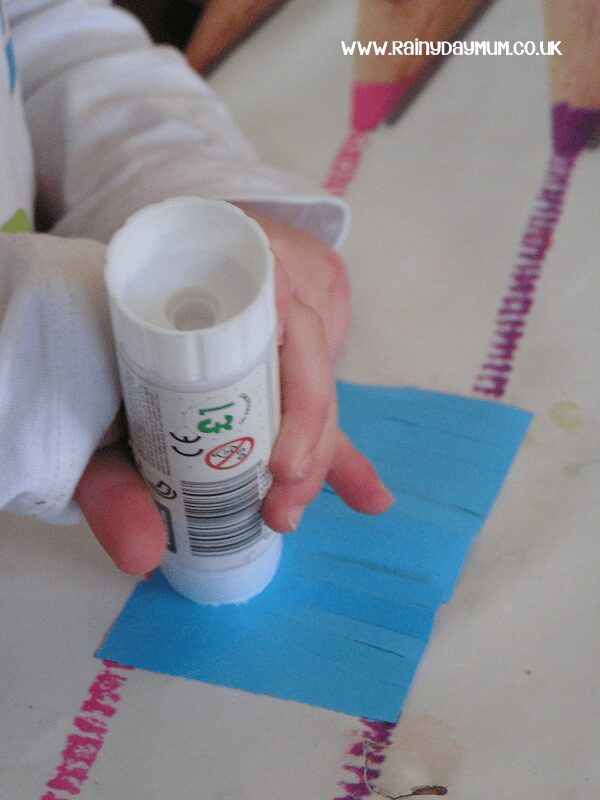
Glue Stick
Buttons
Card for the image.
Check out these Owl Activities for toddlers and preschoolers for some great ideas to do if your kids like owls!
Making a bottle top craft owl.
I started off by quickly cutting out some strips of paper with my paper cutter in various browns, oranges and blues (J chose the colours for the owl no idea why blue but I think it looks quite effective). Then we sat down and did some scissor practice with me holding the paper and J the scissors to cut the paper half way to create a feather effect when glued (no pictures I’m afraid as I’m the one with the camera and had both hands full).
I quickly drew a rough outline of an owl on a piece of black card and we set about gluing the strips of paper to create a feather like effect on the body.
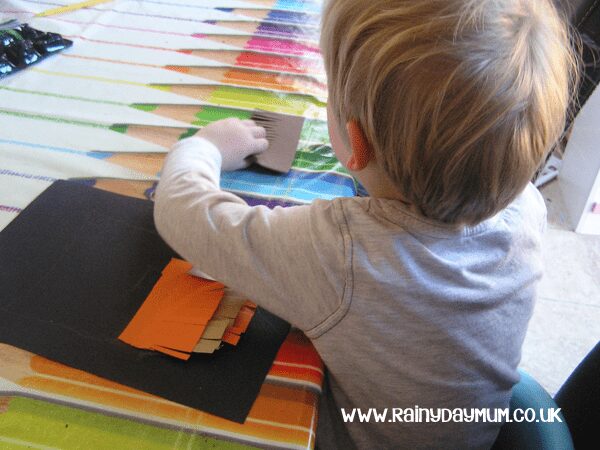 Each layer was laid on top of each other some we tore bits of the stripes of colour to add extra effect to the owls body. For the eyes we stuck the bottle tops on flat side down and J coloured them inside with orange marker pen.
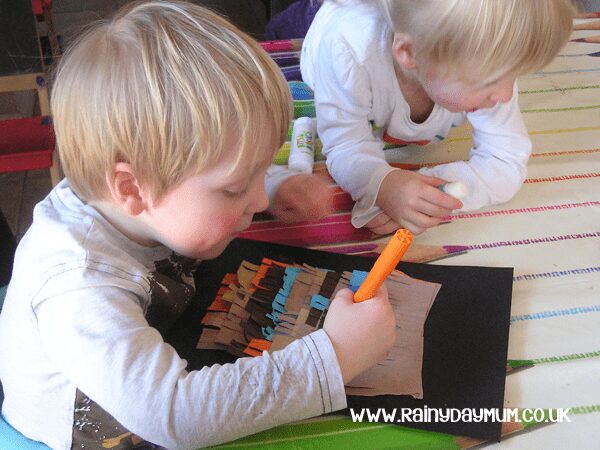 To finish off we stuck on 3 buttons from our collection to make the beak of the owl.

Love this owl craft and your kids inspired to learn more about owls then check out these Books about Owls for Toddlers and Preschoolers.