

The Best Recipe for Salt Dough Handprints
We love making salt dough and one of our favourite baby and toddler ideas to do with it is to make some hand or footprint decorations for Christmas. Although there are lots of salt dough recipes out there to capture your baby’s hand in the diy clay you really need to make sure that the dough is the right consistency. So here we’re sharing our best salt dough recipe for creating handprint decorations and ornaments with your kids.
Salt Dough Handprints
Little baby hands and feet are the cutest things to capture in the early years and make a great gift for grandparents, godparents and for you to store away and remember how small they once were.

But, capturing them can be difficult. With tiny babies it can be difficult to open their hand out enough or know when to apply the right pressure to their feet.
One of the things that helps though is having a salt dough recipe this is a little bit more moist than normal but not too moist so that you can apply very little pressure to their hands to get the image into the clay.
How do you Make Salt Dough Handprints
- Make up the recipe for the handprint salt dough using the printable card below.
- Knead until smooth.
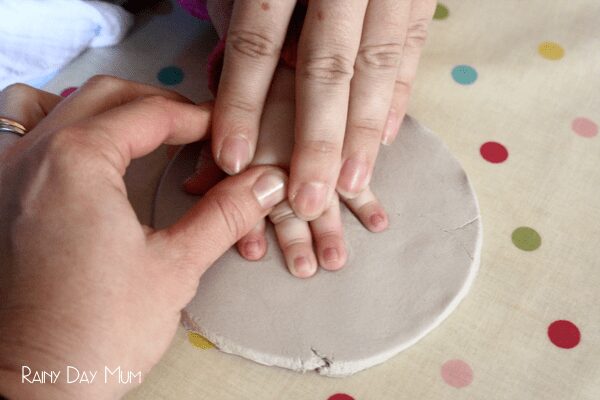
- Mould your diy clay into a ball and flattern with your hand you still need it around 1 – 2 cms thick.
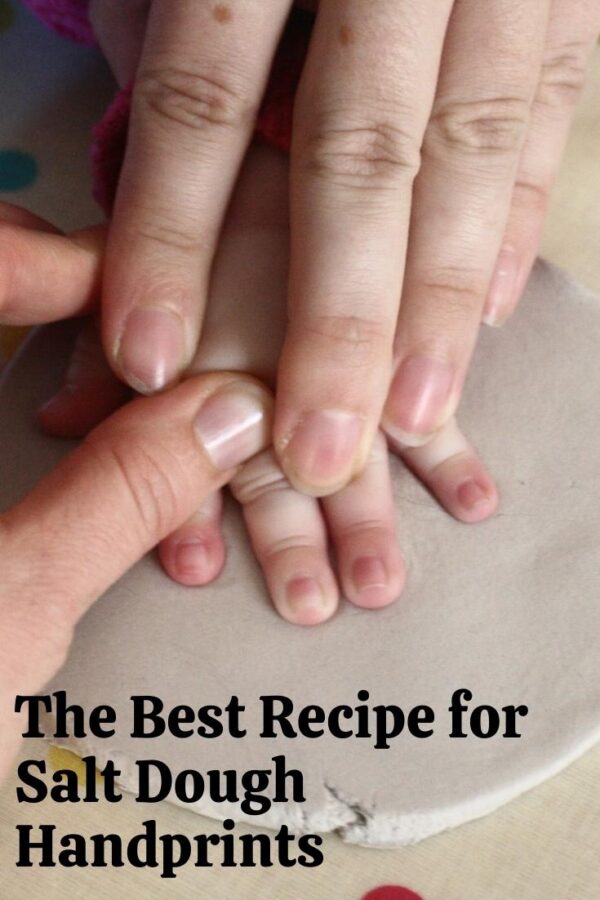
- Take your baby or toddlers hand and splay they fingers as much as you can and gently press down on the back of their hand into the clay.
- Make sure that each finger has fully pressed and remove. Clean their hands straight away because of the high salt content in the dough.
- If you are making this to hang then using a straw place a hole or 2 (for larger ornaments) in the top.
- Place on a baking tray and either place in the oven on the lowest heat for around 3 – 5 hrs or leave for 48 – 72 hours to air dry in a warm dry place.
Painting Your Handprint
We are often asked about what sort of paint you need to use for salt dough decorations and ornaments.
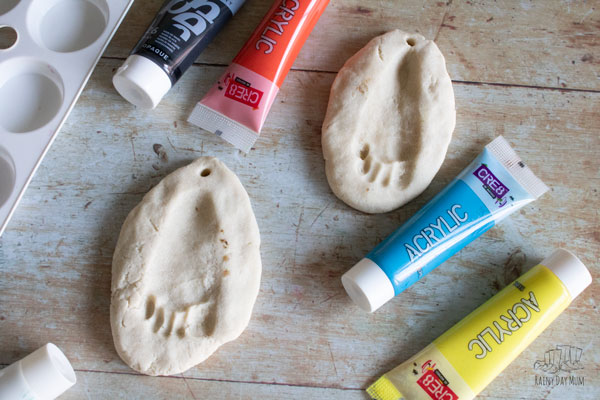
The best out there by far is acrylic paints.
These are like the ones that we have (on amazon) and recommend for use with kids. The larger tubes mean that they and you can decant into a plate for mixing and using easier.
They will start the sealing process and also have vibrant and bright colours.

Make Memories every day as you countdown to Christmas
24 Simple and easy activities to do at home with your kids this Christmas.
How to Seal Your Handprint Keepsake
Once you have your salt dough painted and dried it’s time to seal and you will need to seal them so that over the years they are still as good as the year that you make them.
For a matte finish we recommend sealing with this mod podge. We recommend 2 coats with at least 24hrs drying in between for handprints and footprints.
For a shiny finish then the glossy mod podge is ideal to seal the salt dough decoration and preserve it for years to come.
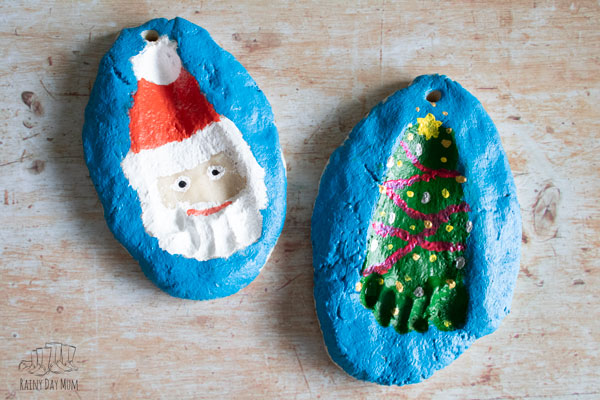
Once dry you are able to thread some ribbon or twine and create a hanging ornament for your Christmas Tree or home.

How to Store your Salt Dough Baby Handprint Christmas Ornaments
Storing the ornaments is equally as important as sealing them. We store our ornaments in a air tight box but for extra protection we add a small silica bag in the box to ensure any moisture is removed.
Then we can bring out the Christmas handprint ornaments year after year.

How to Make Salt Dough for Handprint Ornaments
Recipe Video
Equipment
- Bowl
- Oven
- spoon
- Straw
Ingredients
- 160 grammes flour plain or all purpose flour
- 80 grammes salt
- 80 ml warm water around – adjust if you mixture is too dry
Instructions
- Add the flour and salt into a bowl and make a well in the middle.

- Pour the warm water water in the well.
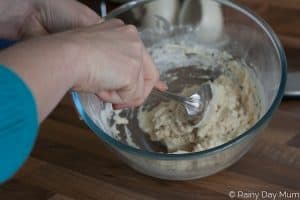
- Mix together with a spoon until a dough is formed.
- In the bowl start to knead your salt dough so that it combines and forms a ball.
- Remove from the bowl and knead the dough on a lightly floured surface to avoid sticking until smooth. The warm water will spead up this process.
- Follow the instructions above for creating an imprint to capture your child's hand. Don't forget if you are creating an hanging ornament to also add holes with the straw.
- Place the ornaments on a baking tray and into the oven on it's lowest heat for somewhere between 3 and 5 hours. Once removed you can further air dry it on the side.


Notes

Can you paint with chalk paint? I have a bottle of a color I love, but don’t know if it would work like the acrylic. Also, if you paint it do you still need to use mod podge? Trying to do this with what I have around the house.
Hi, I would try on a sample – what I do when I don’t have any acrylic is I mix in white school glue/PVA with the paint and it then works the same. I would still seal it even when painted but again you can use PVA/White School glue to seal it with instead of Mod Podge.
Could you tell me the measurements in grams please?
The original recipe should now include the grams as well as conversion to US Cups. I hope that helps.
Thank you so much ?
I need to make 32 handprints. How would I adjust the recipe?
The recipe makes 2 to 3 handprints depending on the size of the hand you want to make a print of.
This recipe makes 2 ornaments- so multiply ingredients by 16…
– or feel free to do this 16 times