How to Make Stamped Salt Dough Gift Tags
Simple step-by-step guide to making stamped salt dough gift tags.
Servings 12 circular gift tags
Equipment
- Rolling Pin
- 2 1/2" Pastry Cutter
- Christmas Cookie Press Snowflake Design (or other if you wish)
- Straw or Knitting Needle for making a hole
Ingredients
- 1 cup plain flour
- ½ cup salt
- ¼ - ½ cup warm water
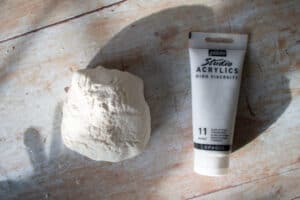
- white acrylic paint
- greaseproof paper
- ribbon
Instructions
- Preheat the oven to 100C
- In a bowl mix together the salt and flour.

- Add in 1/4 of a cup of warm water and mix. If the dough is not forming then add in a little more water.
- Whilst in the bowl squeeze in some white acrylic paint and knead thoroughly. We used two large squirts to get the white dough.
- Turn out onto a surface and wash your hands and bowl immediately.
- With a rolling pin roll out the salt dough to around 1/2cm thick.
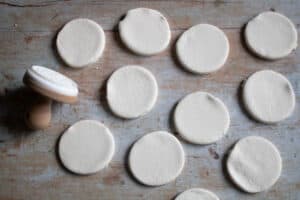
- Now using the pastry cutter cut out some circles with the none-fluted edge.
- Roll out and use the excess to create more gift tags.
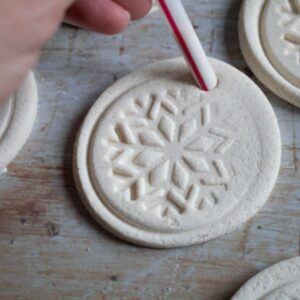
- Once you have all the dough used with the cookie press stamp in your snowflake (or other design) onto each cookie.
- Wash this immediately after use so that any acrylic residue will not remain.
- With a straw place a hole in each gift tag.
- Place onto a baking tray lined with greaseproof paper.
- Put the tray into the oven for 1 hour.
- Check that the salt dough gift tags are dry. If they are remove and allow to cool.
- Thread ribbon to attach to the gifts for Christmas presents.


Notes
If you wish to paint the Salt Dough then we recommend using our Classic Salt dough Recipe instead.