Winter Animal Marbled Art Project for Toddlers and Preschoolers
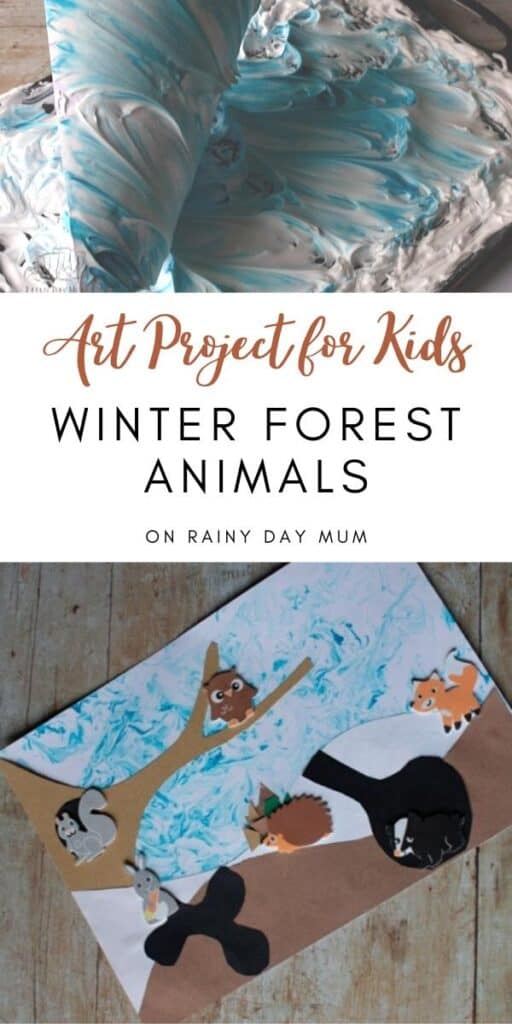
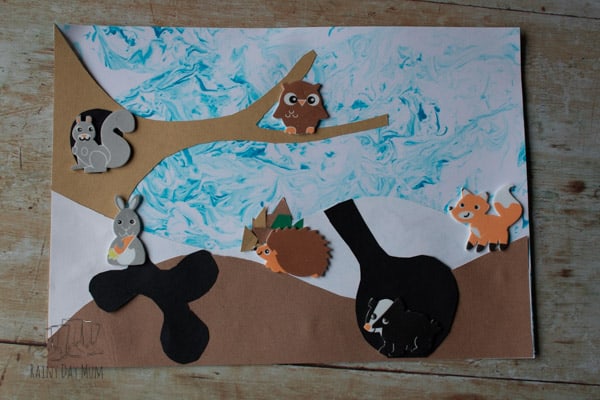
Continuing with our Winter Animal Theme here on Rainy Day Mum we have a fun Winter Art Project for your Toddlers and Preschoolers. Combining one of our favourite art techniques plus a little learning this is perfect for making after reading our featured book Over and Under the Snow by Kate Messner. So here you go our Winter Shaving Foam Marbling Art Project for Toddlers and Preschoolers.

Shaving Foam Marbling
We have included affiliate links to some of the products and resources as an associate we may earn from qualifying purchases.

One of our favourite messy art projects to do with kids is shaving foam marbling.
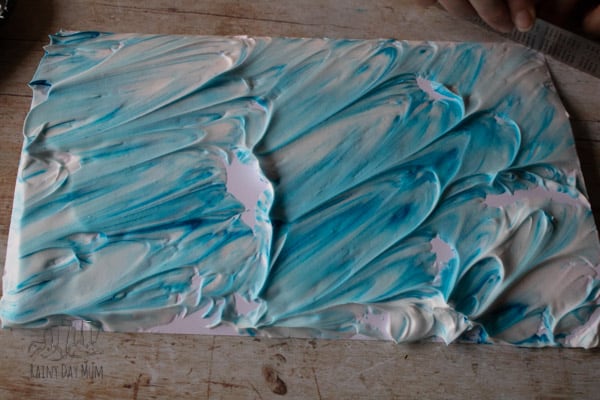
With just 2 materials you can produce fantastic pictures.
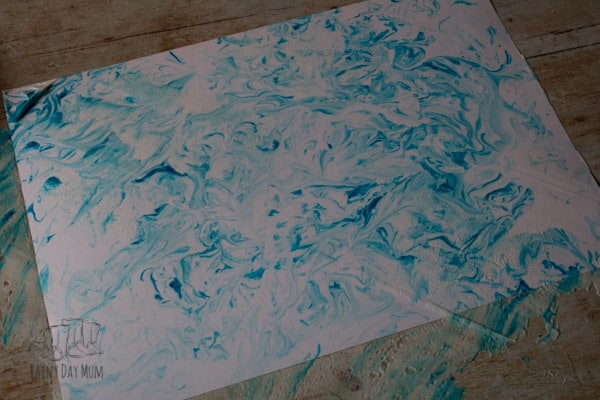
In this winter art, we have used the technique to form the background for our winter animal picture that is ideal to go along with the book Over and Under the Snow by Kate Messner.
Find out why we love this book for our hibernation and winter animal theme for Rainy Day Tots here.
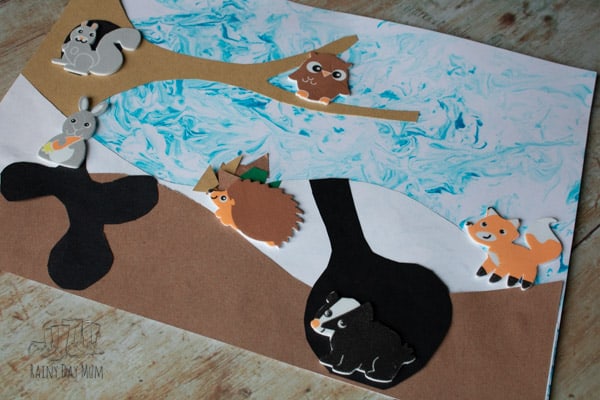
Using Your Winter Art in Learning Activities
Although our snowstorm shaving cream marbling is great as a stand-alone it is also perfect to use for securing the learning about the animals we saw in the book and those native to our country.
We switched out a couple – there are no bears in the UK so instead, we used a badger and our rabbit isn’t a snowy rabbit but just a cute little one.
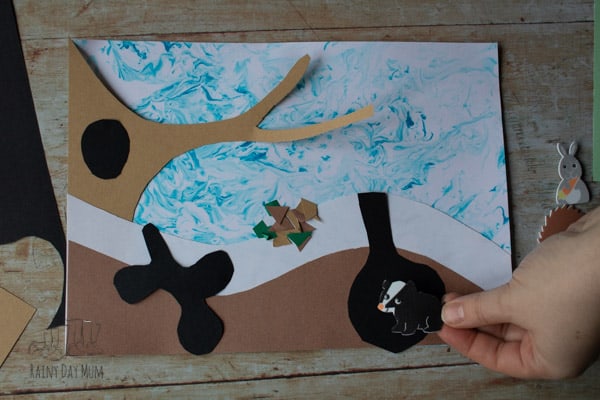
The sticker set is a woodland animal set and perfect for using with your toddlers and preschoolers during fall and winter as well as when doing forest themed activities with them.
With a little prep to make the environment, you and your tot can then use the picture to place the animals where you would find them in the winter.

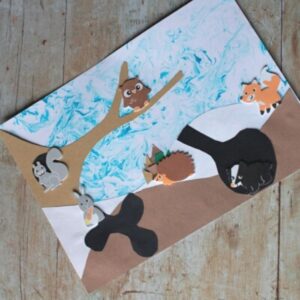
Winter Animal Shaving Foam Marbling Art For Toddlers and Preschoolers
Equipment Needed
- Tray
- Skewer
- Ruler
- Scissor
Materials Needed
Instructions
Preparation
- With the white paper cut out a wavy section for the snowy ground.
- Using the brown paper cut out a wavy section for the soil.
- Again with the brown paper cut out a tree shape.
- With the black cut a circle for a hole in the tree.
- Then on more black paper cut out a burrow and a set for the animals to go on the ground.
- Snip some bits of brown paper to form a leaf pile.

Shaving Foam Marbling
- Spread the shaving cream over a tray so that it is all covered.

- Drop some of the blue food colouring at intervals onto the shaving foam.

- Using the end of a skewer (or paintbrush) swirl the food colouring around the shaving foam creating shapes.

- Lay the white card on top of the patterned shaving foam and press down.

- Peel the card away and turn over to show the shaving cream covered side.

- Using a ruler scrape off the shaving cream to reveal your marbled picture.

- Leave to dry for around 15 minutes.

Creating your Winter Animal Art Work.
- Glue on the white snow to the bottom of the marbled picture you have created.

- Now add the tree and glue in place.

- Lay the brown soil on top and glue.
- Glue the black circle into the trunk of the tree and then the burrow and set into the snow going into the soil.

- Glue the snips of brown card to make a "leaf pile".
- Now peel off the backs of the foam woodland stickers and place where they belong on the picture.

More Winter Animal Crafts and Activities for Toddlers and Preschoolers


- Clay Hedgehog to practice cutting skills.
- Squirrel and Acorn Counting Cards.
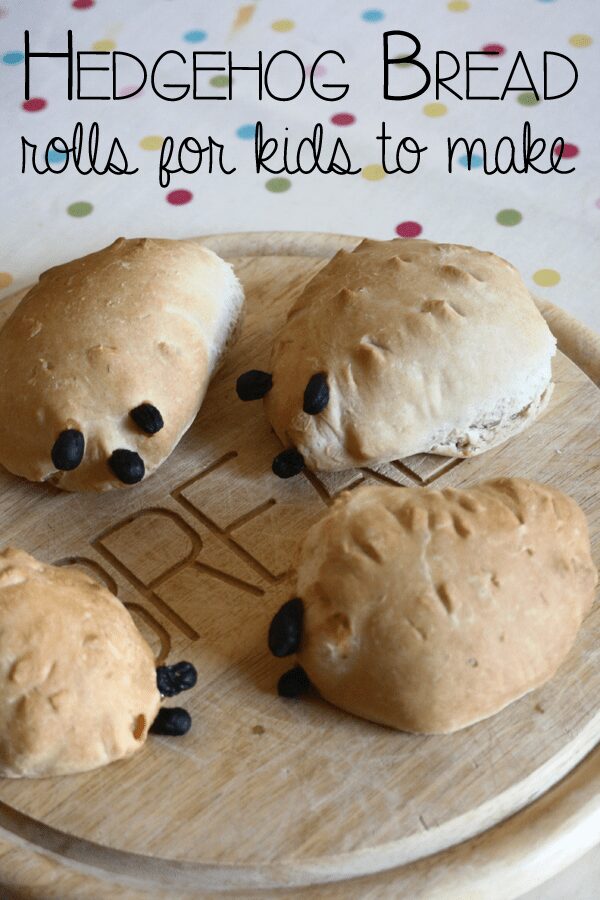
- Hedgehog Bread Rolls for Kids to Bake.
