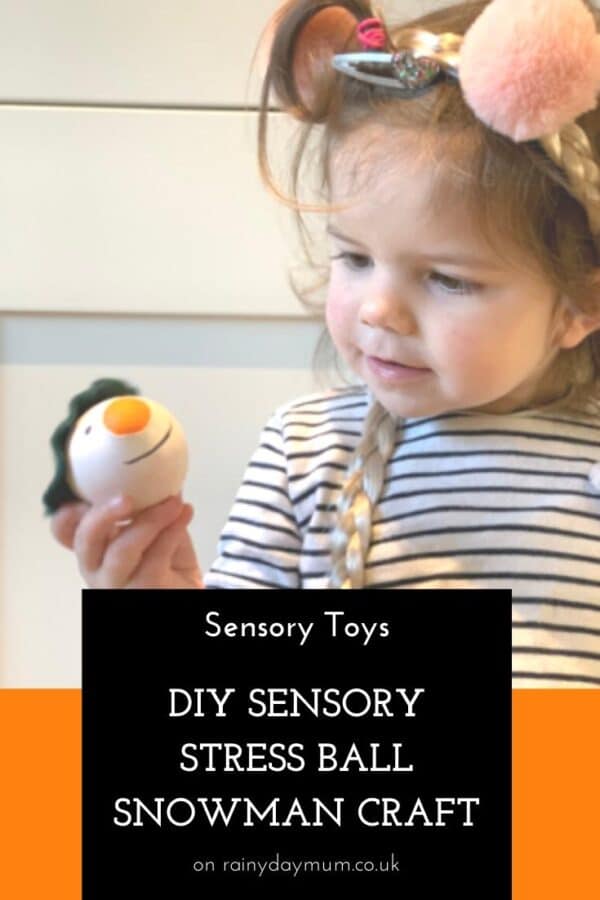
The Snowman Sensory Stressball DIY
Christmas can be a difficult time for children and adults as the business of the season and excitement overwhelms. For our Storybook Advent post this time we have featured a simple DIY Stressball that you can make inspired by our second story of the year, The Snowman. It’s really easy to make so here we go a DIY Snowman Sensory Stressball to make.

DIY Snowman Sensory Ball for Kids
It’s December, we’re gearing up to Christmas and it’s only a matter of time before those classic Christmas movies start being shown on TV (or, perhaps like me, you still have them on your planner from last year!!). One of my all-time favourites is the movie adaptation of the book, The Snowman, which will always remind me of Xmas as a child myself.

Both the book and the film are ‘wordless’ – which makes this story incredibly accessible to children of all languages and also allows for a real depth of discussion around the images, expressions and actions of the characters within the book. The book lends itself beautifully to questions such as ‘why did this happen?’, ‘what is happening?’, ‘how do you think he is feeling?’ etc which really help to develop speech and language in young children.

Make Memories every day as you countdown to Christmas
24 Simple and easy activities to do at home with your kids this Christmas.
Recognising key emotions and searching for facial expressions within the story is a great way to build story comprehension and also work on the areas of personal, social and emotional development with young children.
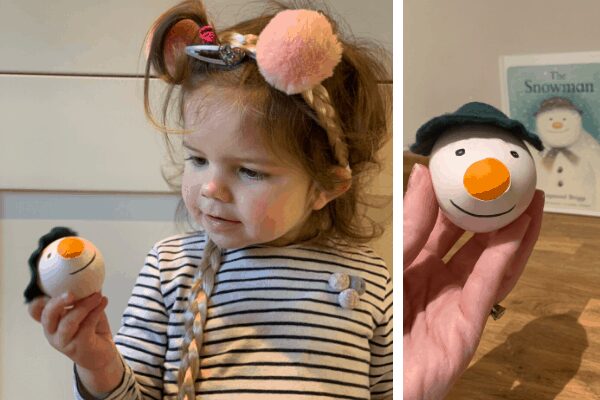
I am going to show you how to make a squeezy ‘The Snowman’ ball which will not only aid discussions around facial expressions (You could make these with different emotions!) but is also a good way to introduce the idea of a ‘stress ball’ to help manage big feelings and emotions.


How to Make a Snowman Sensory Stress ball
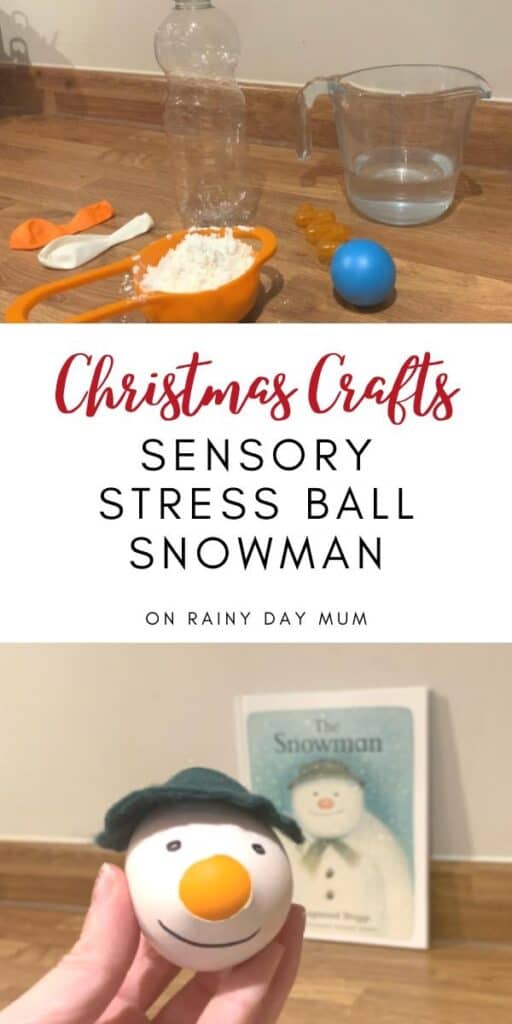
Equipment Needed
- A measuring cup
- A plastic or paper funnel
- A pipette
- Plastic Bottle with a lid (clean and empty)
Materials Needed
- 1 round orange balloon
- 1 round white balloon
- 1 cup Cornflour/cornstarch
- Water
- Black permanent marker
- Green felt
- Felt glue
- Elastic band
- Marble optional
- Soap
Instructions
- Measure out approximately 1 cup full of cornflour.

- Insert the funnel into your plastic bottle, and carefully spoon the cornflour into the bottle, through the funnel.
- Once your bottle contains all of the cornflour, take your orange balloon and inflate it (do not inflate it fully).
- Twist the neck of the balloon to stop the air coming out, and whilst carefully holding the twist, place the end of the balloon around the opening of the bottle.

- When the balloon is in place, let go of the twist to open up the neck and turn your bottle upside down – emptying the contents into the balloon. You may wish to squeeze and tap your bottle a little to help the cornflour fall into the balloon.
- With all of the cornflour is inside the balloon, pinch the neck of the balloon to prevent any escaping and carefully remove the bottle. Slowly release the air from the balloon – do not open the neck up fully otherwise your cornflour with fly out everywhere!

Creating an Oobleck (GLOOP) Sensory Ball
- Using a pipette, carefully squirt some water into the balloon.

- Keep squishing it around carefully and adding more water until you have the desired consistency! Not too hard and not too runny.
- Now, carefully move any excess from the neck down into the balloon and tie a knot in the end.
- Have a little play (for entertainment sake!) and then give it a wash and a dry to remove any excess powder.
Creating your Snowman Stress Ball
- Take your white balloon and snip the neck of the balloon off using a pair of scissors. Do not cut too far down otherwise this will make the opening too wide (see video above for an example).
- Open up the balloon like you are putting on a sock, and put it over the orange balloon. Make sure the knot of the orange balloon goes to the back/inside of the white balloon and carefully push the rest of the orange balloon inside.

- Once this is complete you should have a small orange circle/oval opening (the tangerine nose!) which bulges out when squished (SO much fun!)

- Using a black permanent marker, carefully draw a mouth and two eyes to resemble ‘The Snowman’.
- Take a piece of green felt. Push the middle of the felt into the bottle lid and cut around the excess to make a circle shape.

- At this point, I used an elastic to secure the felt to the lid, and a large marble to help press and shape the felt into the cavity of the bottle lid.
- To help add hold and stiffness to the felt, you’ll need some warm soapy water. I simply wet my fingers, then wet the soap, and rubbed the mixture onto the felt whilst pressing and moulding.

- Carefully blot away any excess water with kitchen roll and leave to dry! I left mine to dry with the elastic in place, marble inside, and a weight balanced on top to press it down.
- Once the felt is dry, you may glue this in place on top of the sensory ball using felt glue. Leave to dry…and…voila!


We have also been busy putting together and playing with ‘The Snowman’ tuff tray activity if you would like to see more play ideas from us!
More Snowman Themed Sensory Activities for Kids


- Explore a Snowman Sensory Bag with the sense of touch.
- Try tasting these delicious Snowball Cookies made with just 3 ingredients.
- Why not explore, touch, sight and even hearing with this Melting Snowman STEM activities with ice.


Sarah at Arthurwears
Sarah is an EYFS Primary school Teacher, Blogger and mum of two to Arthur and Charlotte. You can find her over at www.arthurwears.com. a child development and family lifestyle blog, sharing her favourite tried and tested ‘Learning Through Play’ activities; thoughts and advice on parent and child wellbeing; and Lifestyle recommendations for busy families. Never without an emergency stash of dark chocolate (or a small child to share it with) you can also follow her sleep-deprived updates on social media: Facebook, Instagram, Twitter, Pinterest and YouTube.


