

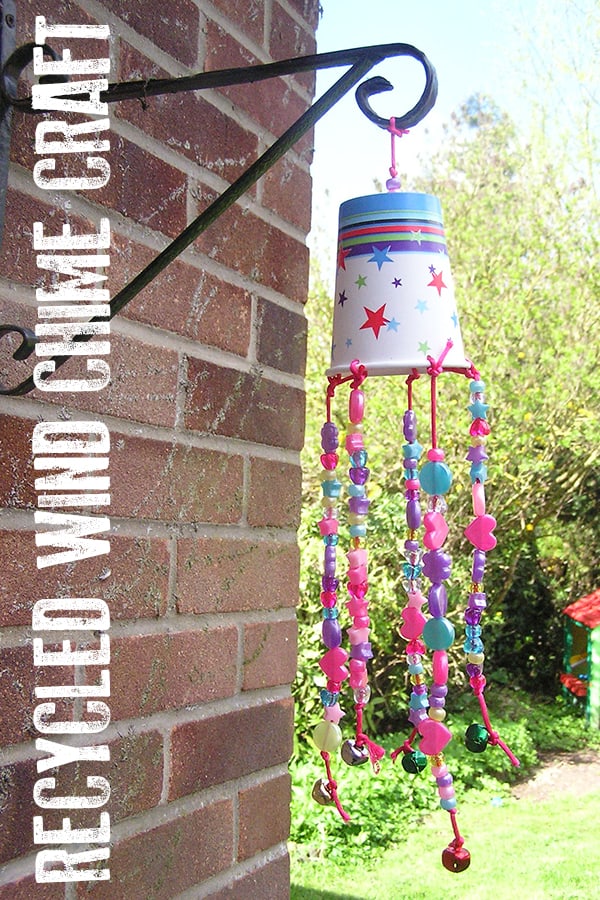
Simple Paper Cup Wind Chime Craft for Kids
I love hands on activities with my toddler – creating something together that I can help her with and then put up for others to see and use. We created this simple wind chime for the garden that can be outside during the summer months and produces a lovely fairy sound. These are perfect for some fine motor skills development and will look gorgeous all summer long. Made out of recycled materials it’s fun to make together and an ideal craft project for either toddlers or preschoolers.
Looking for more toddler and preschool crafts you and they can do together then check out our BEST Toddler Crafts that they can really do.
Materials to make a Simple Wind Chime out of a Plastic Cup
We have included affiliate links to some of the products and resources as an associate we may earn from qualifying purchases.
Beads of different shapes and sizes
How to make a Wind Chime for Kids
Start off with the plastic cup – using a plastic cup means that you can keep the cup outside all summer with one of the glossed paper cups they tend to start to disintegrate especially with the UK rain. Using the play dough place 4 or 5 holes around the mouth of the cup by putting the cup on top of the play dough and piercing with the blade of a pair of scissors.
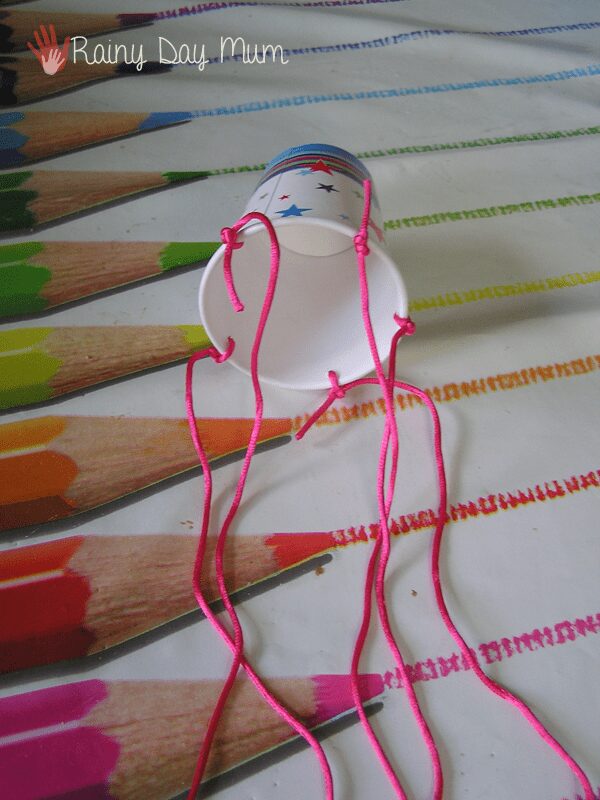
Pass the thread through the holes and make a double knot to put it secure.

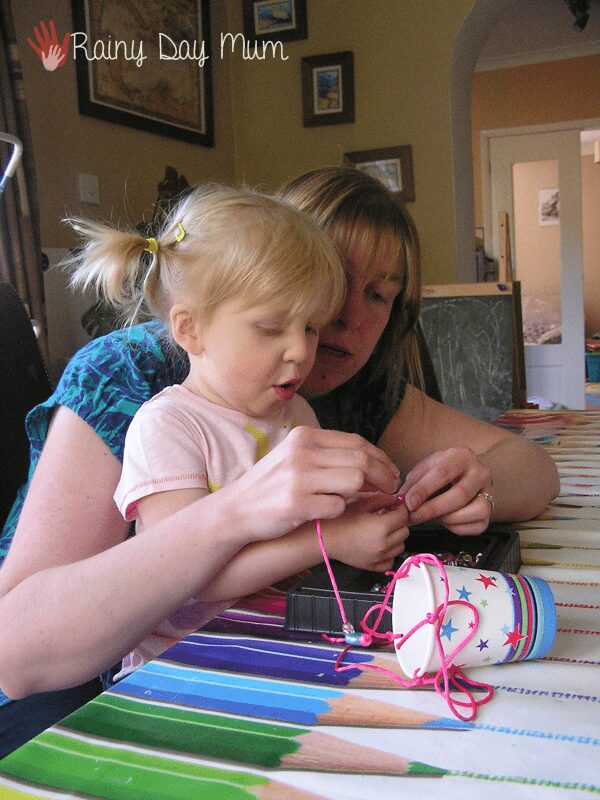
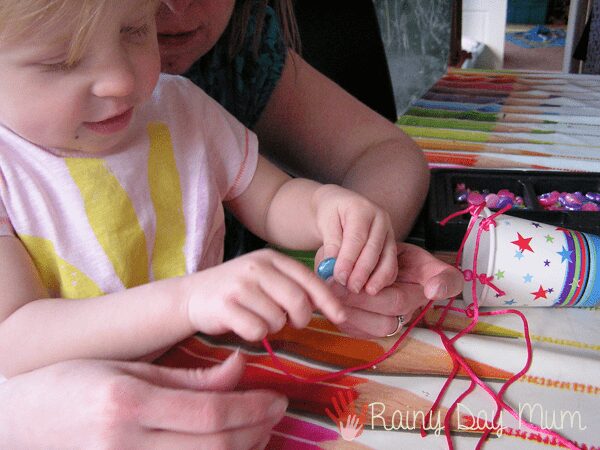
Now is the fun part – with the beads help and support your toddler to thread them onto the strings from the top to 3 quarters of the way down the thread. At times I held the bead and T threaded it through other times T held the bead and I helped her thread it through – this is great fine motor skill development for toddlers.
Once the beads were on the string (I did lose knots at the end of each thread whilst we finished threading all the beads needed onto the strings) we then chose some colourful jingle bells to add to the bottom of the threads.
Depending on your style of bells your toddler maybe able to thread them on or you maybe needed – mine were fairly small and I needed a pair of pliers to open up the hole to thread through before I could get the string to go through. Once threaded through tie a double knot at the end and make sure that it is secure.
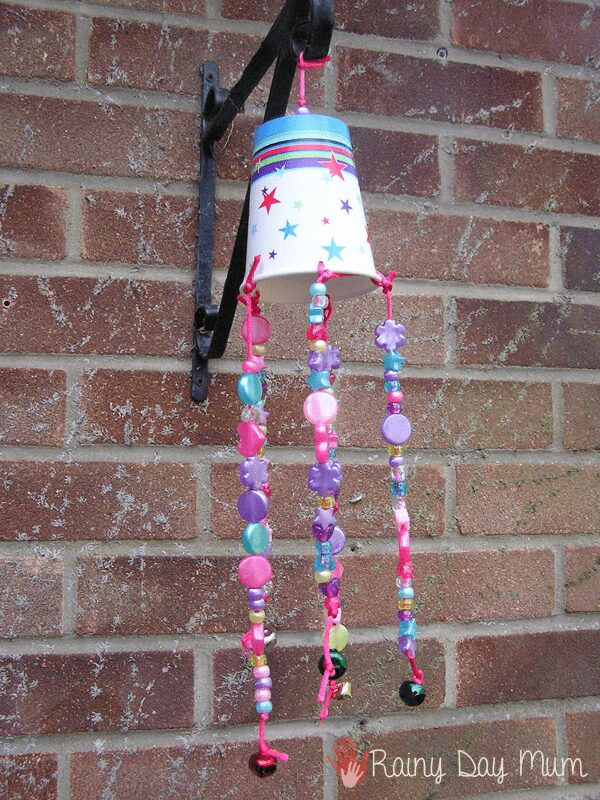
Put the wind chime out in the garden or on the porch where it will catch the breeze and produce a little fairy bell sound throughout the spring and summer.
More Fun Summer Crafts for Kids


- How to make a tin can lantern
- Ice paints for cool summer art
- Fantastic beach themed crafts for kids to make

I am going to make this, but I will use a hole puncher for the holes.
Great idea
What was the playdough for??
It was to help make the holes to thread through the string using the pencil or scissors place on the other side that you are pressing it through and then it would stab you or the table.
That’s a great idea! My little girl will love it. Thanks for the idea.
This is such a great idea! I’ll definitely try this with my little niece and nephew.