Cardboard Box Dinosaur Model
We’re back again this week with our post for the Summer Readathon with MeMeTales and PBS and this week’s theme is Imagination. J is at the age where there is a fine line that is easily crossed between reality and his imagination and this theme covers some of our favourite activities and posts.
Of the 3 books this week – One caught my eye instantly and was also appropriate for J’s age as well as one of his favourite topics – in fact the topic of last Sunday’s Newsletter as well. There’s a Dinosaur in the Park is really great it gave us an opportunity to get crafty as well as talk about an environmental issue.
As we read through the book one of the things that caught J’s eye was on the last page and in the illustration – a dinosaur trash can – now at our local zoo they have penguin shapped trash cans so he instantly hit on it – which then gave me an opportunity to talk through the words in the story and explain about “feeding the trash can” the different items. It also meant that J decided we had to make our own dinosaur and if it had a mouth to put trash in all the better.
What you need to make our trash eating dinosaur
A cardboard box
Some thick Cardboard to make spikes with
Tissue
Sticky Tape
Tissue Paper in various colours
White Glue
Water
Black Pen
How you make our trash eating dinosaur
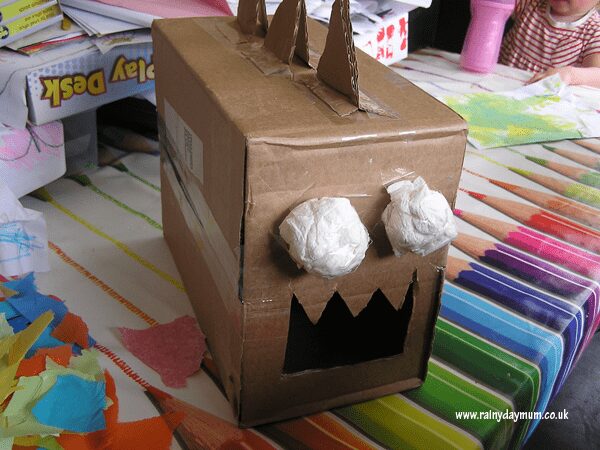
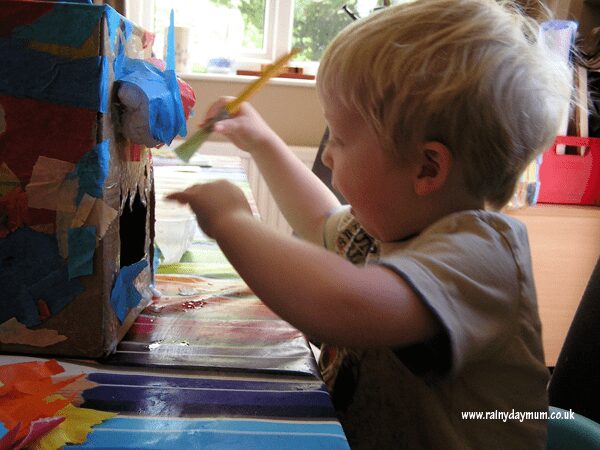
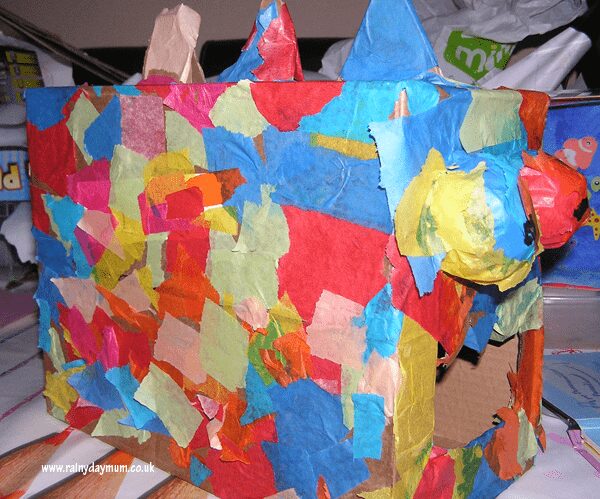
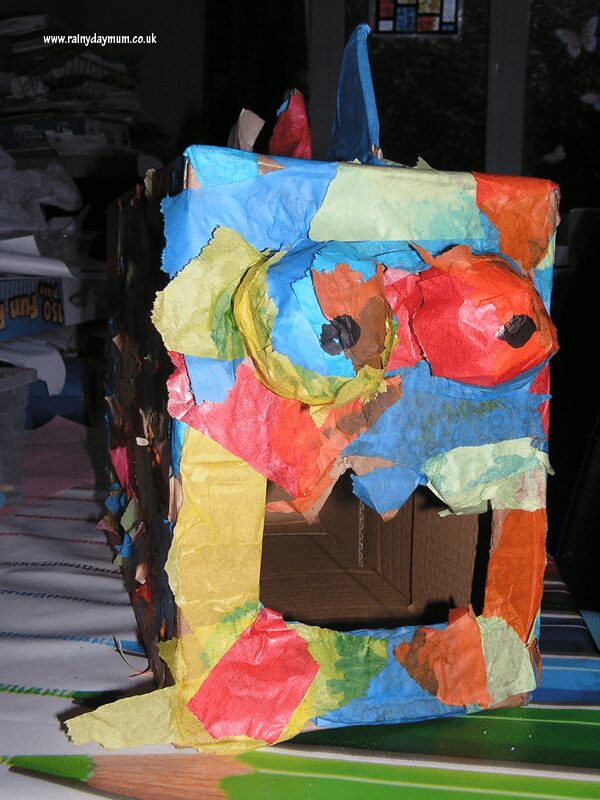
To start with because of J’s age I cut out a mouth on a cardboard box with sharp teeth at the top and then a flat bottom so his hand could go in and out but we could pretend to avoid the dinosaur eating our trash as we put it in. Then I cut out some spikes for the top of the dinosaur. We made balls out of tissue paper to be the eyes and stuck them on the front with sticky tape.
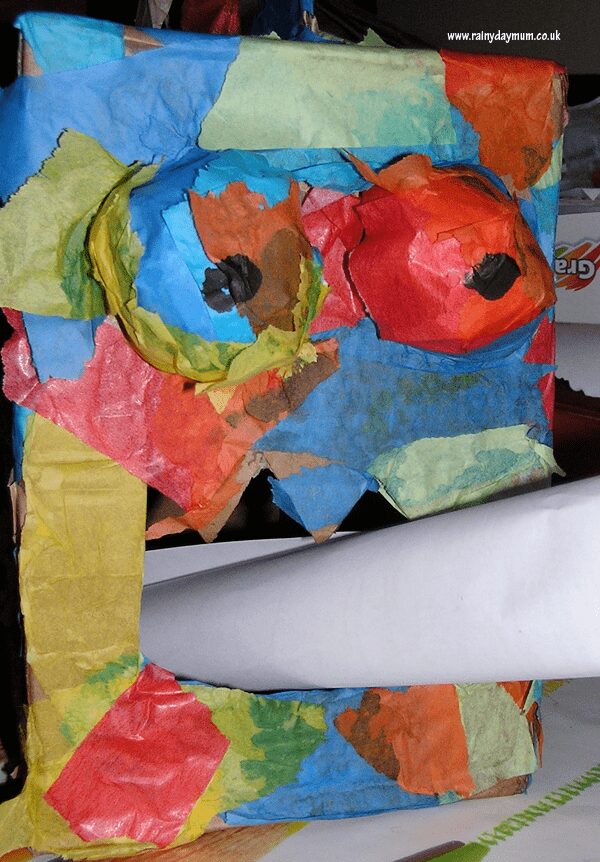
Together J and I tore up some tissue paper in different colours – we discussed what colours a dinosaur was and what colour his trash can should be – the verdict – all dinosaurs are green however, according to J’s logic if a trash can was green then some people would only put green stuff in it – so our dinosaur had to be all different colours which meant raiding our tissue paper stash and having fun tearing it up.
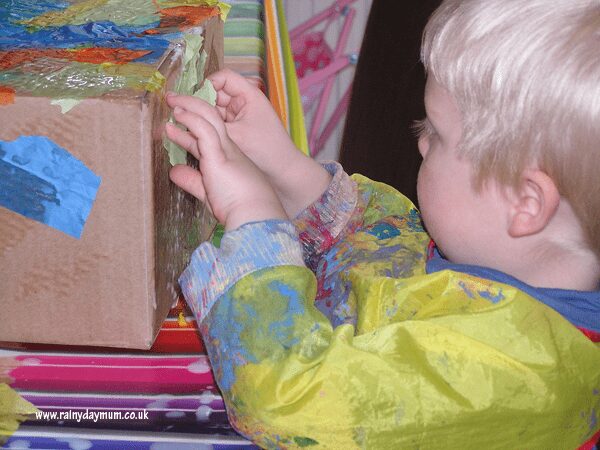
Next J and mixed up some white (PVA) glue with water to use to stick the tissue paper on with. Then J set about decorating his dinosaur. I had to say that this was probably his favourite part – he loved putting the glue on and adding the tissue paper – when it’s a large project like this cardboard box is he often gets bored and we come back to it but I had to remove this one to dry so we could work on the last side without moving all of the wet tissue paper off the body.
Returning to complete the face J was so enthusiastic to finish it – he loved seeing his dinosaur become colourful and ready to eat the trash that he wanted to feed it. He had decided that it would only be for recycling so he could put it in the BLUE bin outside and not just the kitchen bin.
If like us you are hooked on dinosaurs – then check out the ideas for dinosaur fun from some of my favourite blogs
Reading practice with some dinosaur foot prints
Dinosaur Adventure with LIFE size dinosaurs
Cerys Parker
Cerys is a marine biologist, environmental educator, teacher, mum, and home educator from the UK. She loves getting creative, whether it is with simple and easy crafts and ideas, activities to make learning fun, or delicious recipes that you and your kids can cook together you'll find them all shared here on Rainy Day Mum.


An eco dinosaur – perfect!
I can’t believe that I missed this post last week. I LOVE it. What a cute, great idea!
This is fabulous! That Dinosaur is SOOO great! What fun 🙂
A great project, I’m glad J didn’t just do green colours. You could do a similar idea for a small toy bin.
Thanks foro sharing! We made an alligator very simliar to this once, so cute! I love how all children are drawn to dinosaurs in childhood and build their imaginations.