Paper Bag Knights Challenge
Today we’re joining in Tinkerlab Creative Challenge a bi-monthly challenge set by Tinkerlab this is the first time we have joined in so I have my fingers firmly crossed that we have done it right. The challenge:
Make: Projects should be child-directed, but grown-ups are welcome to join in the fun if the mood strikes! Use at least one paper bag, along with any other materials of your choice. See the last challenge, Magazines, for inspiration.
So firstly I discovered that in the UK we don’t have the same paper bags as the US once checking that any bags are fine I sorted through my junk modelling supplies and discovered a paper bag and handed it to J (J is now 2 and a half and one of his current obsessions is Knights). At which point he stuck it on his head and proceeded to run around in a circle shouting “I’m a knight and do it right!” (it’s part of a catch phrase for a TV cartoon knight in the UK) so it was decided by him that from the paper bag he was going to make a helmet for his knight costume.
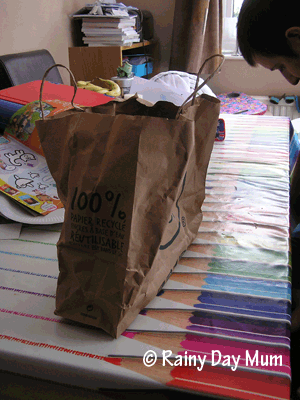
The first thing we did was look at the Knights helmet in a magazine and see what it looked like and then decide on a colour – I thought that just maybe he would go for Silver, but true to form J chose GREEN! So we got out Green, Blue and Yellow to make up a green as well. He then started to Paint the paper bag.
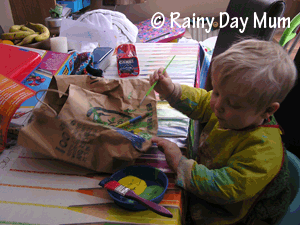
Initially J would only use the colours individually and he also only wanted to paint with the tiny paint brush that was in the selection of brushes that we set out for him. But he quickly decided that this was too time consuming and the temptation to mix got to much for him so he mixed and painted with the bigger brushes.
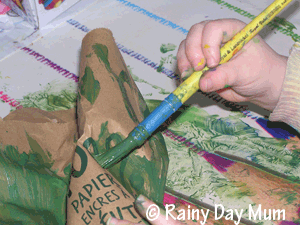
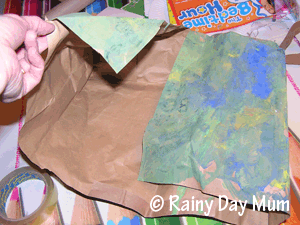
We then set it to dry and headed off to play. When we returned we stuck it on J’s head and it was VERY big so I had a play around and found out that I could make it smaller by cutting up the back of the bag and using sticky tape to make a v-shape at the back (now as J is only 2 and a half all of the cutting I have done).
The fit was perfect but J did notice that he couldn’t see where he was going so we looked back at the picture in the magazine and discovered that there was a slit for the eyes and then some slits for the mouth so I set to work and cut out the slits to make it possible for J to see and his mouth easier to breath (these were done at pretty much guess work). We then looked back at the picture and noticed it had feathers in the top of the helmet – now we don’t have any feathers in our collage box at the moment so we had to improvise and J decided that pipe cleaners as he has been playing with them recently would be the best idea and we got to work making a slit in the top and poking the pipe cleaners through and sticking them to the inside of the helmet.
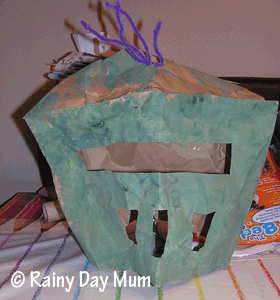
Above is our finished Knights helmet.
Cerys Parker
Cerys is a marine biologist, environmental educator, teacher, mum, and home educator from the UK. She loves getting creative, whether it is with simple and easy crafts and ideas, activities to make learning fun, or delicious recipes that you and your kids can cook together you'll find them all shared here on Rainy Day Mum.


That’s so inventive. It’s amazing what you can do with a paper bag!
What a great idea and it turned out so well. FUN =)
oh, that is fun!!! LOVE it! 🙂 he must be happy with his new helmet.
Thank you 😀 He’s been wearing it on and off all day – we’ve had to make a sheild to go with it today as no knight is complete without that!
Love the helmet. Do you want me to save paper bags for you?
Yes please that would be great
That is fantastic!! How fun. Brilliant 🙂
Maggy
Ahh thank you 😀 – he’s obsessed with Mike the Knight at the moment. Including using T’s rocking horse for his trusty stead
(PS Thank you for sharing on Kids Get Crafty!)