3D Layers of the Earth Model to Make
One of my favourite areas of science to teach after Biology was Earth Science. I loved seeing the moments of wonder as children understood a little more about the planet that we live on and how it works to create the environment that is needed to form life and for us to live. When I taught it one of the first things I started with was understanding what the planet is made of especially in terms of the layers of the Earth. This 3D Layers of the Earth Model was an easy no mess activity that could be done to create a quick model that the kids could then use to extend their knowledge in their workbooks further.
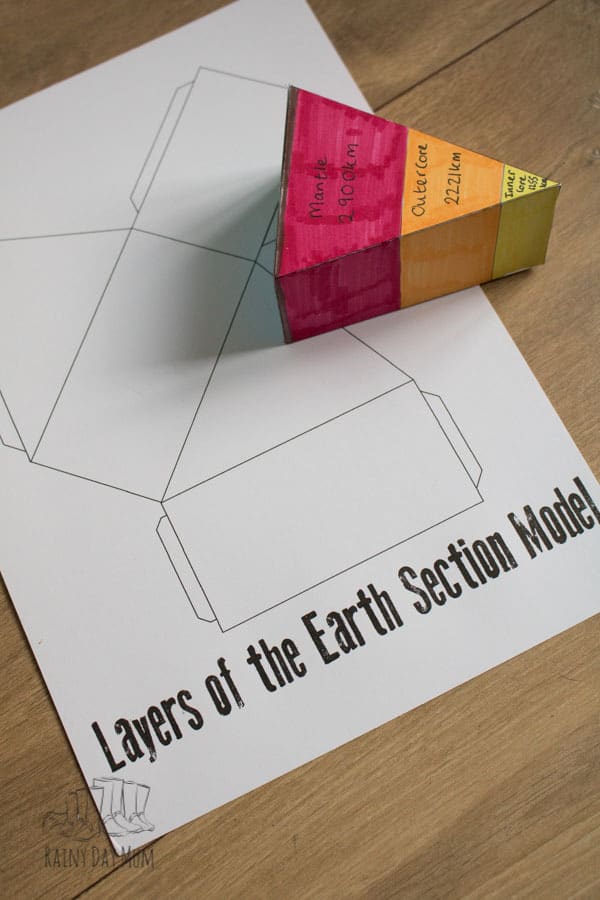
I liked to mix up the different methods we looked at and represented the layers of the earth as children learn in different ways. This pie section model is a low mess activity and was a piece of homework I would set as it was easy to make, needed little resources and they could use the models and notes we had made in class to work on it.
Whether you are a parent that has been set create the Layers of the Earth for homework, a homeschooler who is teaching your own children about this or a teacher looking for some activities that could be used in the class or as a homework activity on Layers of the Earth this is ideal.
Looking for other Layers of the Earth Projects – try making our Layers of the Earth Sugar Cookie Models.
Materials Needed for your Layers of the Earth Section Model
We have included affiliate links to products and resources we have used and recommend
A download of our Earth Layers Template available when you subscribe to our Activities Newsletter or to purchase in our store
Printer – we use an HP Envy with Insta-Ink having used many different versions in the past this is proving to be most cost effective and prints beautifully.
Cutting Mat if you are using a craft knife
Making your Layers of the Earth Section Model
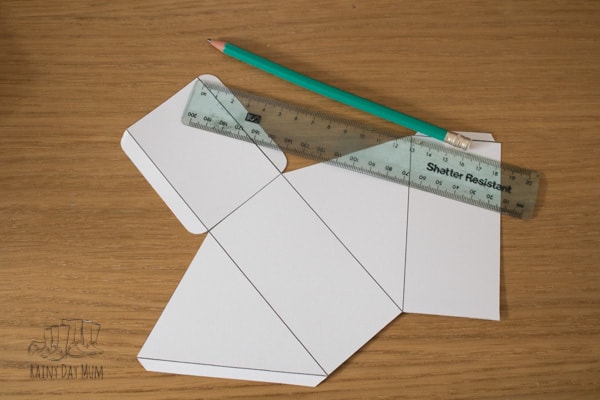
- Print out the Earth Layers Template.

- Cut out around the edge of the net.
- Score along the internal lines.
Now time for some maths – when you print out the model it will vary in size depending on the size of your paper – this means that this model can be enlarged or reduced depending on the size. Because we want an accurate model we need to know some Layers of the Earth Facts. I used to get my students to research this using the Earth Science books in the classroom or for homework to start to make their models accurate.
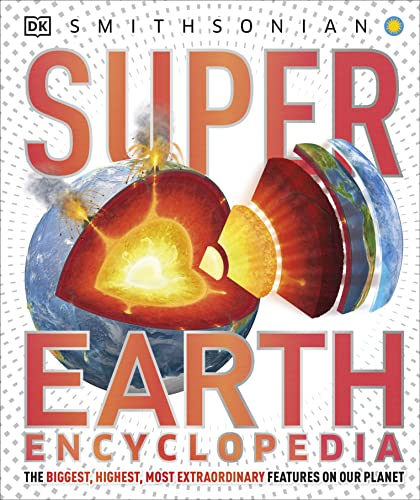
- Hardcover Book
- DK (Author)
- English (Publication Language)
- 208 Pages – 07/04/2017 (Publication Date) – DK Children (Publisher)
This Super Earth Encyclopedia from DK Smithsonian is a great resource for exploring earth science with kids. I love the detail of the pictures, as well as the information, contained giving you a resource that will last a while. Perfect for home learning or in the classroom.
They needed to know – The size of the inner and outer cores, the size of the mantle and of the crust of the earth.
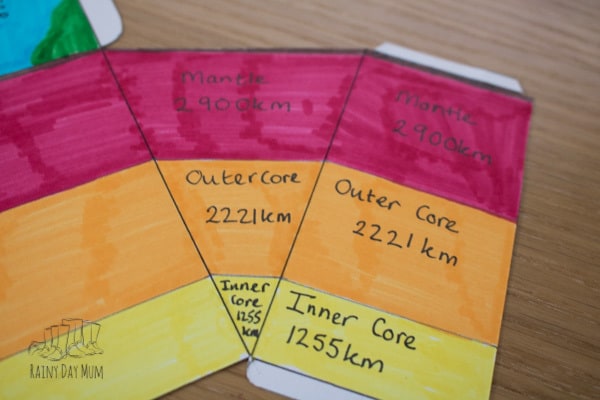
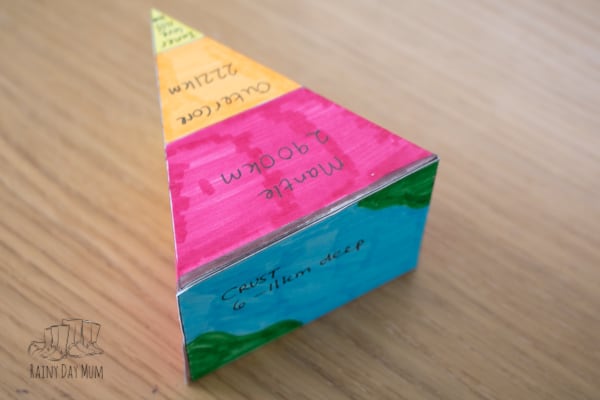
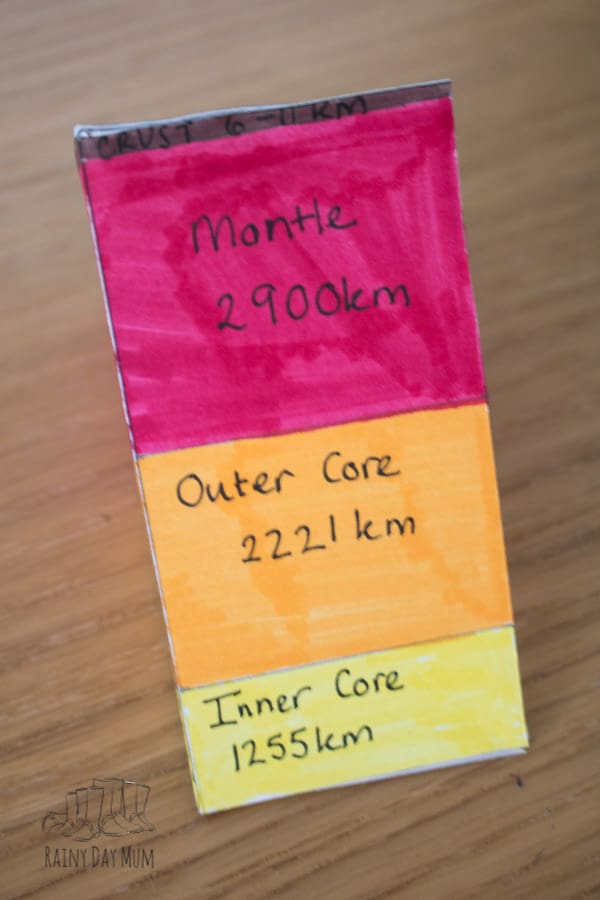
For your information – the Inner Core is 1255km, the Outer Core is 2221km, Mantle 2900km and the Crust between 6 and 11km which is around 6378 – 6384 km in radius
Calculating the Size of the Layers of the Earth for the Model
As I said we want the model to be accurate so measure from the point of the triangle to the end of that section – that is equivalent to the radius of the earth.
To calculate the length of each section of the model you need to work out what 1km on your model will be. So that you can then multiple each section by the 1km to find out the size you need.
For example, my model had a length of 105mm along the edge of the triangle when printed out – I then did the calculation 105/6384 to get the 1km length which was 0.016mm
For each section then calculate the distance on your model –
Inner Core : 1255 x 0.016 = 21mm ~ Outer Core : 2221 x 0.016 = 37mm ~ Mantle : 2900 x 0.016 = 48mm ~ Crust = 8 x 0.016 = 1mm
You will need to work this out for your model as your printer and paper will be different than mine.
Creating the Layers of the Earth
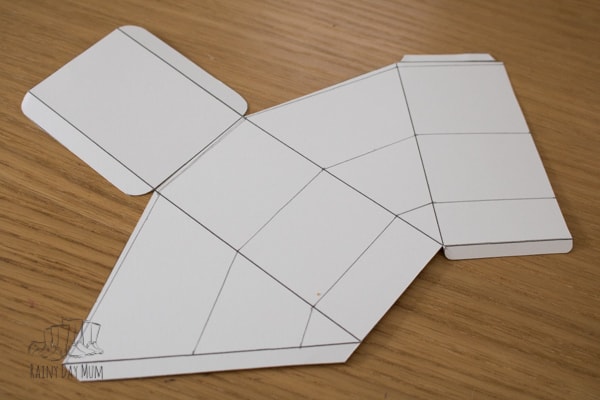
- Starting at the point measure out the distance for the Inner Core and mark on each line.
- Join up the points in a line.
- Now from this line measure out the distance for the Outer Core and mark on each line.
- Repeat the joining up and then measure out the Mantle and Crust the same.
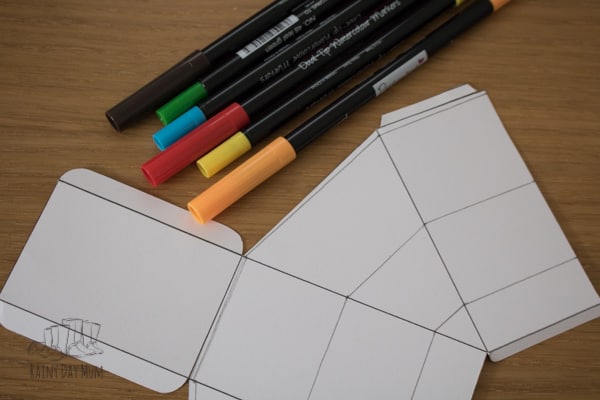
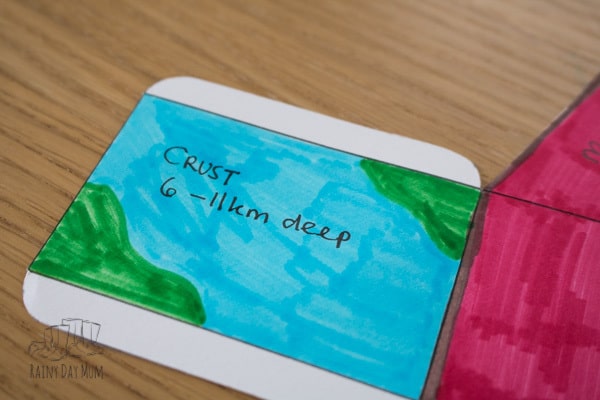
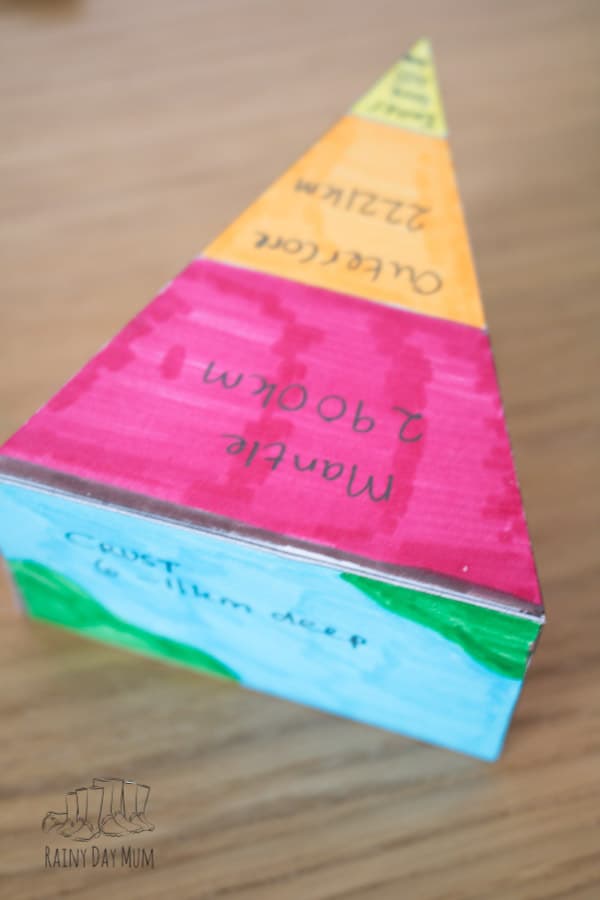
Now colour in the sections of the earth and add on a part of the ocean and land to the end of the pie.
Glue along the tabs and create your model.
More Earth Science Activities for Kids studying Rocks, Fossils and more
Looking for a creative project for exploring the layers of the earth – check out these Layers of the Earth Bowls from Red Ted Art
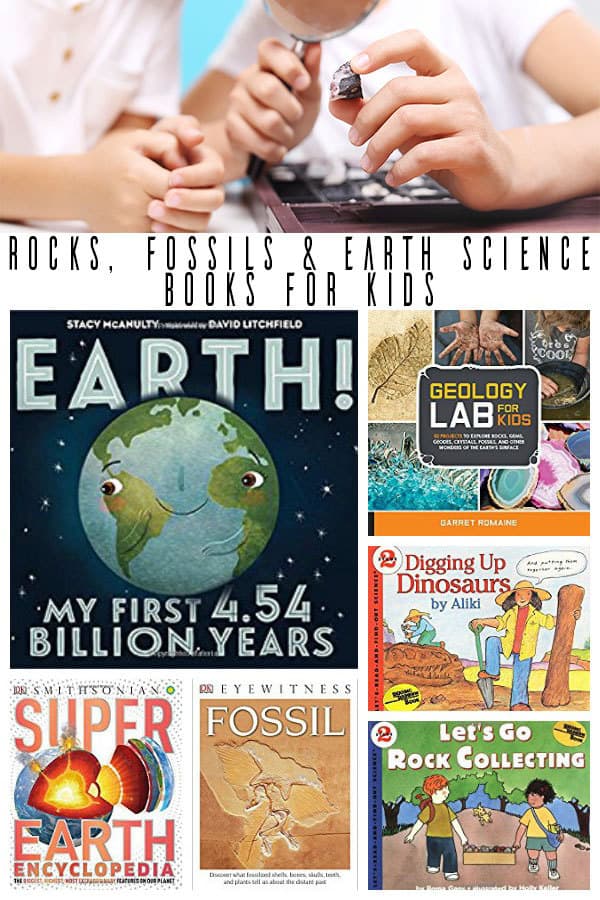
Looking to extend your child’s knowledge in this area of science then check out our recommended reading on Rocks, Fossils, and Earth Science for Kids.

Cerys Parker
Cerys is a marine biologist, environmental educator, teacher, mum, and home educator from the UK. She loves getting creative, whether it is with simple and easy crafts and ideas, activities to make learning fun, or delicious recipes that you and your kids can cook together you'll find them all shared here on Rainy Day Mum.


How do we fold it?
There are full instructions provided with the printable.
Uh where’s the template itself I cant find it
The template is available to our subscribers for free there is a subscriber form within the post or it is available for sale in our store.
Oh what a great project!!! Love it. Thank you for sharing our Earth Bowls too!