

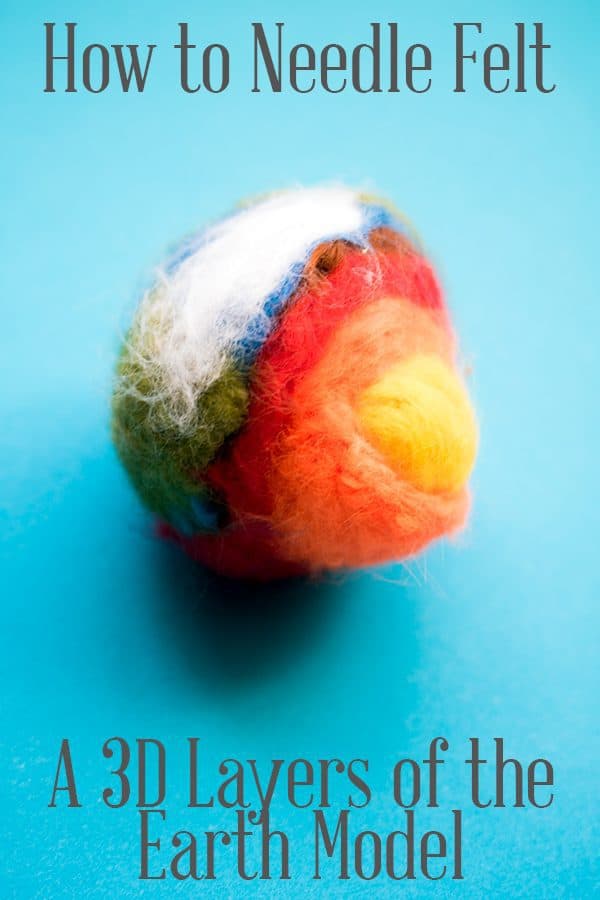
Layers of the Earth Needle Felted Model
Models are a great way for kids to be able to learn different things. In my science classroom, I had lots of different models, some that I purchased and others that I created myself or others created for me. One of my favourites was a fantastic felt model of the earth showing the different layers!
I’ve always wanted to create one myself and now I have finally started Needle Felting this was a relatively easy project to do. And makes a great hands-on resource for kids to use when learning about the Earth. With older tweens and teens they could easily make these themselves.
So here we go full step-by-step instructions on creating this Needle Felted Layers of the Earth Model.
Materials Needed for Creating your own Layers of the Earth Needle Felted Model
We have included affiliate links to the materials we used and products we recommend to make this model. If you purchase via the links we may earn a small commission
Wool Roving in the following colours – you can buy these individually but this pack of 30 different colours is better value and you will have wool roving to create some more things too
- Yellow wool roving
- Orange wool roving
- Red wool roving
- Brown wool roving
- Blue wool roving
- Green wool roving
- White wool roving
Optional -> Flag pins to use to label the different layers of the Earth
How to Make your Needle Felted Earth Model
I decided when creating this model that I would use the same colours that I had with my salt dough model of the earth and the 3D section model of the earth so that there was a consistency across the activities.
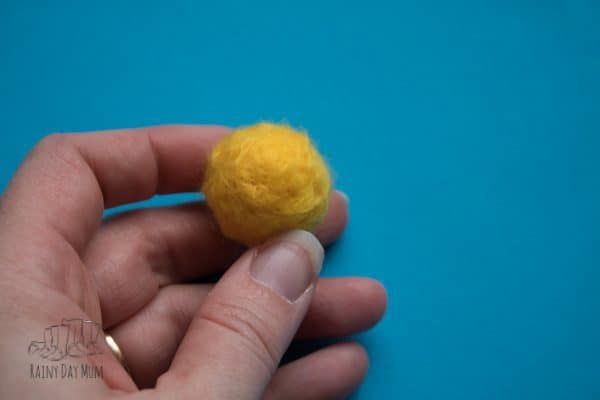
- This model starts out by making a centre felted ball of yellow wool roving to be the inner core of the model.
- Take some wool roving and roll into a ball form.

- On the needle felting mat start to insert the needle at an angle bringing it out and stabbing it in again.
- Constantly rotate your ball as it starts to felt up.
- Continue pushing in the needle until the ball feels firm – it doesn’t have to be fully felted as you add the additional layers you will continue to felt this centre core of the Earth as well.
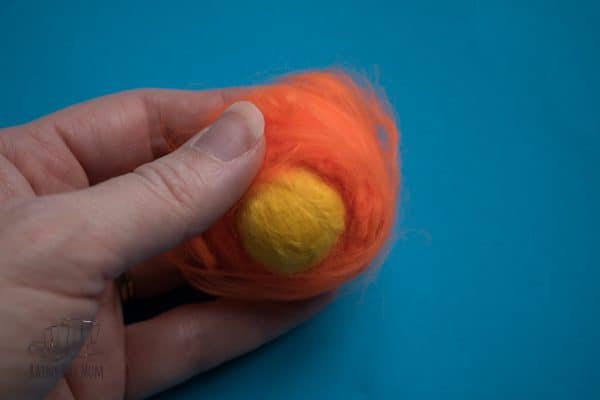
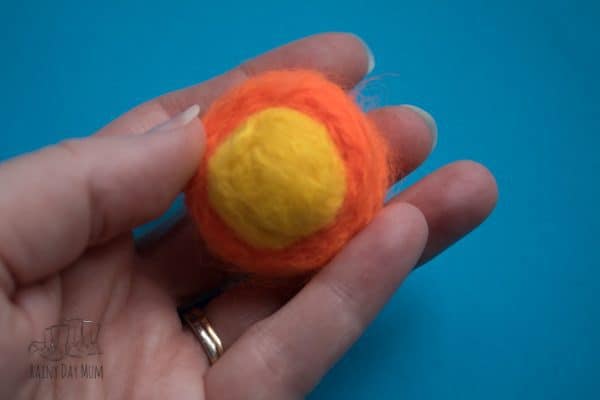
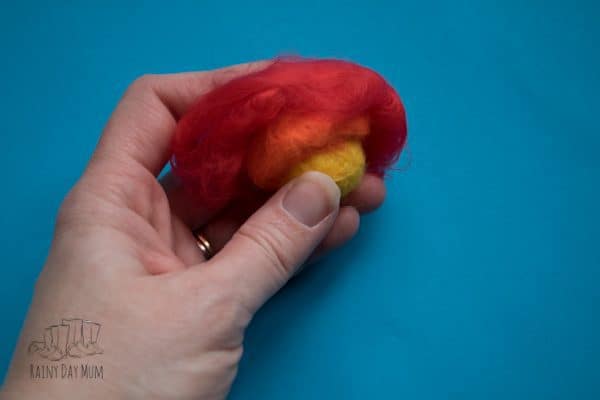
- Once the ball is formed then it’s time to add the outer core – in my model it covers 3 quarters of the inner core however you can cover just a half if you wish. Take some orange wool roving and fold it to form a layer and then place over your yellow inner core ball.
- Using the needle felt this into place. Once you start it will attach to the inner core you will be able to form the edge using your needle felt into the edge taking care with your fingers.
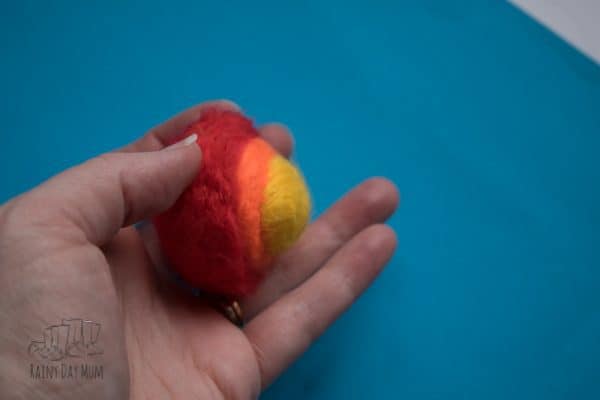
- Once the outer core is felted in place it’s time to add in the mantle – for this, I used red wool roving and covered half of the world so that you could see the inner core, outer core and now the mantle.
- Follow step 7 to create the mantle of your model.
- With all of the 3 inner layers of the earth, I built up the layers adding more wool roving to make them thicker and to create a good solid earth.
- The last layer is the crust and with the crust I wanted the soil/rock layer to be seen as well as the oceans, land masses and some of the polar regions. So I built up this final crust layer a little at a time.
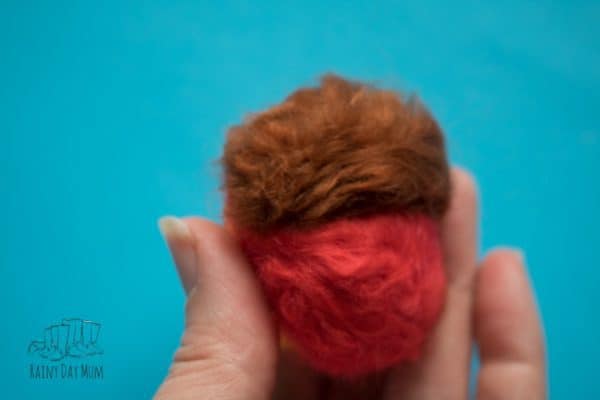
- Start with the brown wool roving – make a thin layer and place over a quarter of your earth model.
- Felt this in place with your needle.
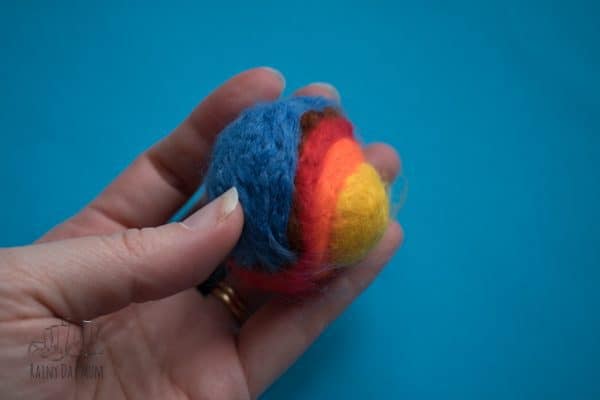
- Now add a layer of blue wool roving for the oceans – I covered all of the brown but left a small rim that you could see the soil as I knew when I was teaching using the model I wanted my kids to understand that the earth’s crust isn’t just the soil/rock but also includes the oceans.
- With the blue felted in place, I used the green roving to add some land masses felting this into place in somewhat shapes of parts of the continent.
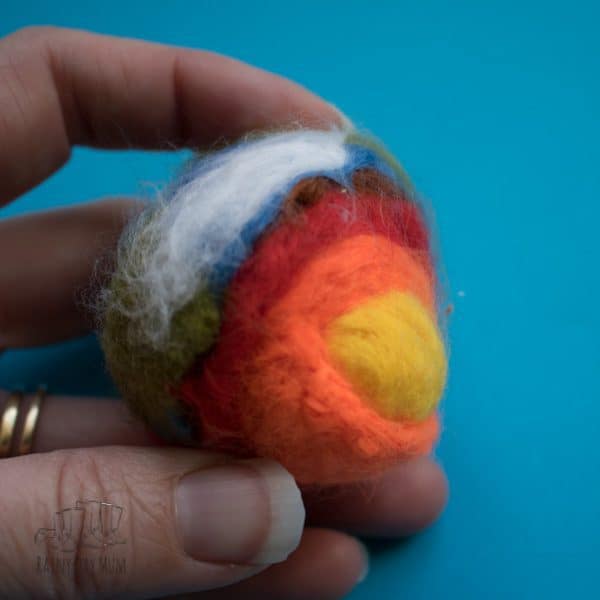
- The last part was to add a polar region to the top of the earth – to do this use some white roving but very fine and then felt it loosely into place.
- I kept it very fine towards the edges and down onto the green and then more concentrated and thicker felt at the top.

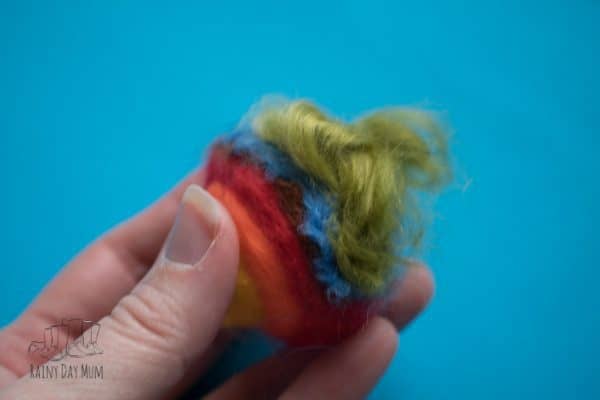


Once it was complete I added some Flag Pins to the different layers and we will be adding it to the nature table alongside our salt dough model and sectional model as we learn about the earth.

More Activities for Learning About Layers of the Earth
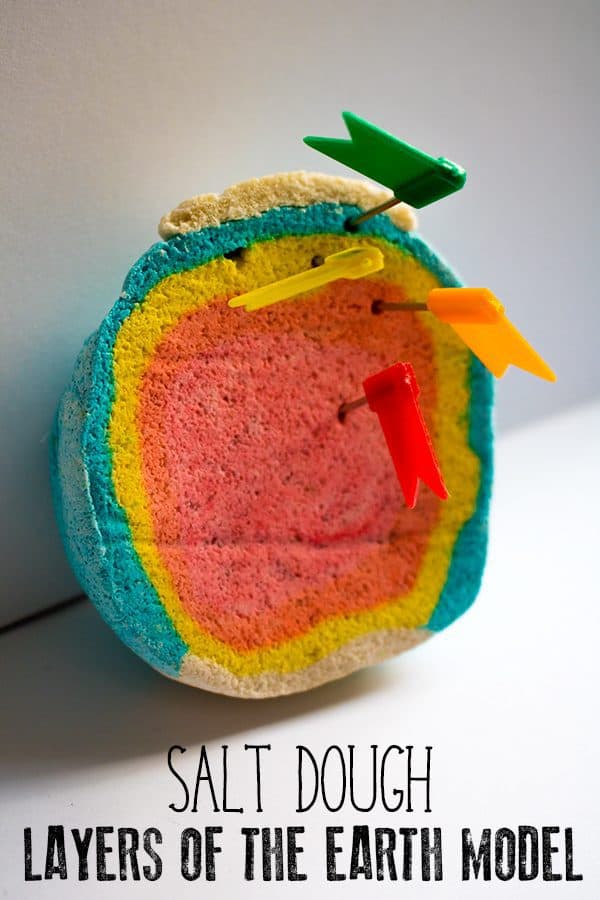
Salt Dough Layers of the Earth Model

Layers of the Earth Sugar Cookies
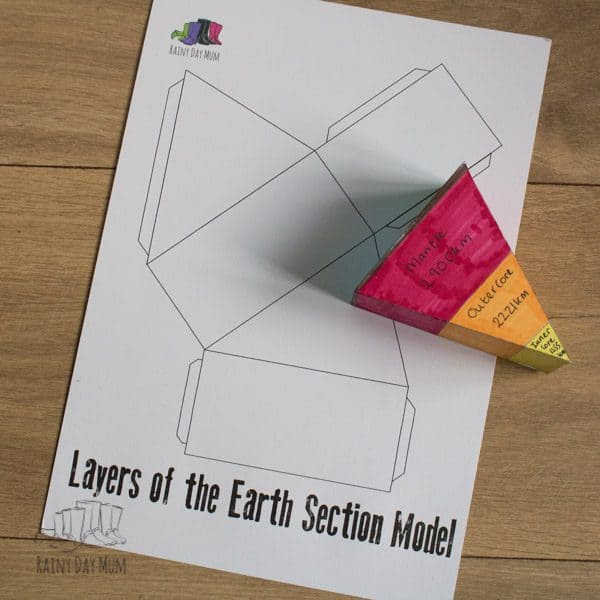
3D Layers of the Earth Sectional Model
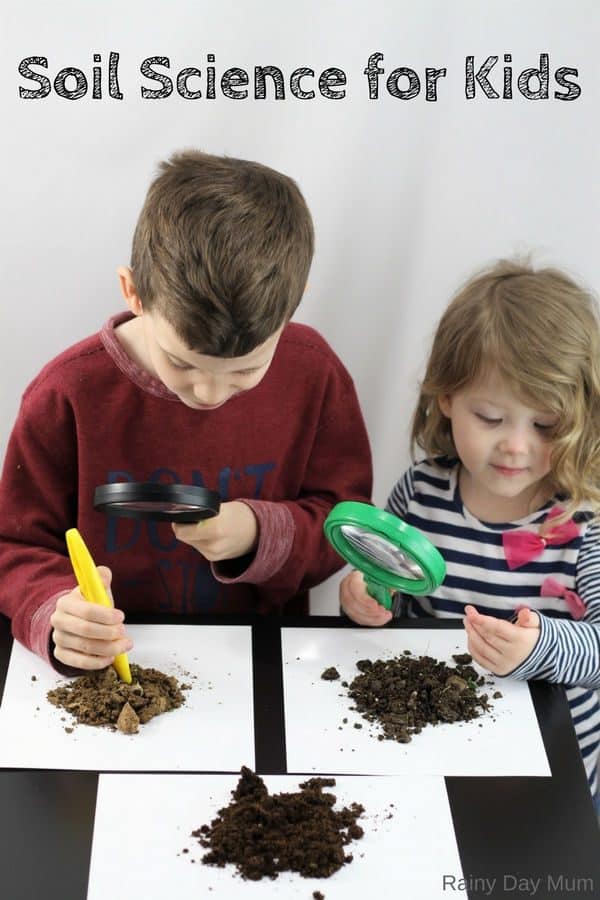
More Earth Science Activities for Hands-on Learning for Kids


Pin this How to Make a Needle Felted Layers of the Earth Model to Make Later
Share this tutorial for Creative Earth Science with others on Facebook
Cerys Parker
Cerys is a marine biologist, environmental educator, teacher, mum, and home educator from the UK. She loves getting creative, whether it is with simple and easy crafts and ideas, activities to make learning fun, or delicious recipes that you and your kids can cook together you'll find them all shared here on Rainy Day Mum.