I Believe Christmas Card Craft
Polar Express has become a firm family favourite in our house. The beginning of December is always marked with a family movie night watching this wonderful story and our copy of the book is well thumbed through.
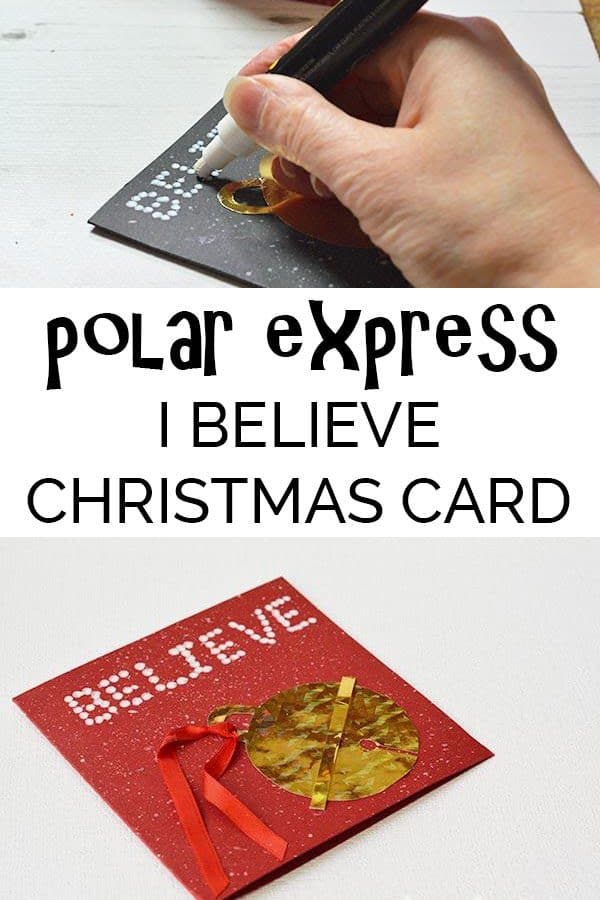
My girls snuggle up on the sofa giggling and laughing through the adventure whilst chomping on popcorn. I, on the other hand, always tear resulting in questioning looks from my beautiful daughters as they throw their arms around me squealing, “oh Mama!”. I see the depth to the film that passes them by (as it should). I know where they’re heading… I’ve managed to hold on to it for longer than most but it’s starting to disappear.
But here’s the thing, there is magic out there… if you believe. It starts slowly. Just a whisper, a smile, then a giggle. A hug, a song, a smell, a feeling. The magic is out there you just have to make time for it and believe!
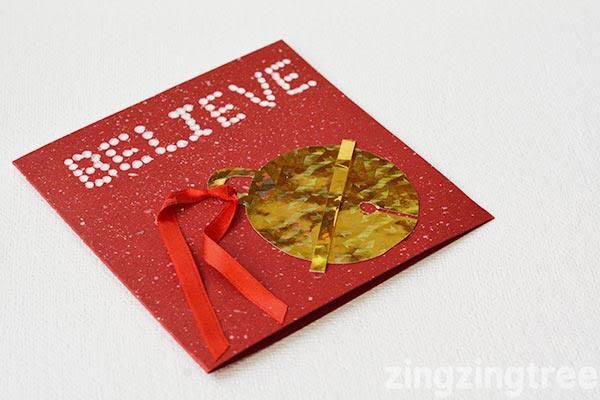
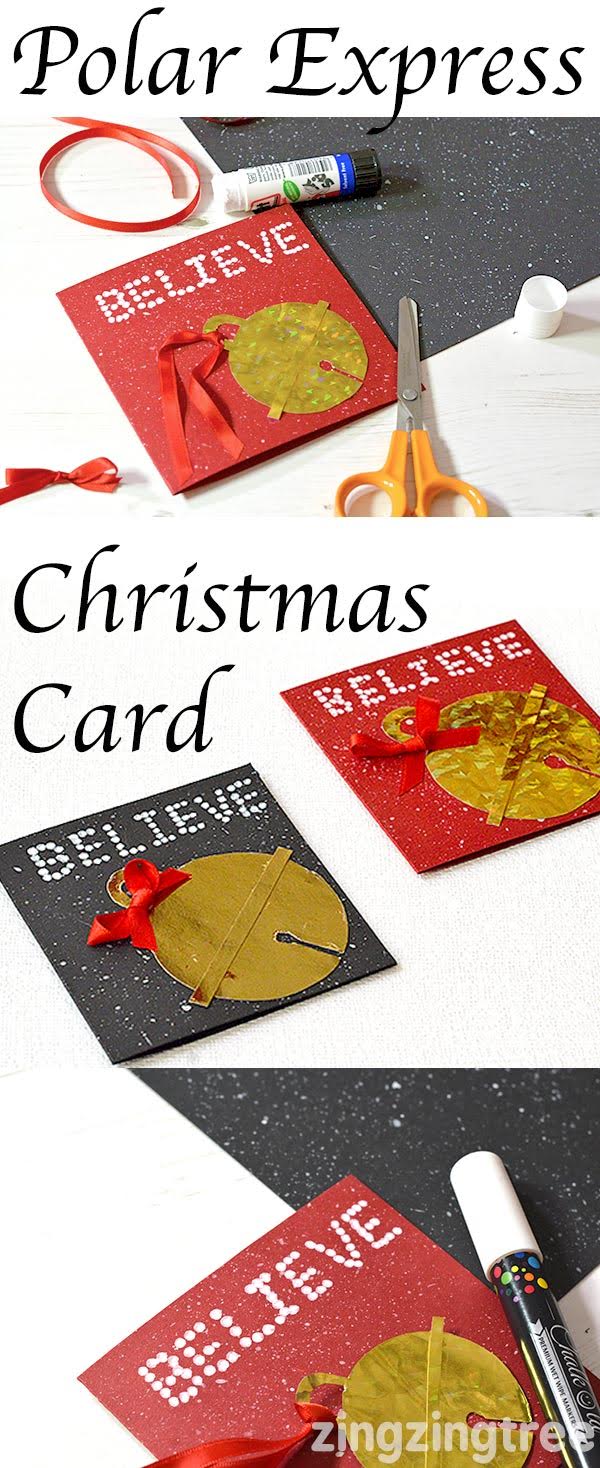
To Make Your Polar Express ‘I Believe’ Christmas Card You Will Need
- A4 Red and/or black card (Amazon UK – USA)
- White water based paint (Amazon UK – USA)
- Bristle paint brush or old tooth brush
- Gold paper (Amazon UK – USA)
- White chalk pen (Amazon UK – USA)
- Stick Glue (Amazon UK – USA)
- Red Ribbon
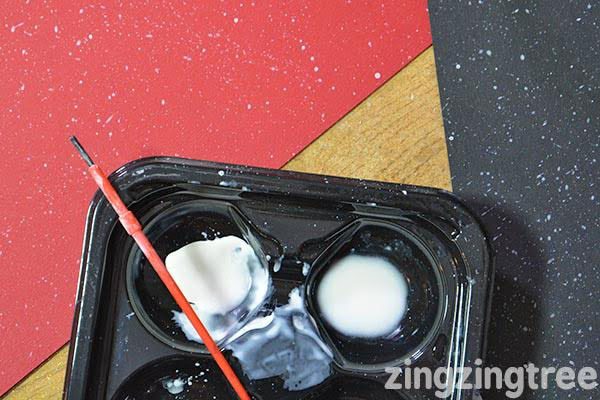
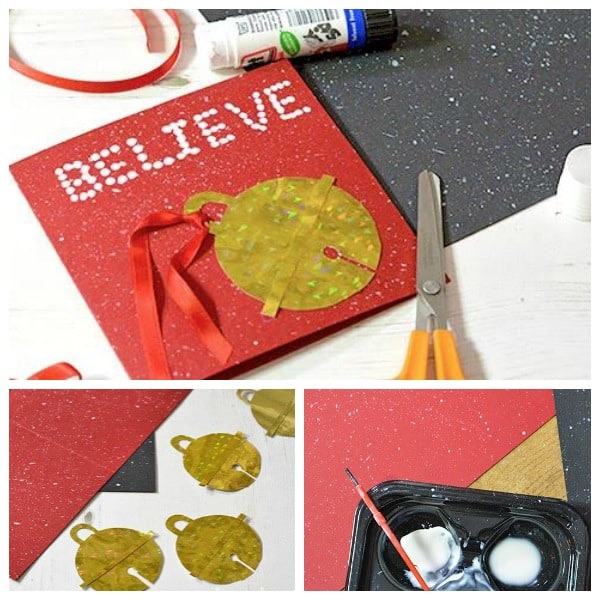
Water down a little paint (about the size of a pea), load up your paintbrush and flick it all over the card stock by pulling back the bristles and letting go. Set this to one side to dry (it won’t take long).
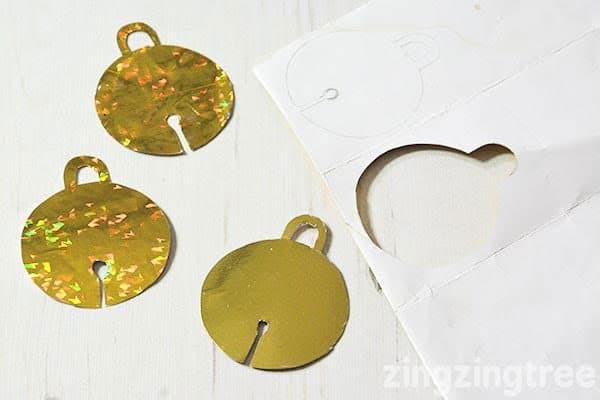
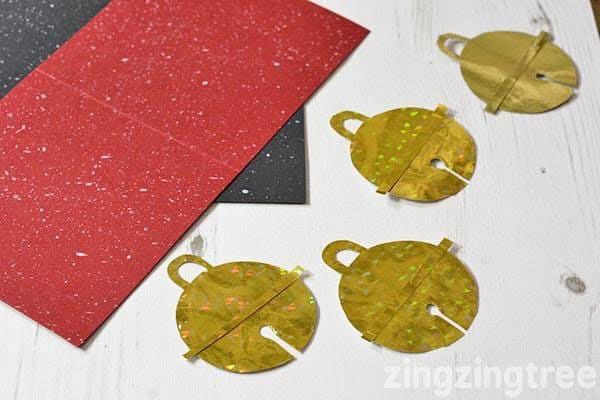
Cut out your bell shape from your gold paper (this circle is approx 6cm in diameter) making sure to add a small handle. For younger kids get them to cut out the circle first and, cut the handle separately and glue it on. Of you have a hole punch use that to make the little circle cut our on the underside of the bell and then cut up from the out side to meet it.
Top Tip: keep old party gift bags that your kids get with presents. The paper often has great colours. That’s what the gold holographic paper was.
Cut a thin strip of the gold paper and glue it on top of your bell shape to make the bell rim. Now slice up your card stock into your Christmas card sizes. I found a square shapes card worked best for this design. My biggest card was 12×12 cm (so cut a 12 x 24 cm piece and fold i half) and my smallest card was 9×9 cm (cut a 9 x 18 cm piece and fold in half). You’ll be left with a few left overs that you can make into gift tags.
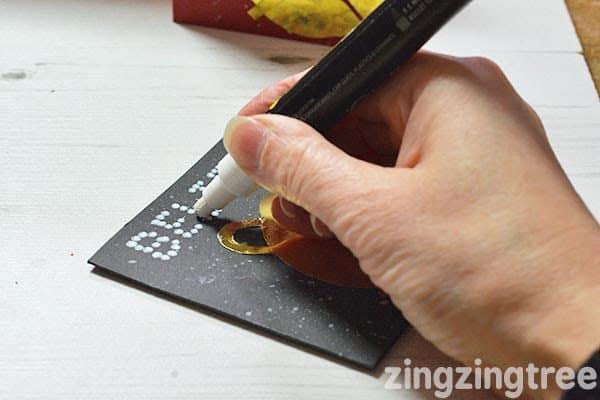
Place your bell on to the card (but don’t glue it) so you can decide where you want your lettering to go. For younger children use a piece of chalk to draw a faint outline they can trace over with the dots.
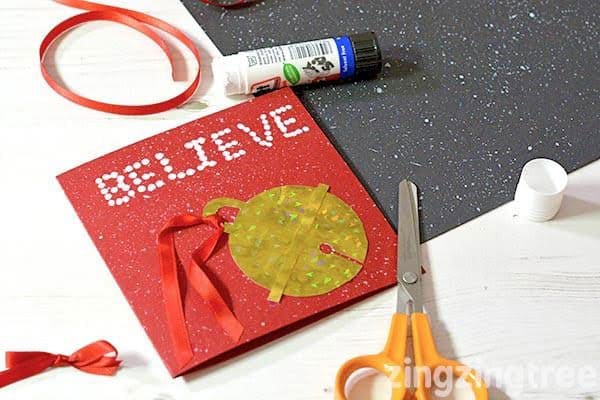
Now glue your bell and ribbon in place. For the smaller cards I used a bow, for the larger cards you can let the ribbon dangle down and glue it in place.
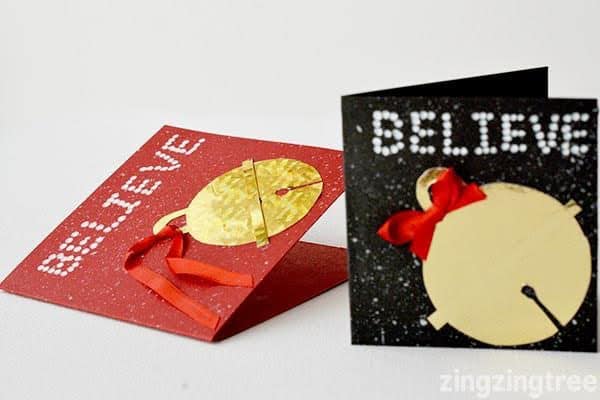
I love everything about these cards. They’re fun to make and quietly very powerful. Sometimes one word says it all …
Out Now! – Countdown to Christmas Ebook
When life gets hectic in the lead up to Christmas wouldn’t it be great to be able to spend a little time with the family creating gifts for others, food to enjoy together and traditions that make magical Christmas Memories?
But what actually happens is you spend hours searching through Pinterest looking for ideas and realise halfway through saying you are going to start that you have only 1 thing on the materials list!
I’ve been there!
So that is why we’ve put together our 24 favourite Christmas Activities, Crafts and Recipes with full materials lists and step-by-step instructions so that you have everything at your fingertips.
Produced as a PDF you can download, print and use these ideas throughout the festive season with your children and families.
Find out more as we share with your our Favourite Ways to Countdown to Christmas.
Anthea can be found at Blue Bear Wood where she blogs about all things crafty for the young, old and inbetweeners.
She is a former Geologist and information architect who started getting creative again after she had her three daughters and decided to become a Stay at home mum.
You can also find her on Twitter, Instagram and Pinterest.
Pin this Christmas Card Craft to make later
Share this Polar Express Themed Christmas Card Card on Facebook
Cerys Parker
Cerys is a marine biologist, environmental educator, teacher, mum, and home educator from the UK. She loves getting creative, whether it is with simple and easy crafts and ideas, activities to make learning fun, or delicious recipes that you and your kids can cook together you'll find them all shared here on Rainy Day Mum.


