Easy Autumn Window Star to Make with Kids
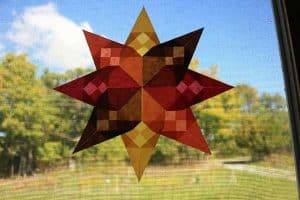
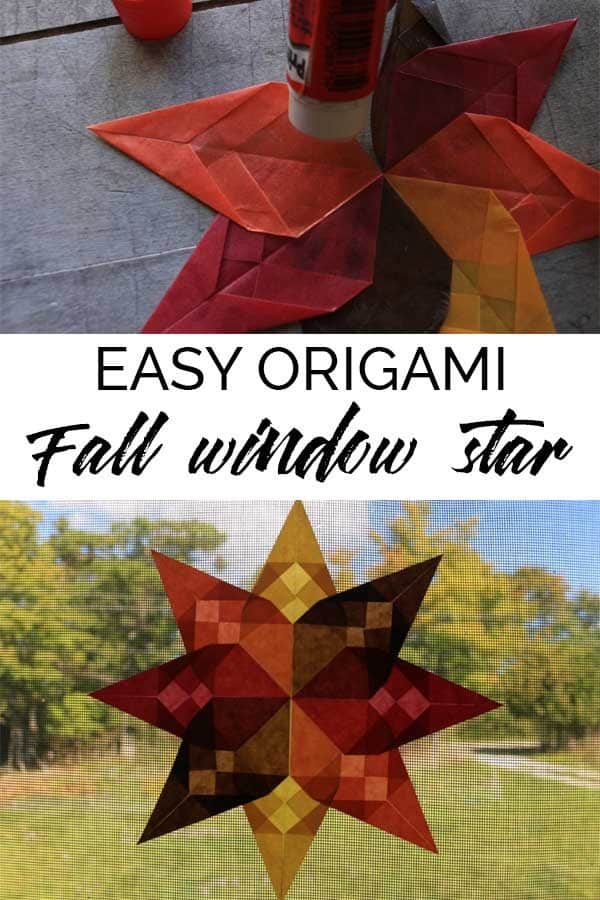
As the seasons change we like to welcome them with decorations around the home that the kids and I can make together. One of our favourite things is to add Window Stars to the glass. These are such an easy craft to do with kids and look amazing. This Easy Fall Window Star is a little more complicated than the basic window star however, the double and triple folds look fantastic when the light shows through. So here is our Easy Autumn Window Star to make with kids tutorial.
Autumn Window Star Tutorial
Window stars are a tradition in Waldorf Steiner education. However, you don’t have to follow the teachings and practice it to be able to use it in your home and make with the kids.
Made with special kite paper which is similar to tissue paper but a little thicker and shiny it holds the folds fantastically when you make the stars.
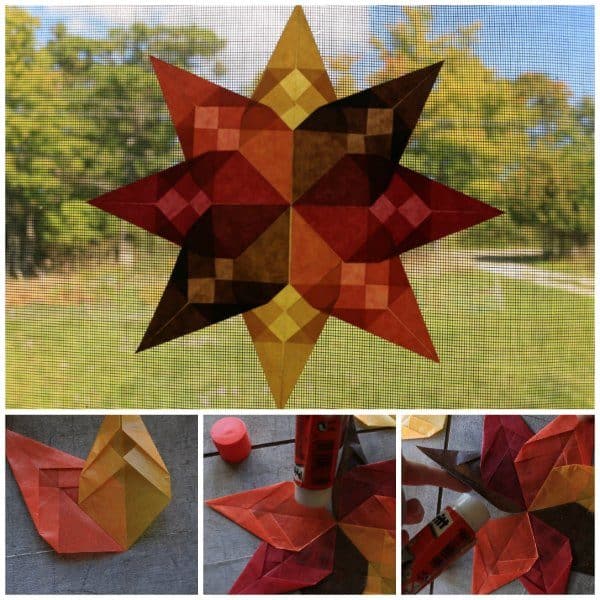
Materials needed to make a Fall Window Star
Kite Paper (I buy mine from Happy Hedgehog Post’s store – not an affiliate link, just a plug for a reliable supplier), 4 different colours (reds, yellows, oranges)
You will need 8 squares of kite paper altogether. You can either cut 2 small squares of each colour for a finished star roughly 8″ across or use 8 big squares straight from the package for a star about 16″ across.
A hint for those who have never tried one of these stars before: The trick the getting your creases is to pin the fold (for example, when lining up a centre point) at that point with your fingers, and use your other hand to smooth the paper away to form a crisp fold.
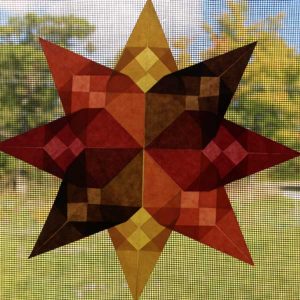
How to Make an Autumn Themed Window Star With Kids
Video
Materials Needed
- 8 pieces Kite Paper 4 different autumn colours
- 1 glue stick
Instructions
- Fold your square diagonally in half.

- Open it back up and fold the side points to the middle. Make sure they don’t cross the middle fold.

- Take the upper sides and fold them to the center (again, don’t let them cross the fold in the middle). Make sure the points are nice and sharp at the top.

- Repeat steps 1 through 3 with the other 7 squares of kite paper.

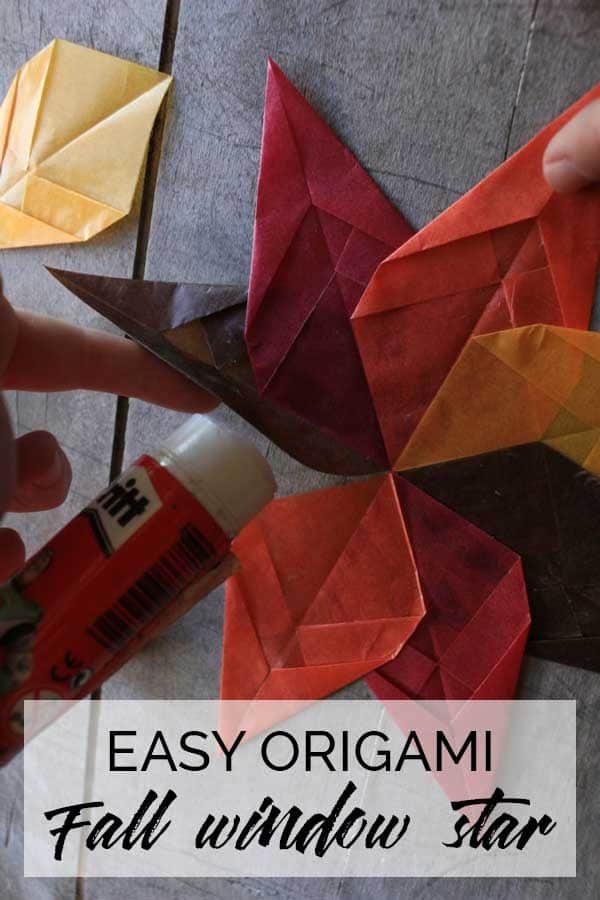
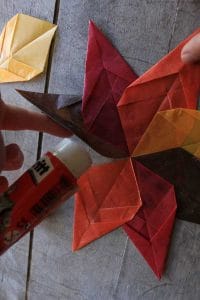
- Now you’re ready to glue it all together! Start by gluing the first of your 8 points at the bottom right side and gluing the next one on like so:

- Repeat until you only have one point left to glue on.

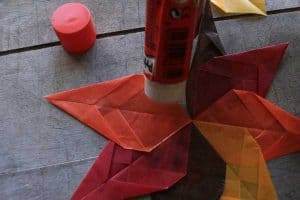
- For this last point of your star, you’ll glue under the right hand piece like this:

- And then on the bottom right of your left-hand piece, like this:

- Now you can use the same glue stick to stick your window star to a sunny window – it will wash off with regular window cleaner whenever you’re ready for a change. Stand back and see how beautiful your window star is with the light shining in!

Love the folding in this then why not check out these easy origami crafts for kids from Red Ted Art.
More Window Stars for you to make
Welcome in Spring and Summer with this simple Flower Window Star to make.
The Winter Window Star is the most basic of the window stars it’s very simple to make and a great introduction to making them with kids.
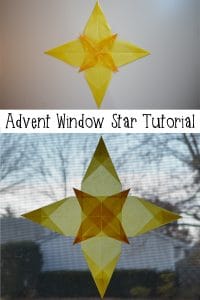
Inspired by the Nativity Story our Advent Window Star takes on the form of the Star that the 3 Kings followed.
Erin Dean
Erin is a homeschooling mum of 3 from Canada. Her eldest started homeschooling back in 2003. She lives on a homestead in Northern Canada and can be found surround by goats and chickens creating natural crafts, nature study ideas and more over on The Usual Mayhem










Lovely craft for kiddies! My youngest is probably too young but my son would really enjoy making a few to pop on our windows x