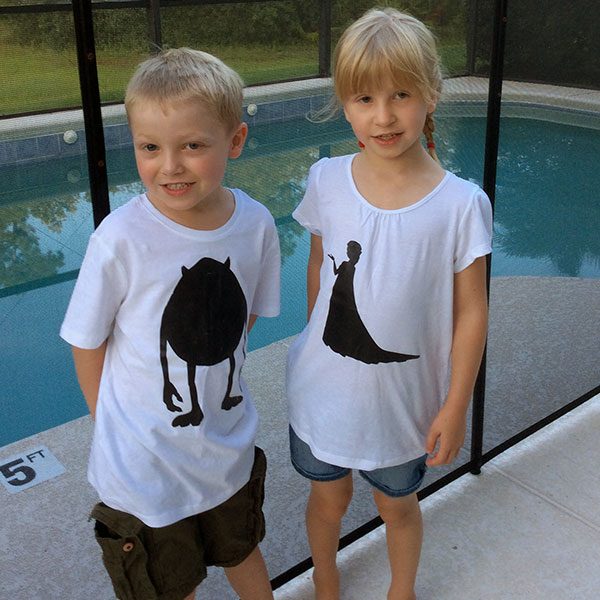
DIY Walt Disney World T-Shirts for the Family
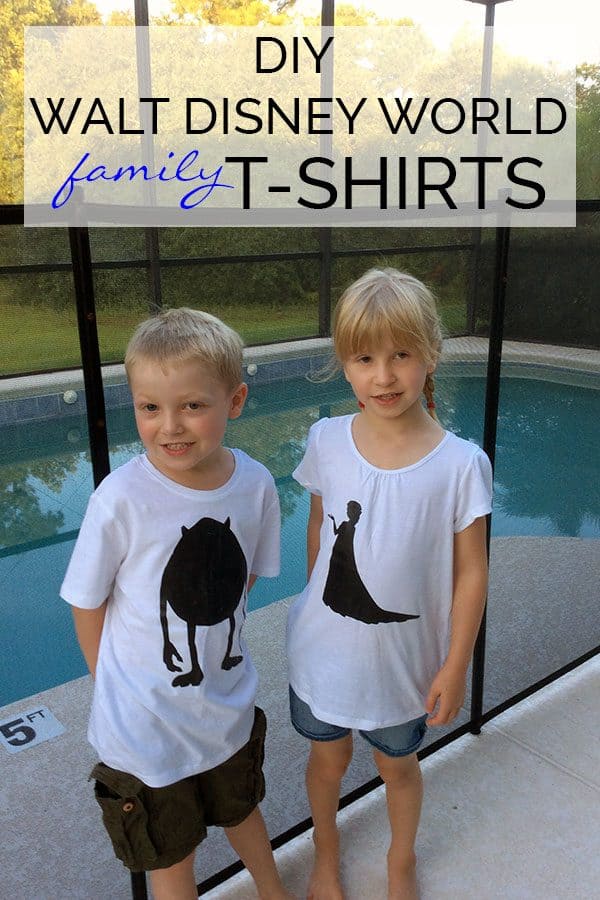
The year after we got married my husband I visited Walt Disney World for our summer vacation that year – I was in my late 20’s and believe me it was as good if not better than when we went as kids. Once of the things we loved was the families wearing “First Visit to Disney” T-shirts so much so that when we sat down for Disney planning last year my friend and I said WE HAD to do it. Some white t-shirt buying (check our tip lower down for what type of t-shirt NOT to buy!), printer paper, Etsy shopping and computer wizardry and we had unique DIY Walt Disney World T-shirts for the family.
Materials Needed for DIY Walt Disney World T-shirts
White T-Shirts – See the special note below!
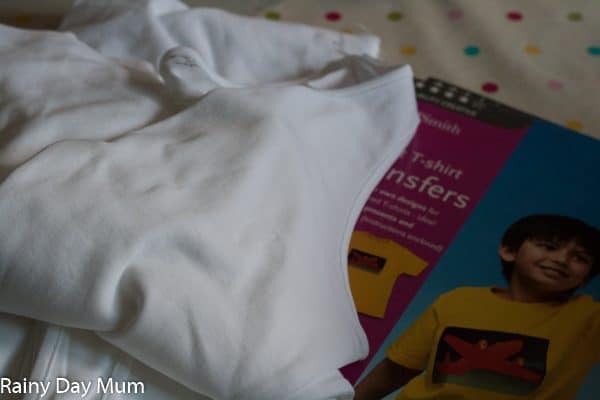
Iron on Transfer Paper
Cloth
Iron
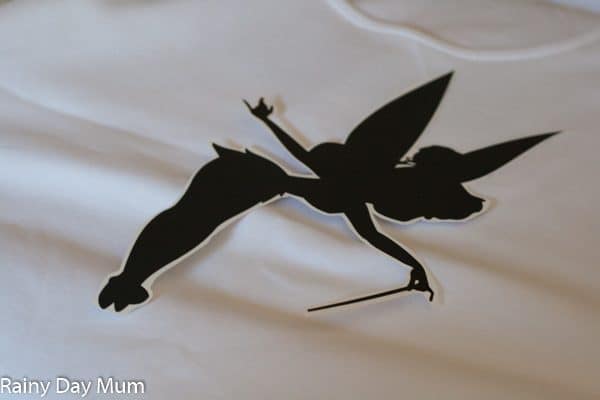
Silhouettes of Disney Characters – we got ours from Etsy and there are plenty to choose from.
Computer
Printer
Step by Step DIY Disney World Family T-shirts
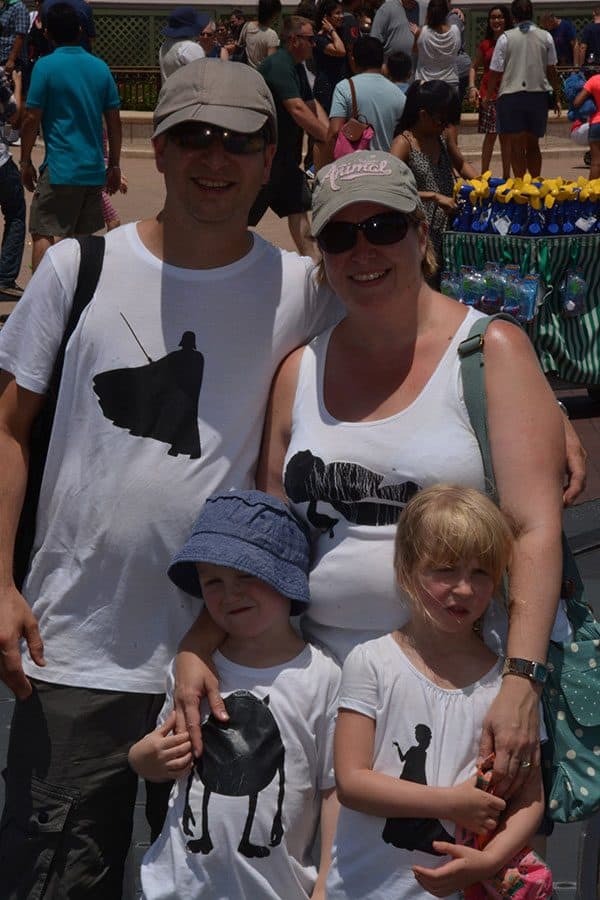
T-SHIRT SELECTION – DO NOT CHOOSE A RIBBED T-SHIRT WITH THIS METHOD OR A TIGHT T-SHIRT ESPECIALLY IF YOU ARE MAKING IT FOR A FEMALE IN YOUR FAMILY – THE TRANSFER WILL SPLIT AS IT EXPANDS OVER YOUR CHEST AND HIPS…. JUST FROM EXPERIENCE, THAT IS SO A NICE BAGGY T-SHIRT WORKS BEST TO KEEP THE TRANSFER INTACT BEFORE YOU LEAVE THE ROOM
Ok – t-shirt selection cleared up and the shameful picture showing what happens when you don’t do what I just wrote up there in really big letters. But as you can see it wasn’t an issue for anyone else in the family just us ladies who wanted a nice little tank top!
Here we go, – t-shirts for the whole family selected and washed – ironed flat (yes the iron is getting 2 outings with this project).
Select your Disney Silhouettes and either go with the same for the whole family or if you want to be different then like us select your favourite Disney character – my husband was so excited as with Disney owning Star Wars he could have a Star Wars character – the rest of us went for more traditional characters.
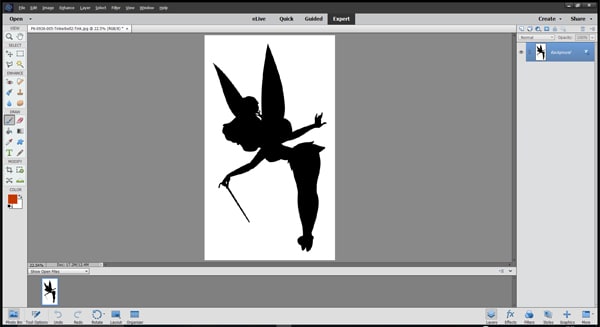
Then using a photo editor open the image that you have chosen for your t-shirt if there are words don’t forget to flip the image – you can see how we did that in Photoshop Elements 15 in the video tutorial when making our Autumn Wood Blocks.
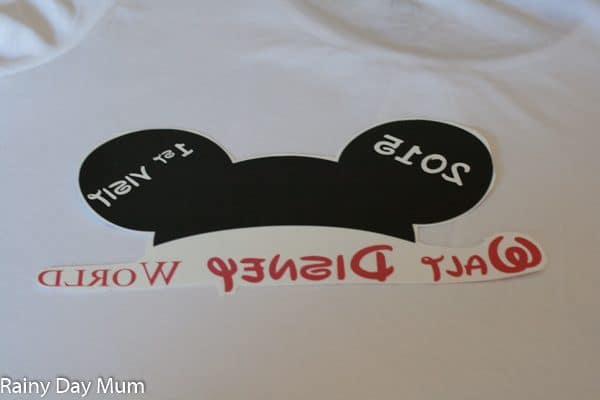
READ THE PRINTER PAPER PACKET – WE HAD TO PRINT OURS AS A MIRROR IMAGE TO BE IRONED ON – I THINK THIS IS FAIRLY COMMON SO BEFORE YOU PRINT IF NEED BE FLIP YOUR IMAGE HORIZONTALLY SO WHEN YOU PRINT THE WORDS ARE A MIRROR REFLECTION
Print it out – I haven’t made recommendations for printing paper as it depends on your printer – it is better the higher the quality of the transfer paper and that it works for the type of printer you have. MAKE SURE YOU CHOOSE THE RIGHT KIND!
Cut out around the silhouette when it’s finished drying and then follow the instructions on the paper to fix to your t-shirt.
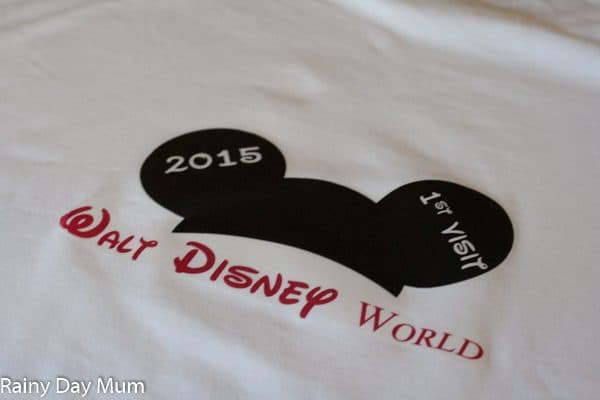
We completed the t-shirts with some Mickey Ears on the back with First Visit and the year for the kids and our friends and for my husband and myself the years that we had visited previously.
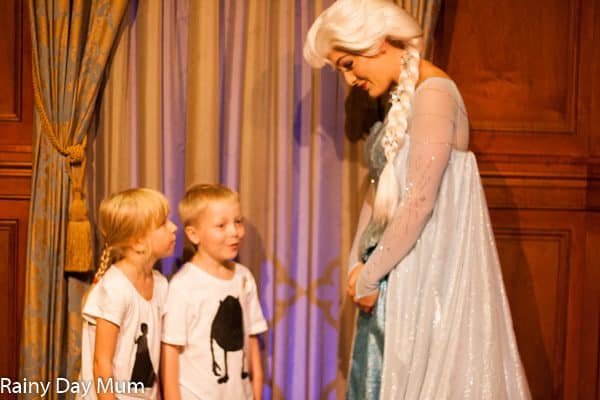
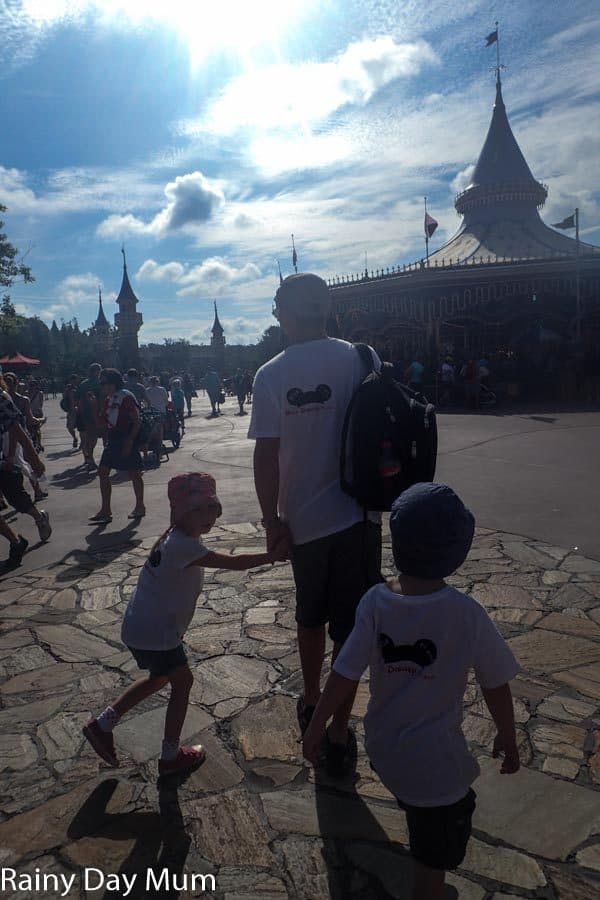
It was fantastic around the park wearing them – the cast members tried to figure out which characters we were as some people – Ummm ME! I did choose one that was a little obscure – well Squirt is my favourite character! But every time we were in a line we had people asking where we had got them or how to make them.
Pin for later

Ideal size for sharing on Facebook
Cerys Parker
Cerys is a marine biologist, environmental educator, teacher, mum, and home educator from the UK. She loves getting creative, whether it is with simple and easy crafts and ideas, activities to make learning fun, or delicious recipes that you and your kids can cook together you'll find them all shared here on Rainy Day Mum.


