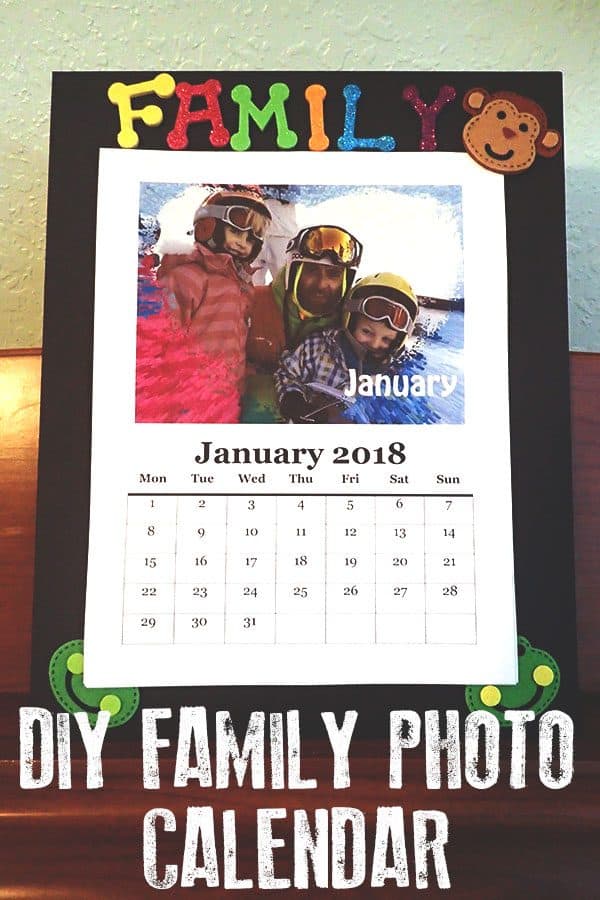
DIY Family Photo Calendar
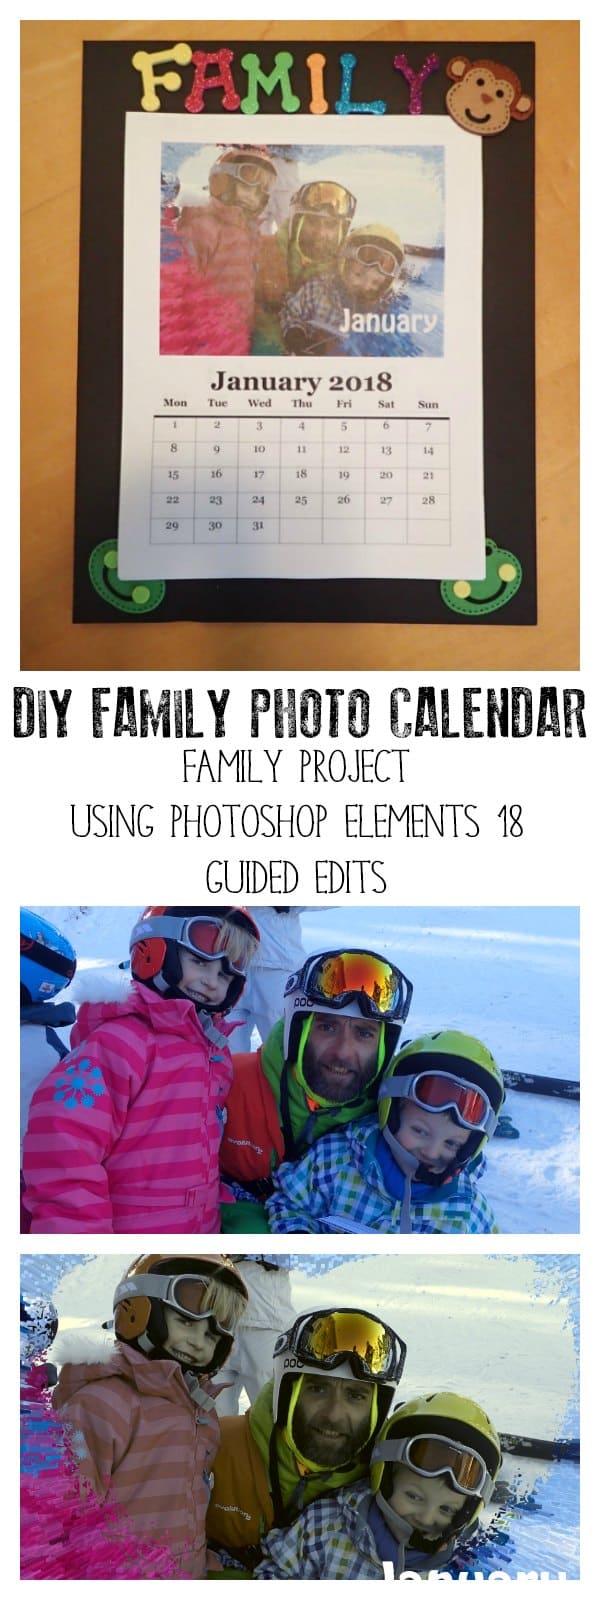
If you are anything like us, you take loads and loads of photographs, but most of them just stay on the phone and the camera. Maybe you share them on Facebook, but they never make it off of the machines. This craft idea is such a fun way to share your favourite memories from the past year with friends and family using Photoshop Elements 2018 and a little crafty magic. A DIY Family Photo Calendar makes an ideal gift for grandparents and other relatives, and it’s so simple. Once you’ve followed along with my video tutorial, you can create some of the pictures to use in your calendar.
This is a sponsored post on behalf of Adobe Photoshop Elements 2016
Photoshop Elements 2018
Last month, the new Photoshop Elements 2018 was released.
This simple and easy-to-use photo editing software is great for families and creative mums, giving you the skills to use your photos in crafts, scrapbooking, and other fantastic ideas.
We use Photoshop Elements for homework projects with the kids, crafts around the home, and to lighten, crop, and improve photos before I print.
Shape Overlay Guided Edit
One of the newest Guided Edits in Photoshop Elements 2018 is the shape overlay effect. This Guided Edit allows you to quickly take a photo, apply one of the many custom shapes to it, and then use one of the pre-set effects to change the way the photo looks. I’m a big fan of the black and white effects, whereas the kids like the Extrude effect, both of which can be applied outside of the shape.

Watch our tutorial on how to use the Guided Edits to create the Family Photo Calendar below.
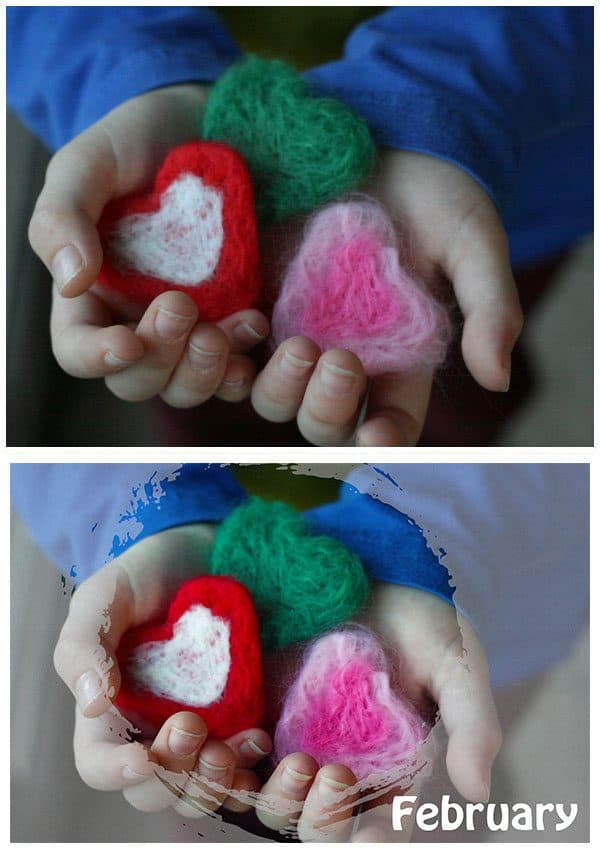

Creating your DIY Family Photo Calendar
Materials Needed
Photoshop Elements 2018
Printer
12 favourite photos from the year
Ruler
Double-sided sticky tape
Poster board
Foam letters or similar
Die cut shapes or other items for decoration
Making your Family Photo Calendar
We made this a real family activity – the kids chose the photos that they wanted to use and helped apply the different edits as we went through. However, you could make this yourself or use the same shape overlay on all images to give a cohesive look to your family calendar.
- Follow the video tutorial above to apply Guided Edits to your 12 chosen photos.
- Save the photos and then insert them into your favourite word processing software.
- Add a . (Depending on the word processing software you use you may have a function to insert a calendar into each page that you create. If not there are lots of calendar templates that you can download from the internet to add in as images to the word processing software).
- Print out.
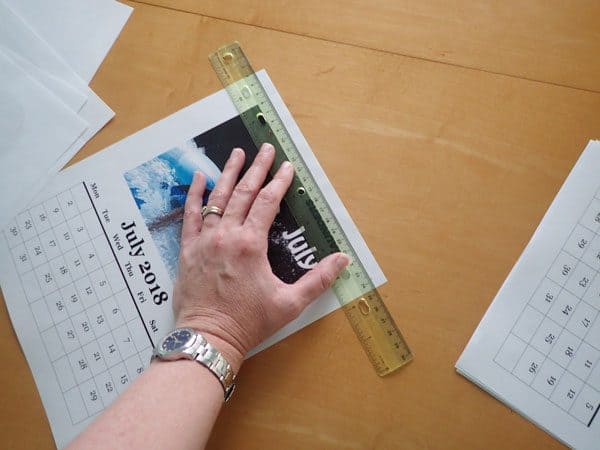
- Once printed – measure around 1cm from the top of the paper.

- Fold along this line
- Starting with December apply double sided sticky tape above the fold line

- Peel off and attach November.
- Repeat steps 7 and 8 with all of the months so January is on top.
- Cut a piece of matting or poster board to the size you want – make sure it is slightly larger than your calendar sheets.
- Tape the back of your December page and secure in position on the backing.
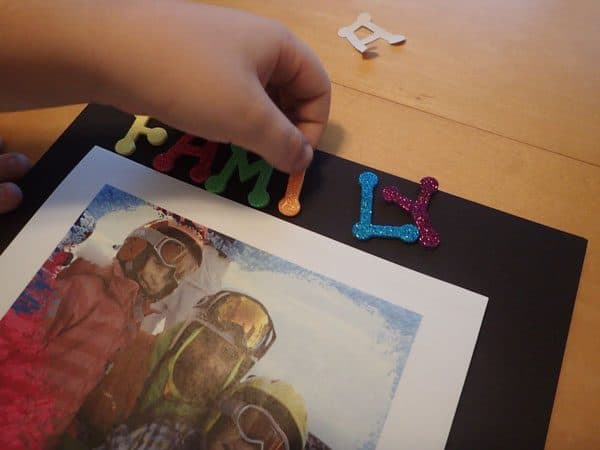
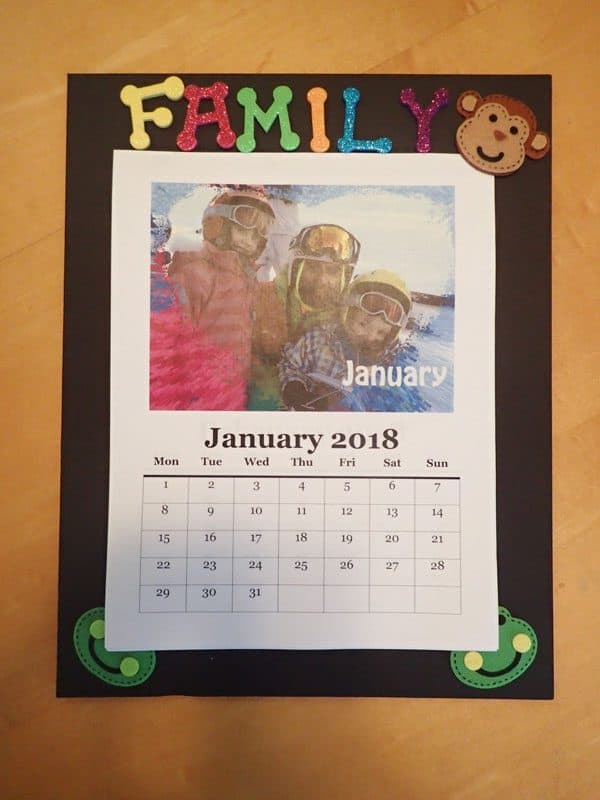
- Add in some letters saying “Family” at the top.

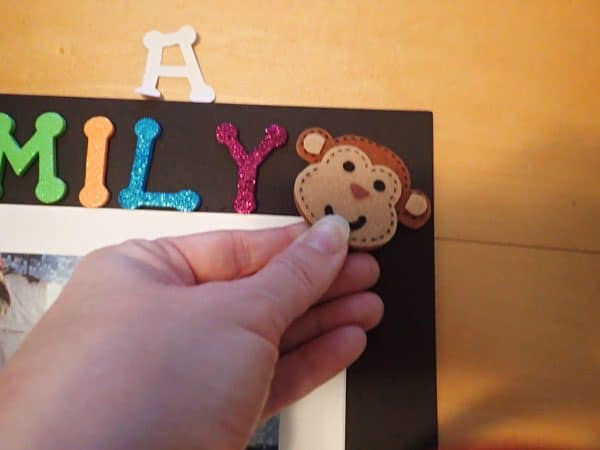
- And decorate with die cut shapes as you wish.

Photoshop Elements 2018
Pin this DIY Family Photo Calendar to Make Later
