

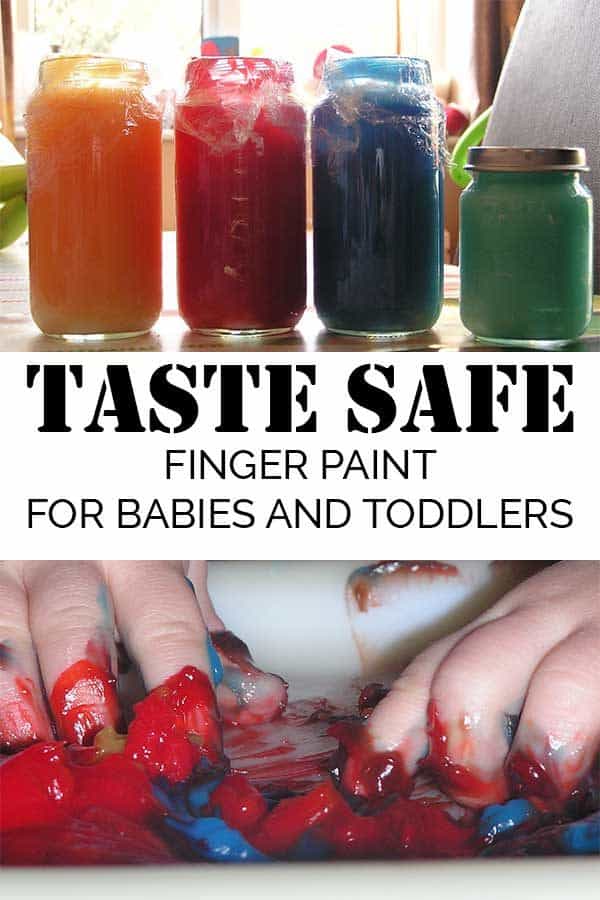
Taste Safe Finger Paints Recipe for Babies and Toddlers
Painting with Babies and Toddlers isn’t just a visual activity or process art it’s sensory and it can start when they are young – we’ve shared before our first forays into painting with our 6-month-old with some easy edible paints and now we’re sharing our recipe for homemade baby safe paint that is taste safe so ideal for a multisensory experience for the babies and toddlers and perfect for painting with baby.
The first explorations into mark marking for babies are with food but where do you go from there? You can easily make your own finger paints at home and that way you know exactly what materials go into the paints.
What you need to make Taste Safe Baby Finger Paints
We have included affiliate links to products and resources that we recommend within this activity post.
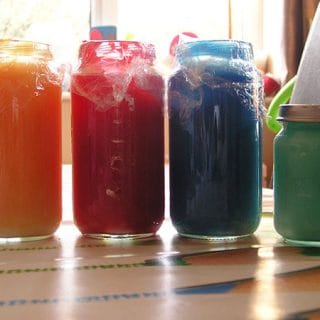
A collection of glass baby jars to store your homemade taste-safe finger paints.
Old clothes for your toddler or baby to wear to paint in
A set of homemade finger paints in the 3 primary colours -> Go to the recipe and instructions here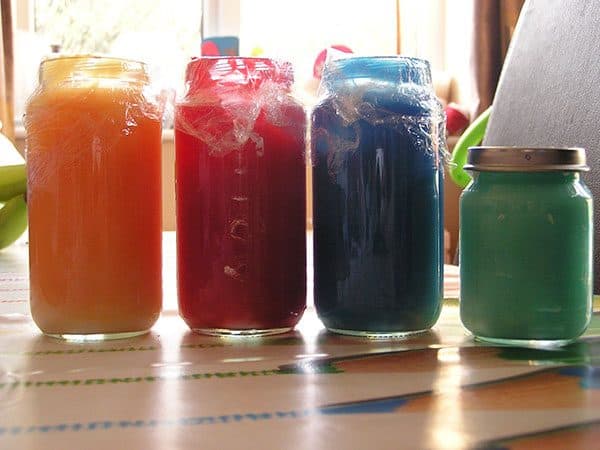
Sensory Finger Painting with Babies
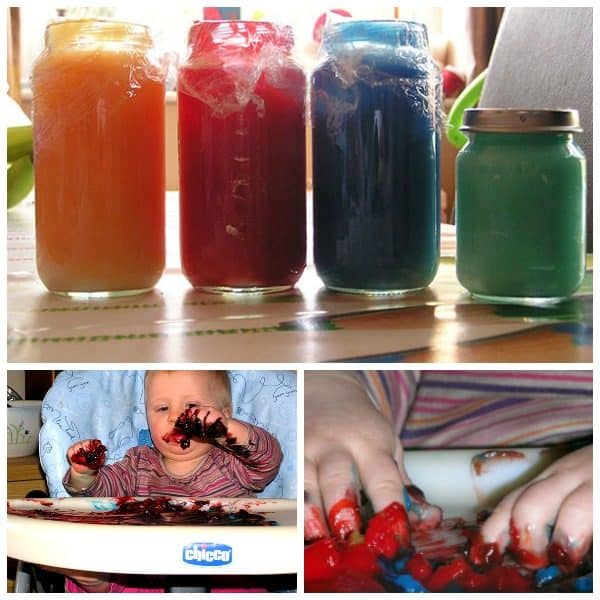
Ok – first I should say this is more of baby exploring paints and colours rather than painting anything as at 10 months she is way too young to expect to make marks or produce anything instead I use the finger paints as a sensory experience – utilizing her sight, touch and surprisingly smell (oh and in my daughters case also taste!)
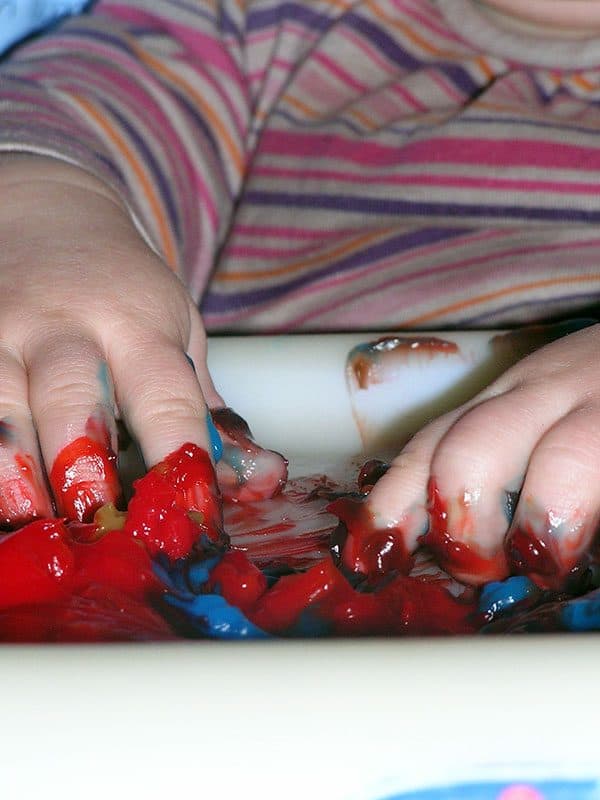
I put some of the paints on her high chair tray and kept them separate so part of her play would be mixing the colours together which of course she did once she had had a good feel of the paints. She loved the jelly-like feel of the paints and enjoyed squishing them between her fingers – it was interesting as well to see her play with the different colours – she was drawn first to the red and then blue and green with yellow being the last for her to play with.
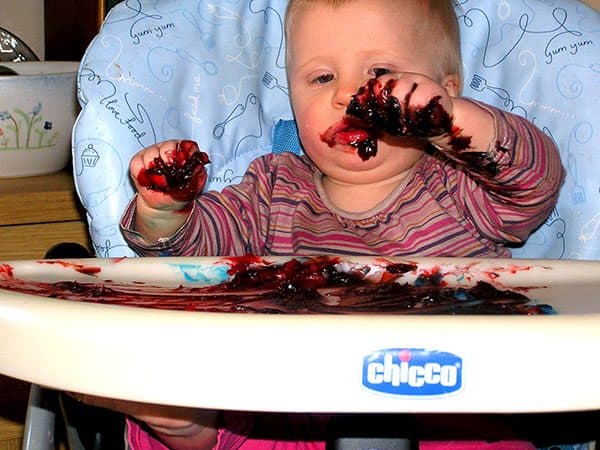
Just a warning – don’t do this with liquid food colouring if you are about to go out anywhere as although the paint was easy to clean off the high chair tray and high chair – it wasn’t so easy to clear off of T and until she had a long soak in the bath she was dyed a lovely shade of red.
What to Read Next!
Looking for more taste-safe sensory play check out our Rainbow Spaghetti Recipe ideal for adding to sensory tubs and bins.
Materials Needed for Painting with Toddlers
Do what I say and not what we did provide your baby or toddler with a coverall – the clothes that my daughter is wearing in the pictures above NEVER recovered from the experience of painting the first time and became her “painting clothes”. A coverall like this one is ideal as it will cover the body and arms preventing clothes from being stained.
We stored our paints in a mish-mash of jars that I had leftover from weaning my two – a set like these glass baby food jars are ideal for keeping your baby food in and also great for storing the paints (I even use ours now in my craft supplies to store buttons and ribbons).
Protect your floor and invest in a messy mat – I was so thankful that we had these. They are still used now by my kids as a table covering when they do art and crafts on our dining room table.
Recipe for Baby-Friendly Paints
Taste Safe Baby Finger Paints
Ingredients
- 1 cup Corn Flour Corn Starch
- 1 cup Cold Water
- 3 cups Boiling Water
- Liquid Food Colouring
Instructions
- Add 1 cup of cold water to the corn flour in a bowl and mixed it together.
- Then using freshly boiled water I added a cup at a time to the water/corn flour mix and mixed it together.
- Put this mix into a saucepan over a heat and stirred it until it became a consistency of custard.
- Add liquid food colouring to get your desired colours.
- Store in a clean jar and these will last between 2 and 3 weeks.
Notes
Cerys Parker
Cerys is a marine biologist, environmental educator, teacher, mum, and home educator from the UK. She loves getting creative, whether it is with simple and easy crafts and ideas, activities to make learning fun, or delicious recipes that you and your kids can cook together you'll find them all shared here on Rainy Day Mum.
First Aid incorlorates with his fellow Protectobots to develop Defensor, takiing the
small position of left arm.
Once admitted to the state bar, personal injury lawyers
have to continue to be updated on the current non-legal as well
as lawful growths iin their area of technique by clmpleting a called for number of proceeding legal education (CLE) courses designed to
help injury lawyers remain abreast of developments
in their field.
Used this recipe today for play time with four babies aged between 7.5 and 8.5 months. Swapped the food colouring for fruit with strong colours. I used spinach, blackberries and dried apricot. I stewed each in a little water, puréed with a hand blender then passed through a sieve before mixing. Stored in fridge overnight and stirred before using. I did chuck afterwards as unlike food colouring will go off. Great colours, great recipe for the base mix and safe. Thanks for sharing with us, we had a great time!
Did the ingredients have to used for each color or did you separate it beforee adding the foood color?
We finger painted today with sugar free cool whip and a few drops of food coloring. We didn’t have any stains but I didn’t have to add much food coloring to the cool whip to make it bright. And in the end it didn’t last as long as my lo would have liked. He started eating too much of it and not playing. But he had fun playing and he is 7 months.