

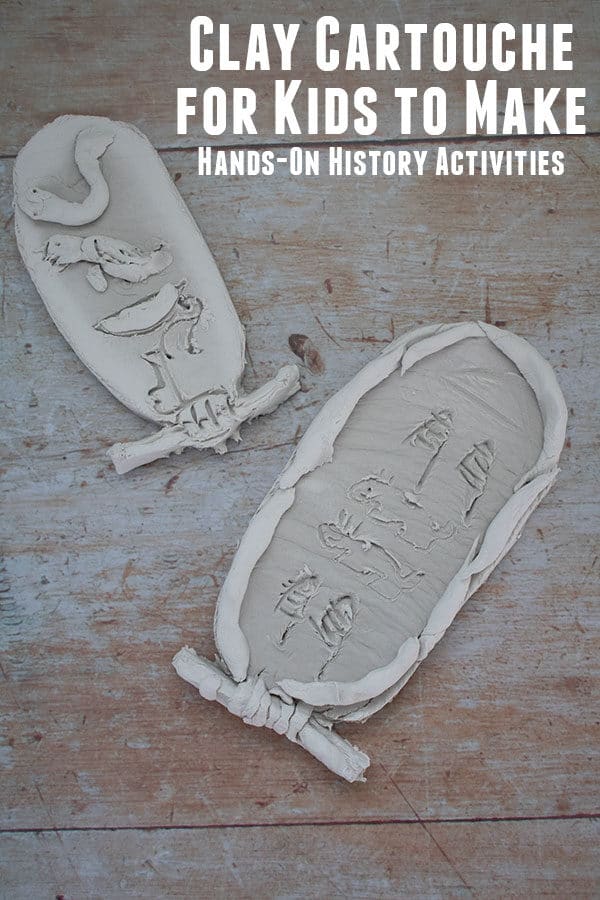
Ancient Egyptian Clay Cartouches to Make with Kids
Many years ago I visited Egypt travelling around and exploring the country. I was always fascinated by the engravings and papyrus paper that I saw in the ruins and the museums. With the third book in the Magic Tree House Series Mummies in the Morning, we head to Ancient Egypt with Annie and Jack and here on Rainy Day Mum, we have a fun craft to do for the topic. So here we go easy to make air-dried clay cartouches with kids.
Mummies in the Morning by Mary Pope Osbourne
We have included affiliate links to some of the products and resources as an associate we may earn from qualifying purchases.
In the 3rd book in the Magic Tree House Series Mummies in the Morning Jack and Annie journey to Egypt and inside the great pyramid. There they discover facts about mummies, pyramids, tomb raiders, the ancient Egyptian afterlife and Hieroglyphics.

- Kids Books
- Osborne, Mary Pope (Author)
- English (Publication Language)
- 80 Pages – 08/24/1993 (Publication Date) – Random House Books for Young Readers (Publisher)
If your kid’s imagination is sparked by the theme of Ancient Egypt why not pick from our selection of fiction books about Ancient Egypt we have a mix for different ages so older and younger children can find books they will enjoy.
Ancient Egyptian Hands-On History For Kids
One of the things that Jack does in the book helps the Egyptian Queen to read the Hieroglyphics in the pyramid. Inspired by this and the success of looking at the language of the middle ages in our last activity creating our own runes. For this book, we are using hieroglyphics to create a cartouche.

Why not also build a pyramid with this fun history lesson plan for how to build a pyramid.
What is A Cartouche?
A cartouche was the way that names of Egyptian Kings and Queens was represented.
Oval in shape with a line at the bottom their name was then engraved in the oval using hieroglyphics.

Hieroglyphics
Egyptians didn’t use the Roman Alphabet as we do, instead they drew the words and letters with images.
Some images represented an object whereas others were letters. Very similar to the Runes.
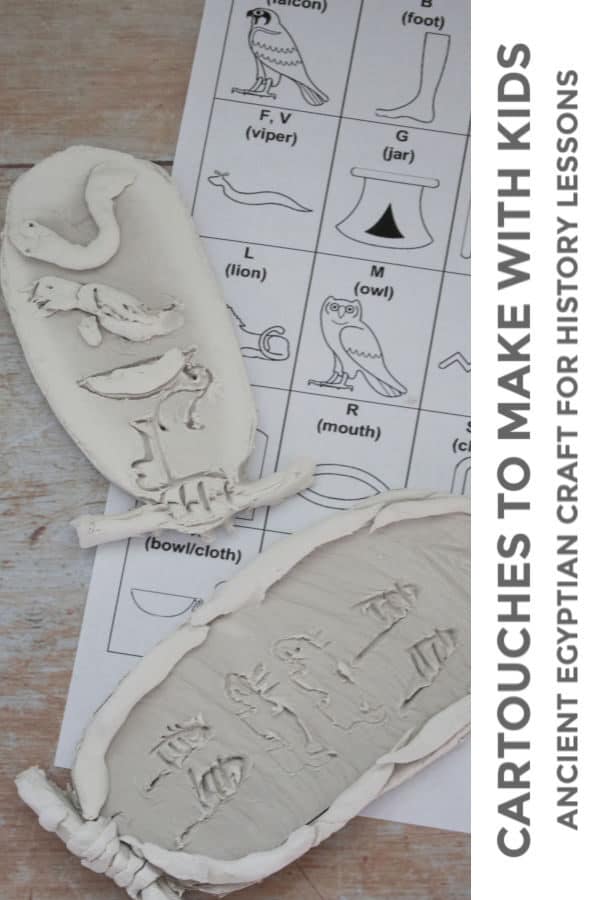
Making Clay Cartouches
As I said a cartouche is a way of showing the name of an important person in Ancient Egyptian. We’ve taken that idea and created our own using air drying clay or salt dough you can create a cartouche of your own.
Materials we used for making the Egyptian Project with Kids
As I had bought some Das Air Drying Clay recently for some other projects we have in mind we decided to use this for making our cartouches. Although you could also use some salt dough and let this air dry for a day or 2.
We have a set of clay modelling tools that the kids have been using for a while. These are very basic, but we have used them with clay and playdough for a number of years.
As the kids expressed an interest in painting them afterwards I’ve stocked up with some gold and silver acrylic paints which will work on the clay once it is air-dried.
We used the Nat Geo Kids Article Facts about Hieroglyphics to find the letters of our names. Although Scholastic has a great printable Hieroglyphics sheet with an activity which is fantastic to use as well.


How To Make Air Drying Clay Cartouches with Kids
Video
Equipment Needed
- Work Surface Protector we used half a plastic bag
- Rolling Pin
- Clay Tools
- Paint Brush (Optional)
Materials Needed
- Air Drying Clay or Salt Dough see the notes for a link to the air drying salt dough recipe.
- Gold or Silver Acrylic Paint optional
Instructions
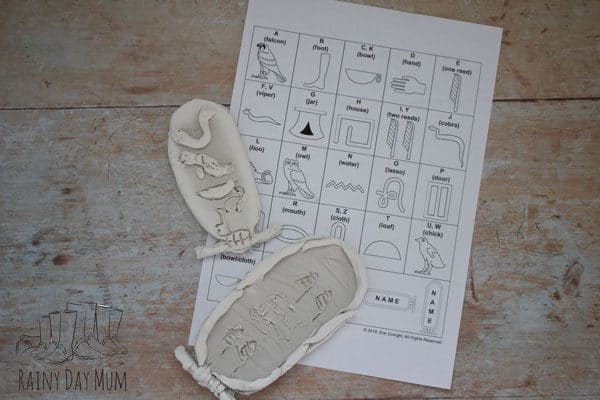
- Start off with looking up your name with the Hieroglyphic Alphabet on Nat Geo Kids site and make a note of the symbols.
- Cut a portion of the air-drying clay for each cartouche (around a quarter of the 2lb block).
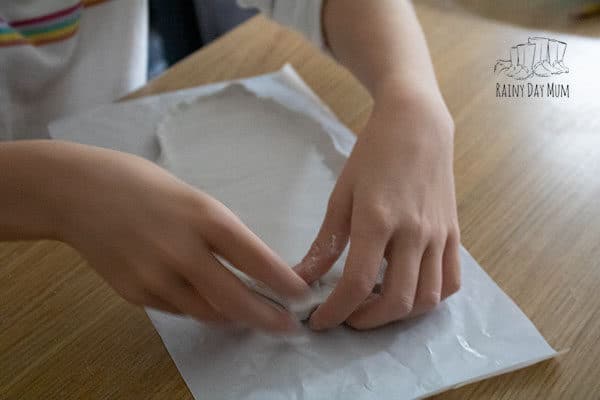
- Knead the dough to make it soft.
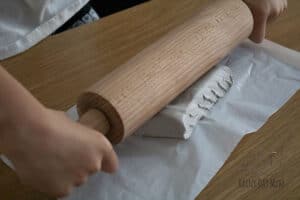
- Roll out the dough to around 1cm thick.

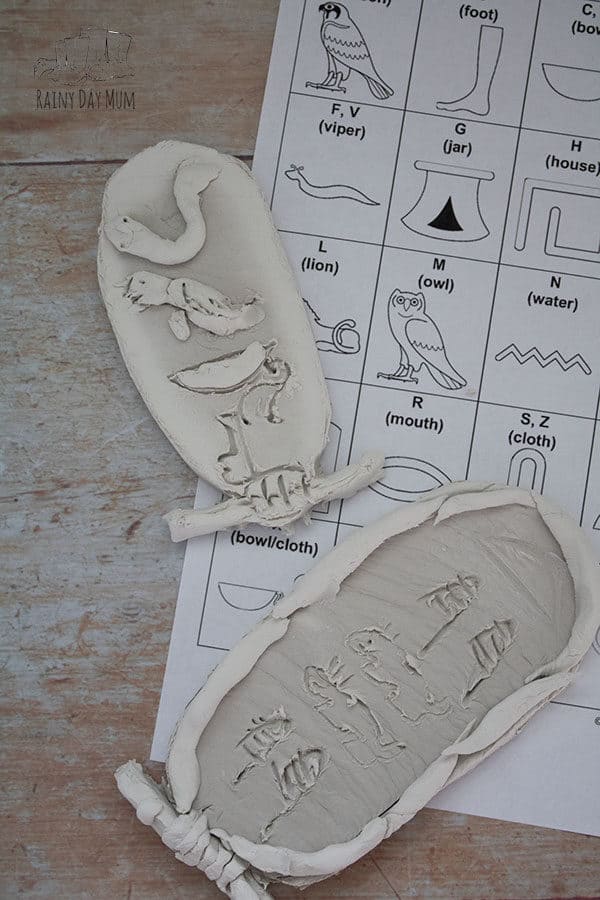
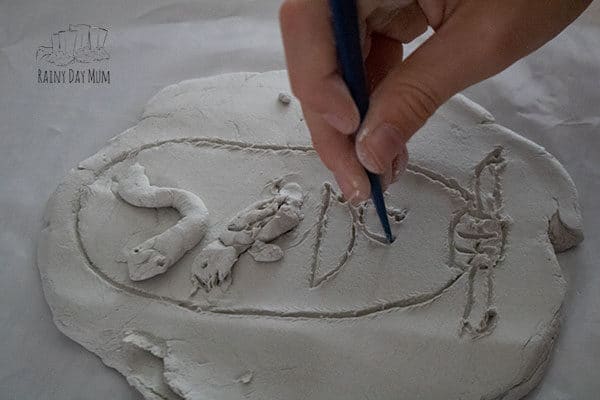
- Now engrave an oval shape for the cartouche and a line at the bottom.
- Using the notes on your name in Hieroglyphics from step 1 engrave the images into the cartouche for your name.
- Cut away the excess clay.
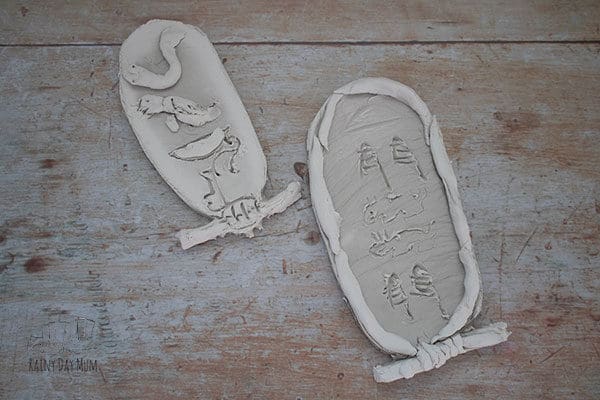
- Optional – use some of the excess clay to create raised features on the cartouches.
- Leave to dry.
- If you are painting ensure that the clay is fully dry and then paint over the top.


Notes

Cerys Parker
Cerys is a marine biologist, environmental educator, teacher, mum, and home educator from the UK. She loves getting creative, whether it is with simple and easy crafts and ideas, activities to make learning fun, or delicious recipes that you and your kids can cook together you'll find them all shared here on Rainy Day Mum.
Where can I find the printable with the hieroglyphics shown in your post?
Hi, the one that I used, use to be on the Nat Geo Kids website, but seems to have disappeared here is one that is free from Scholastic
Love this! Simple and creative! I love how you put a link to the supplies at the bottom. Thank you so much!
Brilliant, we would love to see your versions please share with us when you do.