Beautiful Advent Window Star Tutorial
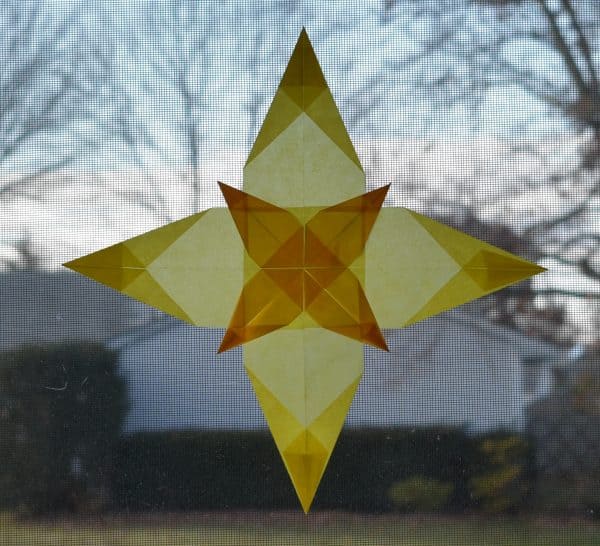
Today I have a tutorial for a beautiful Advent window star that reminds me so much of the North Star from our Nativity story. This is one of the easiest and most beautiful window stars I have ever made. The three kings are sure to find their way if you hang this beautiful star in your window.
Advent is such a beautiful time of the year. I love decorating our Advent table and making all kinds of crafts to hang around our home. One thing I love to do is make all kinds of window stars to decorate our windows. My children love to help me with this and they often make mini ones to go around my larger ones. You can find tutorials for a Fall Window Star and a Winter Window Star to make and decorate your windows with.
Material Needed to Make your Own Advent Window Star
yellow kite paper,
sharp scissors or a paper trimmer
a good glue stick
Full Tutorial on making your Advent Window Star
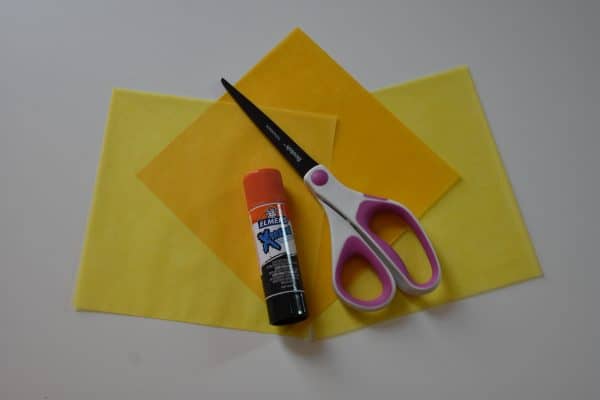
Now that we have all of our supplies, let’s get crafting!
Take your darker yellow kite paper and fold it in half one way, then in half the other way so you have 4 equal squares on your paper.

Cut along the lines you folded so you have 4 equal squares.
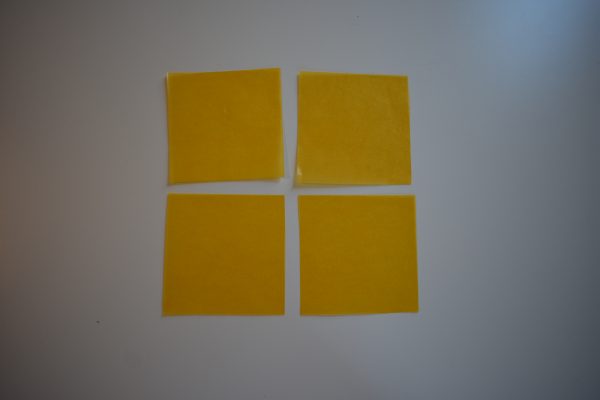
Fold each square in half from left to right.
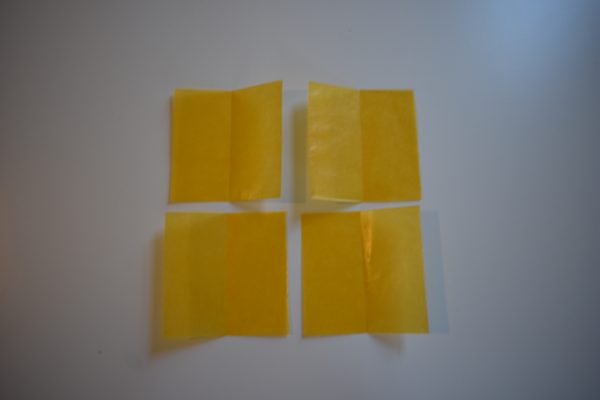
Then cut along those lines too. Set 4 of these small rectangles aside for this project. You can save the other four for another window star.
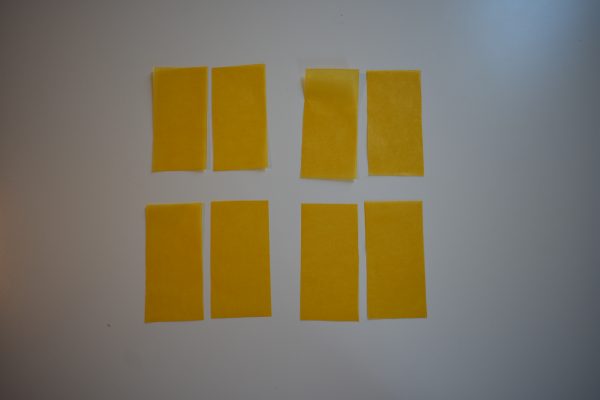
Now take your light yellow kite paper and fold them each in half from left to right. Then cut along your folded line.

So now we have 4 large light yellow rectangles and 4 small dark yellow rectangles.
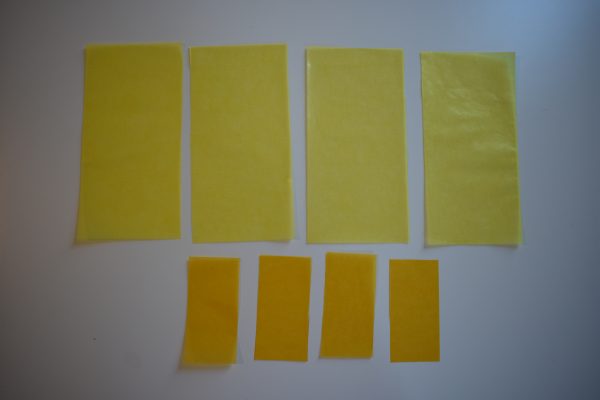
Now we will start to fold each point of our star. First, fold one rectangle in half from left to right.
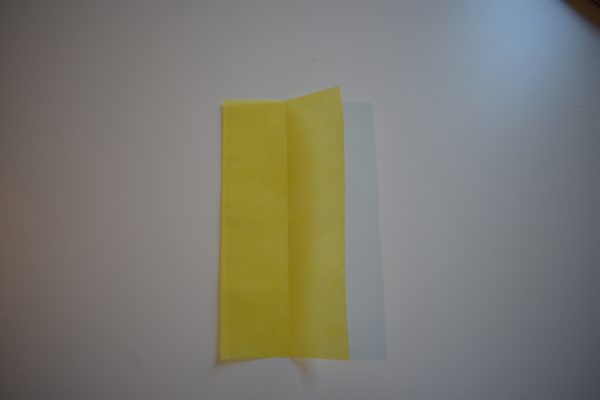
Next we fold all four corners in to meet the center line. Try to be as precise as you can so your star will line up properly when we start to assemble.
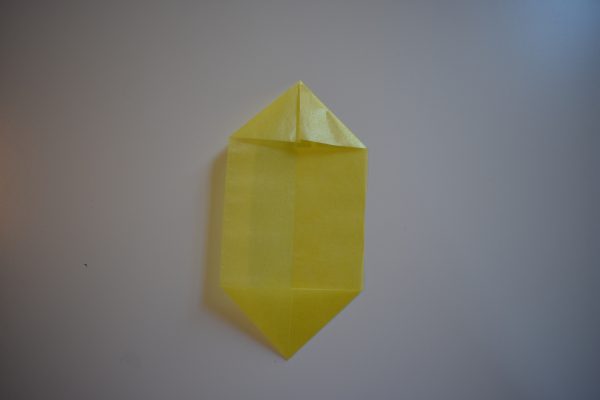
Now we will fold the top 2 sides in the meet the center one more time. That’s it for the folding. See, I told you it was easy! Now repeat those steps for all of your other rectangles.
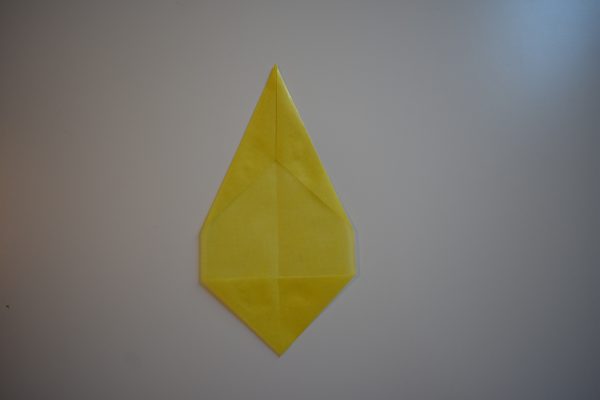
You should end up with 8 points that look just like this.
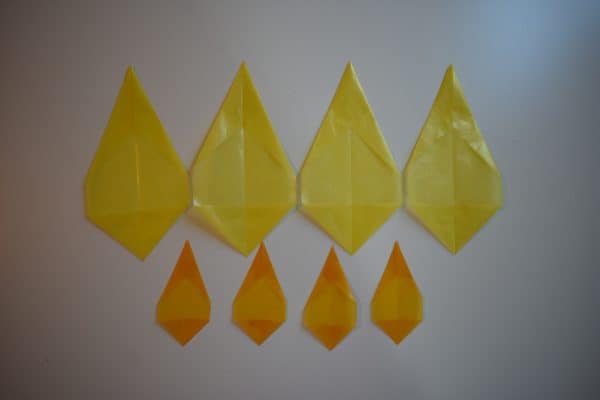
To assemble we need to take one small rectangle and line up the point with a large rectangle until it looks like this. Glue it down with your glue stick.

Now we will put a large rectangle over a small one, lining up the points again just as we did the first time. Keep layering and gluing all the way around until you’ve used all of your points.
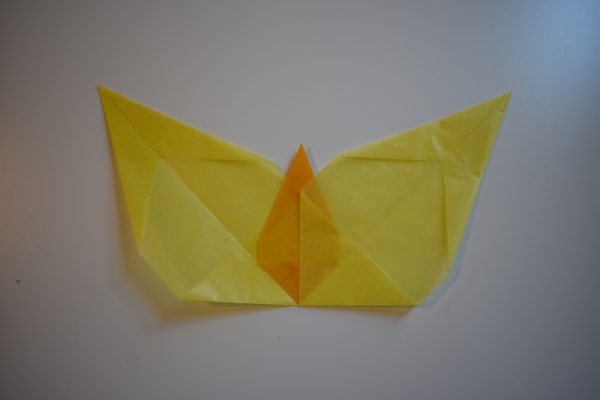
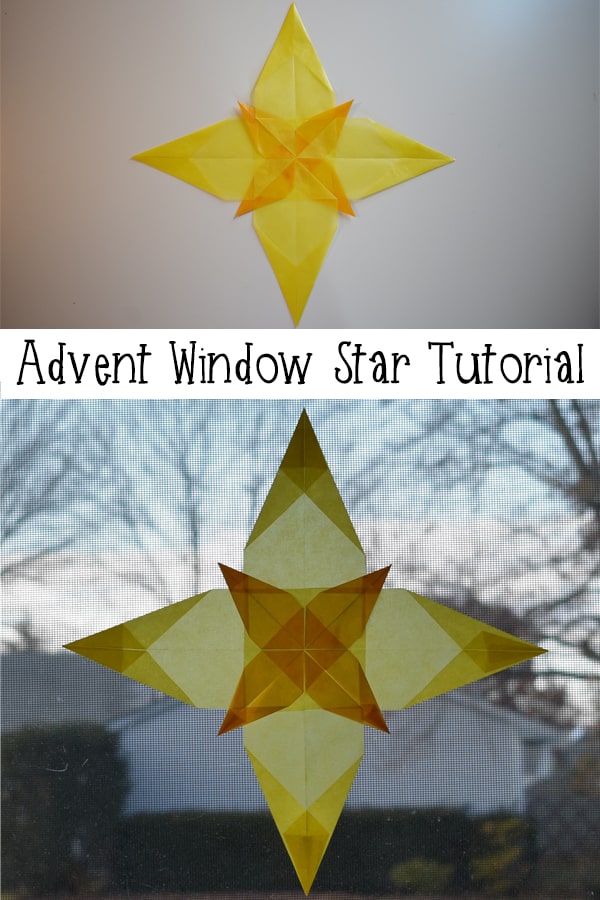
You will end up with a beautiful eight pointed star just like this. Doesn’t this look perfect for Advent?
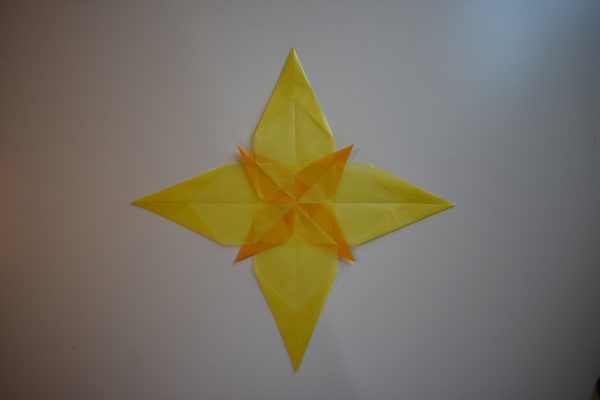
Here is my star on my friend’s front door. This isn’t even the strongest light that comes through my windows normally and it still glows!
Find more origami crafts for kids over on Red Ted Art.
More Window Stars for you to make
Fall Window Star
Winter Window Star
Flower Window Star
Pin this Advent Window Star Tutorial to make later

Share this Advent Star Tutorial with Friends on Facebook
Erin Dean
Erin is a homeschooling mum of 3 from Canada. Her eldest started homeschooling back in 2003. She lives on a homestead in Northern Canada and can be found surround by goats and chickens creating natural crafts, nature study ideas and more over on The Usual Mayhem


